Creating a PO to PME ETL job
To create a PO to PME ETL job:
- In the ETL Administration Tool, click New.
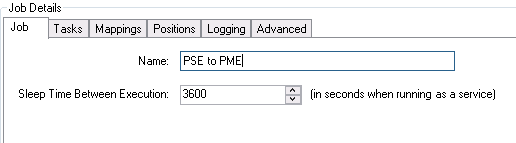
- Enter the name of the job in the Name field.
NOTE: The ETL job name has to be unique. Make sure your ETL job name does not conflict with any other ETL jobs on your system. This is particularly important to consider when registering ETL jobs to run as Windows services.
- For testing purposes, use the default Sleep Time Between Execution interval of 3600 seconds.
NOTE: After you confirm that the ETL job runs successfully, the initial data transfer has occurred, and the ETL job is ready to be scheduled to run as a service, you can set the Sleep Time Between Execution to
900seconds; PO uses a 15 minute interval to collect trend data. - Click the Tasks tab.
- From Select Category select Extract.
- From Select Type select PO Extract Task.
- Click Add.
The extract task name and description appear under the Extract heading:

- In the Field Editor pane, configure the extract task. See Configuring the PO to PME extract task for details.
- (Optional) Add and configure a transform task. See Configuring the PO to PME transform task for details.
- From Select Category select Load.
- From Select Type select Power Monitoring Expert Bulk Data Load Task.
- Click Add.
The load task name and description appear under the Load heading:
- In the Field Editor pane, configure the load task settings. See Configuring the PO to PME load task for details.
NOTE: If you plan to use the Energy Cost Report or Load Profile Report, review the Enable Recorder and Channel Creation setting in the Configuring the PO to PME load task table.
- Click Apply to save without exiting the job, or click OK to save and exit the job.
NOTE: For most PO to PME ETL jobs, the transform task is not needed.

After the ETL tasks are configured, map the extracted data sources to the target data store. See Configuring PO to PME mappings for details.