Control snippet example
Control snippets control equipment and circuit breakers, and can change device states.
NOTE: Only authorized users can perform control operations.
This topic uses an example to illustrate how to configure a Control snippet.
Prerequisites:
This example uses a graphic file that already has a binded component or equipment in the workspace. For more information on how to prepare the TGML graphic snippet examples, see TGML snippet examples prerequisites.
To create a Control snippet:
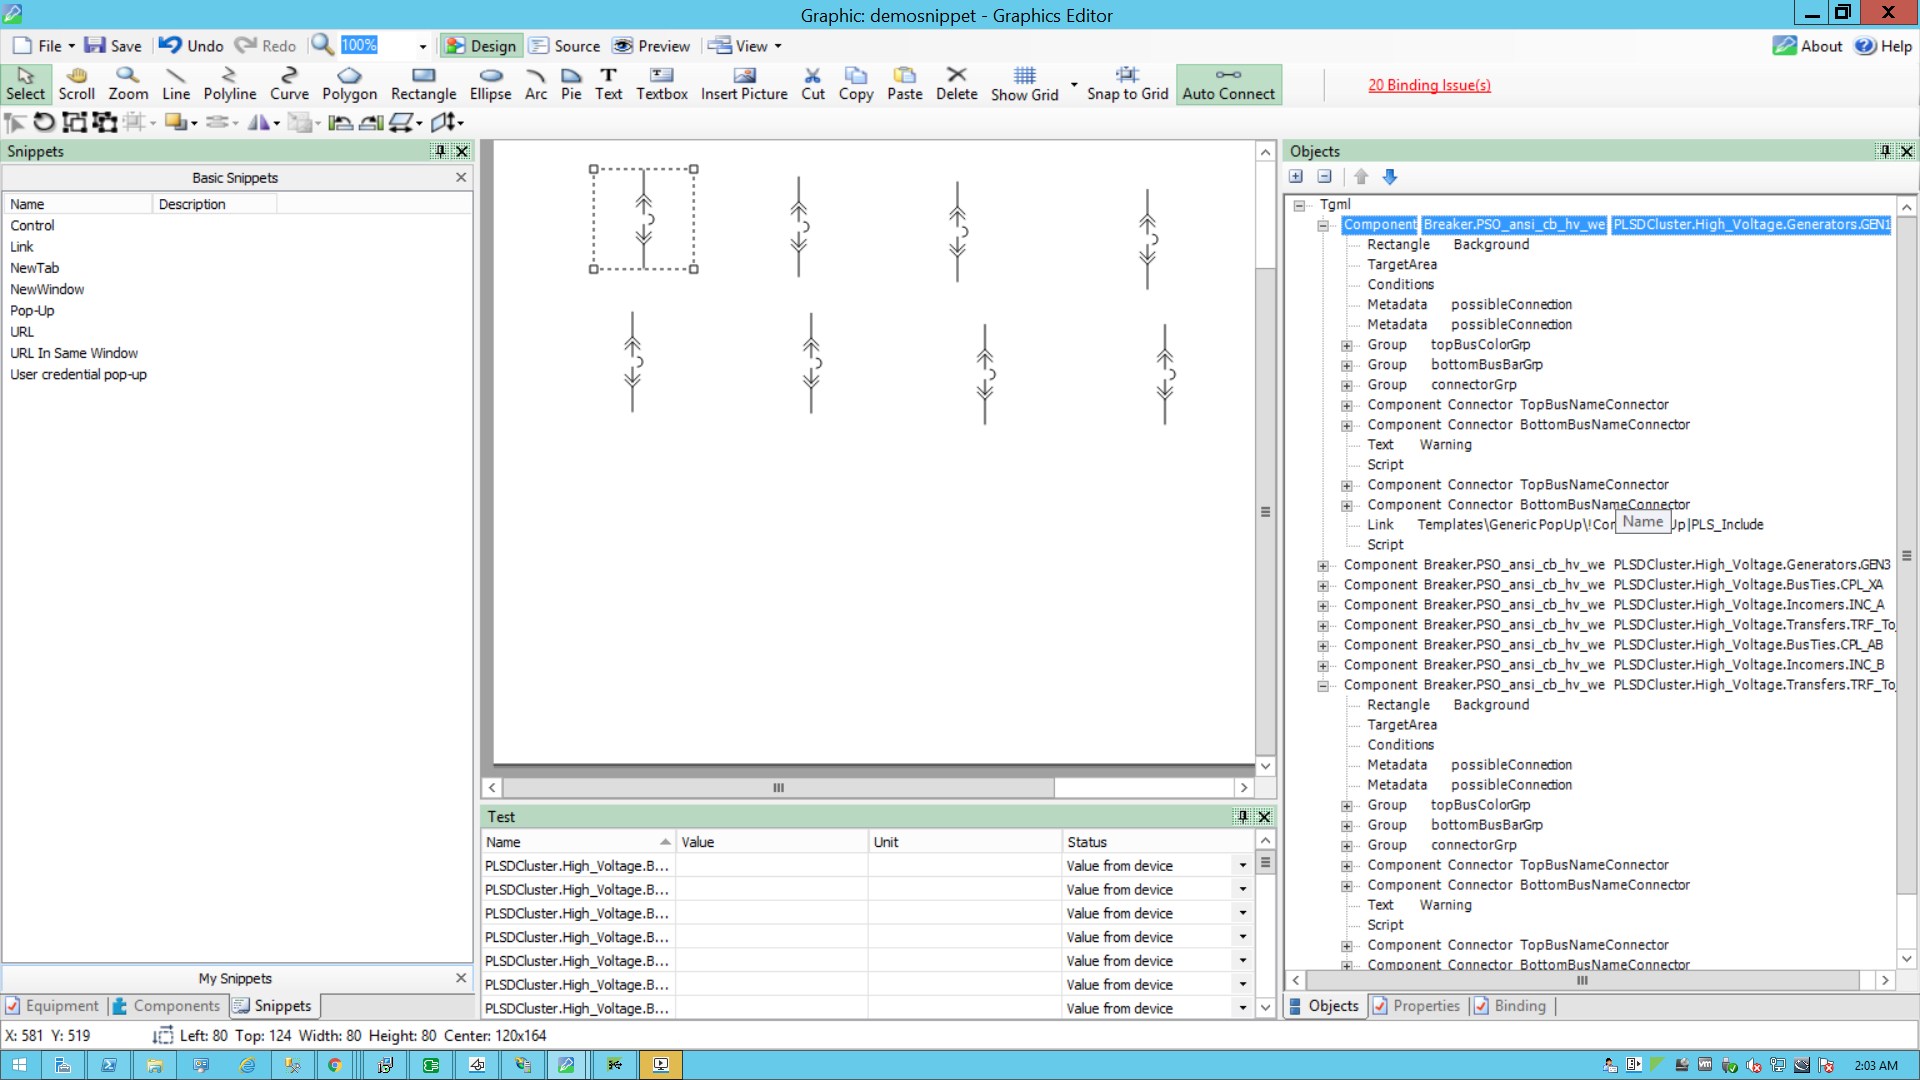
- In Graphics Editor, in the bottom left corner, click on the Snippet pane, and choose Control.
- Drag and drop the Control snippet over the selected component in the workspace:
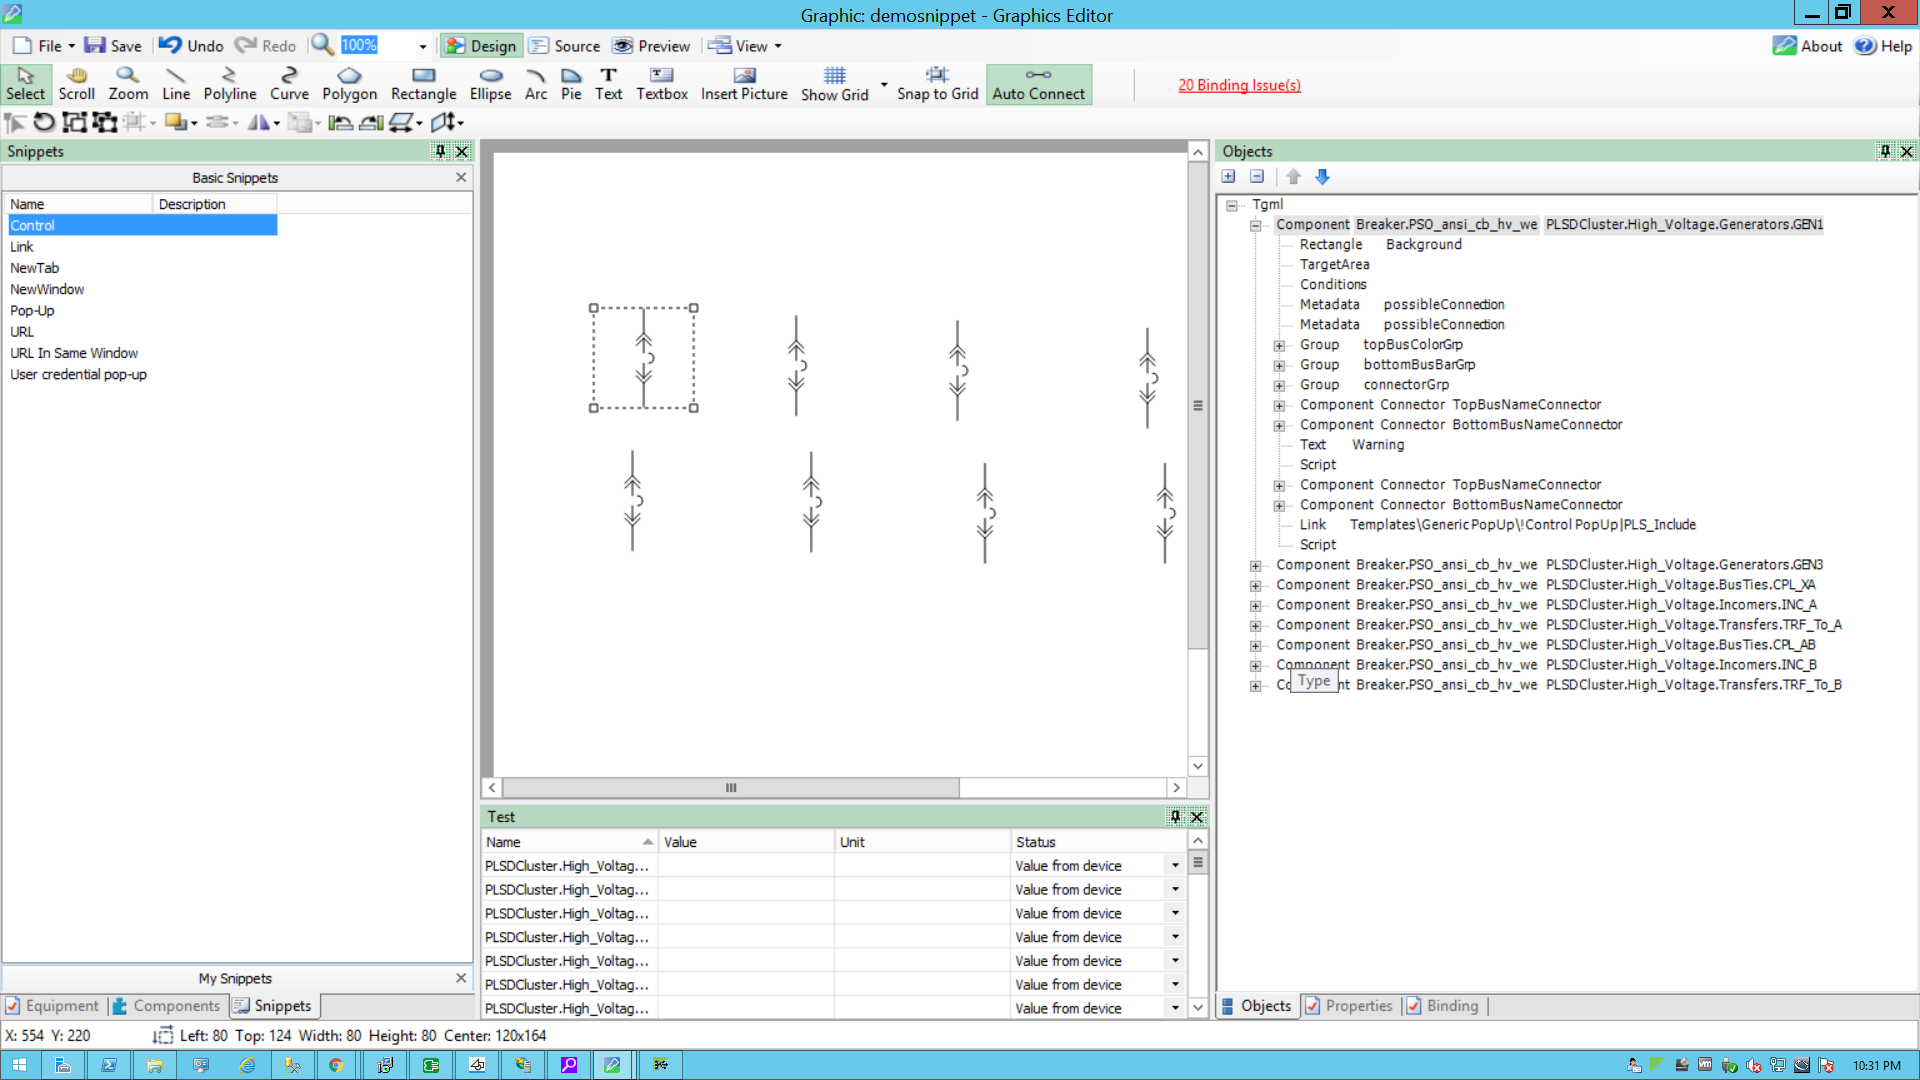
- In the bottom right corner, click on the Objects pane, and click + to open the TGML.
Two additional properties appear: Link and Script.
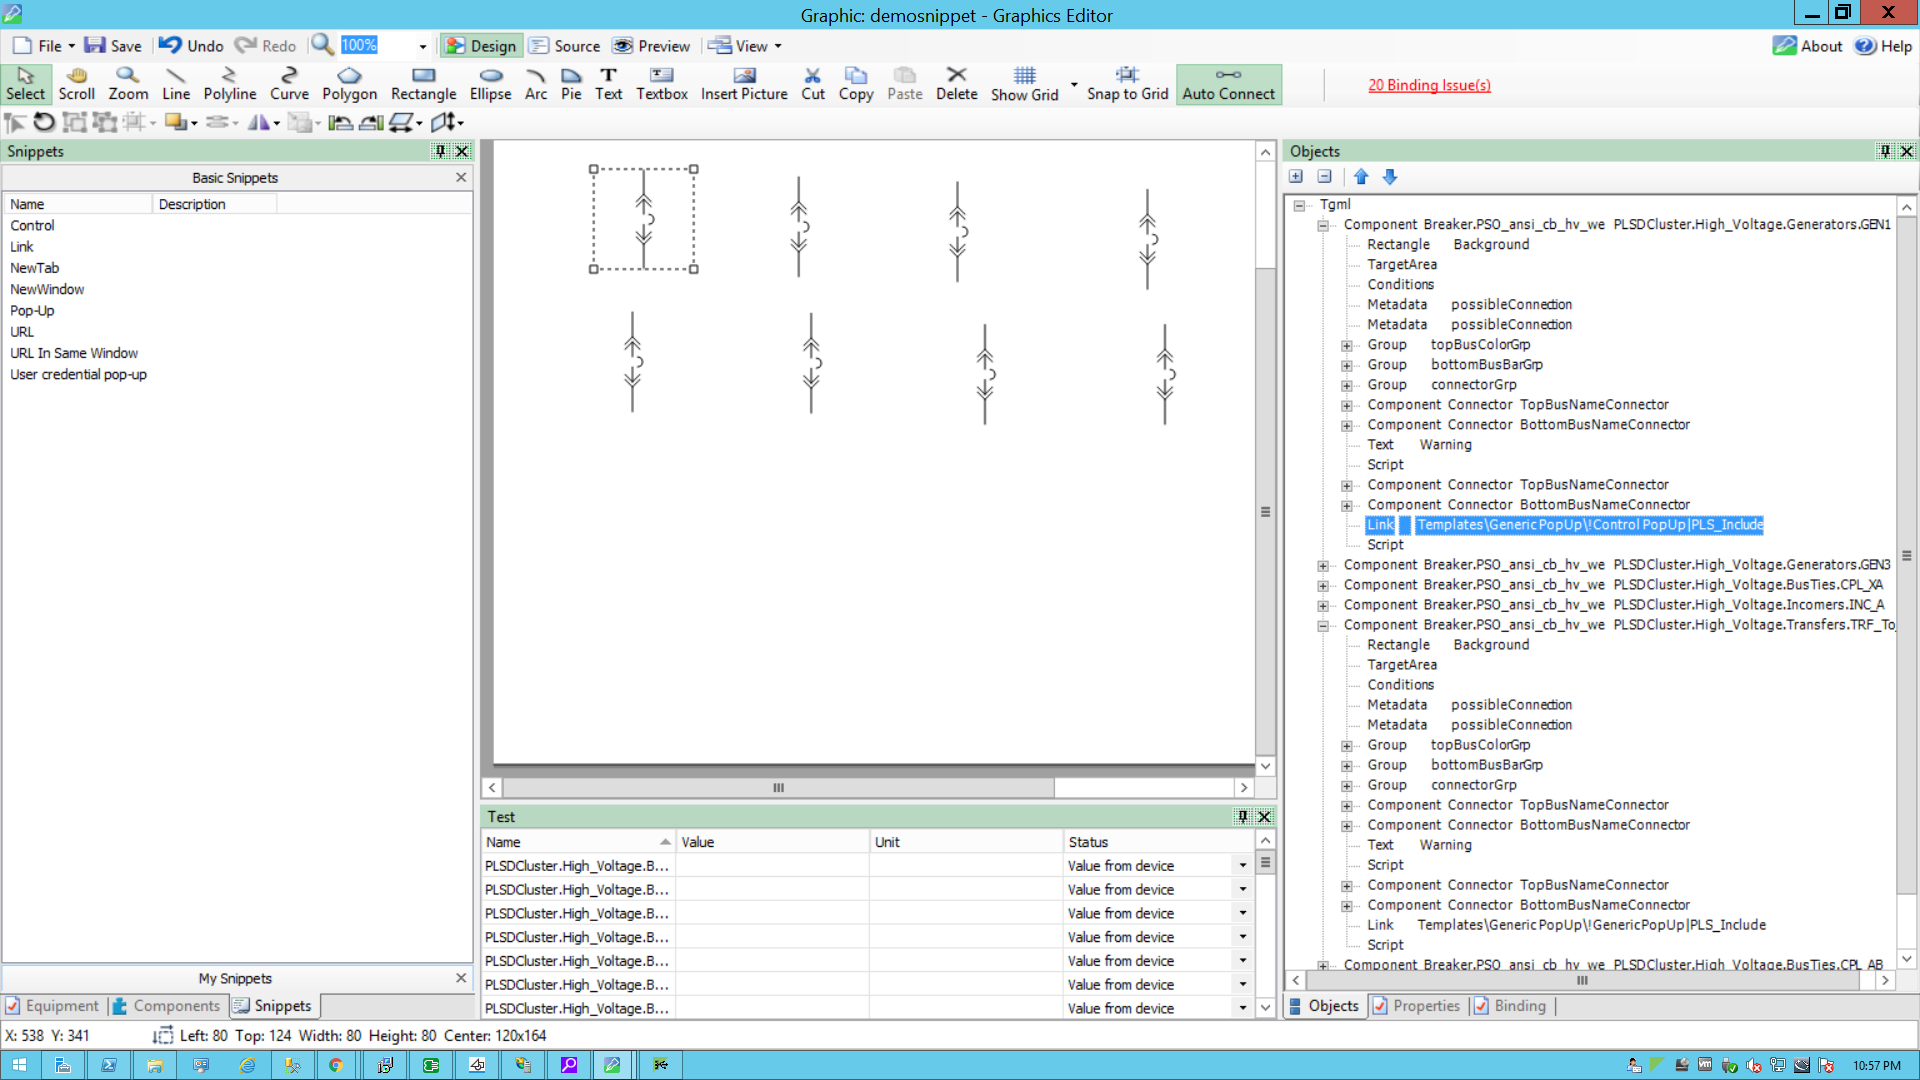
- Add a pop-up name in the link.
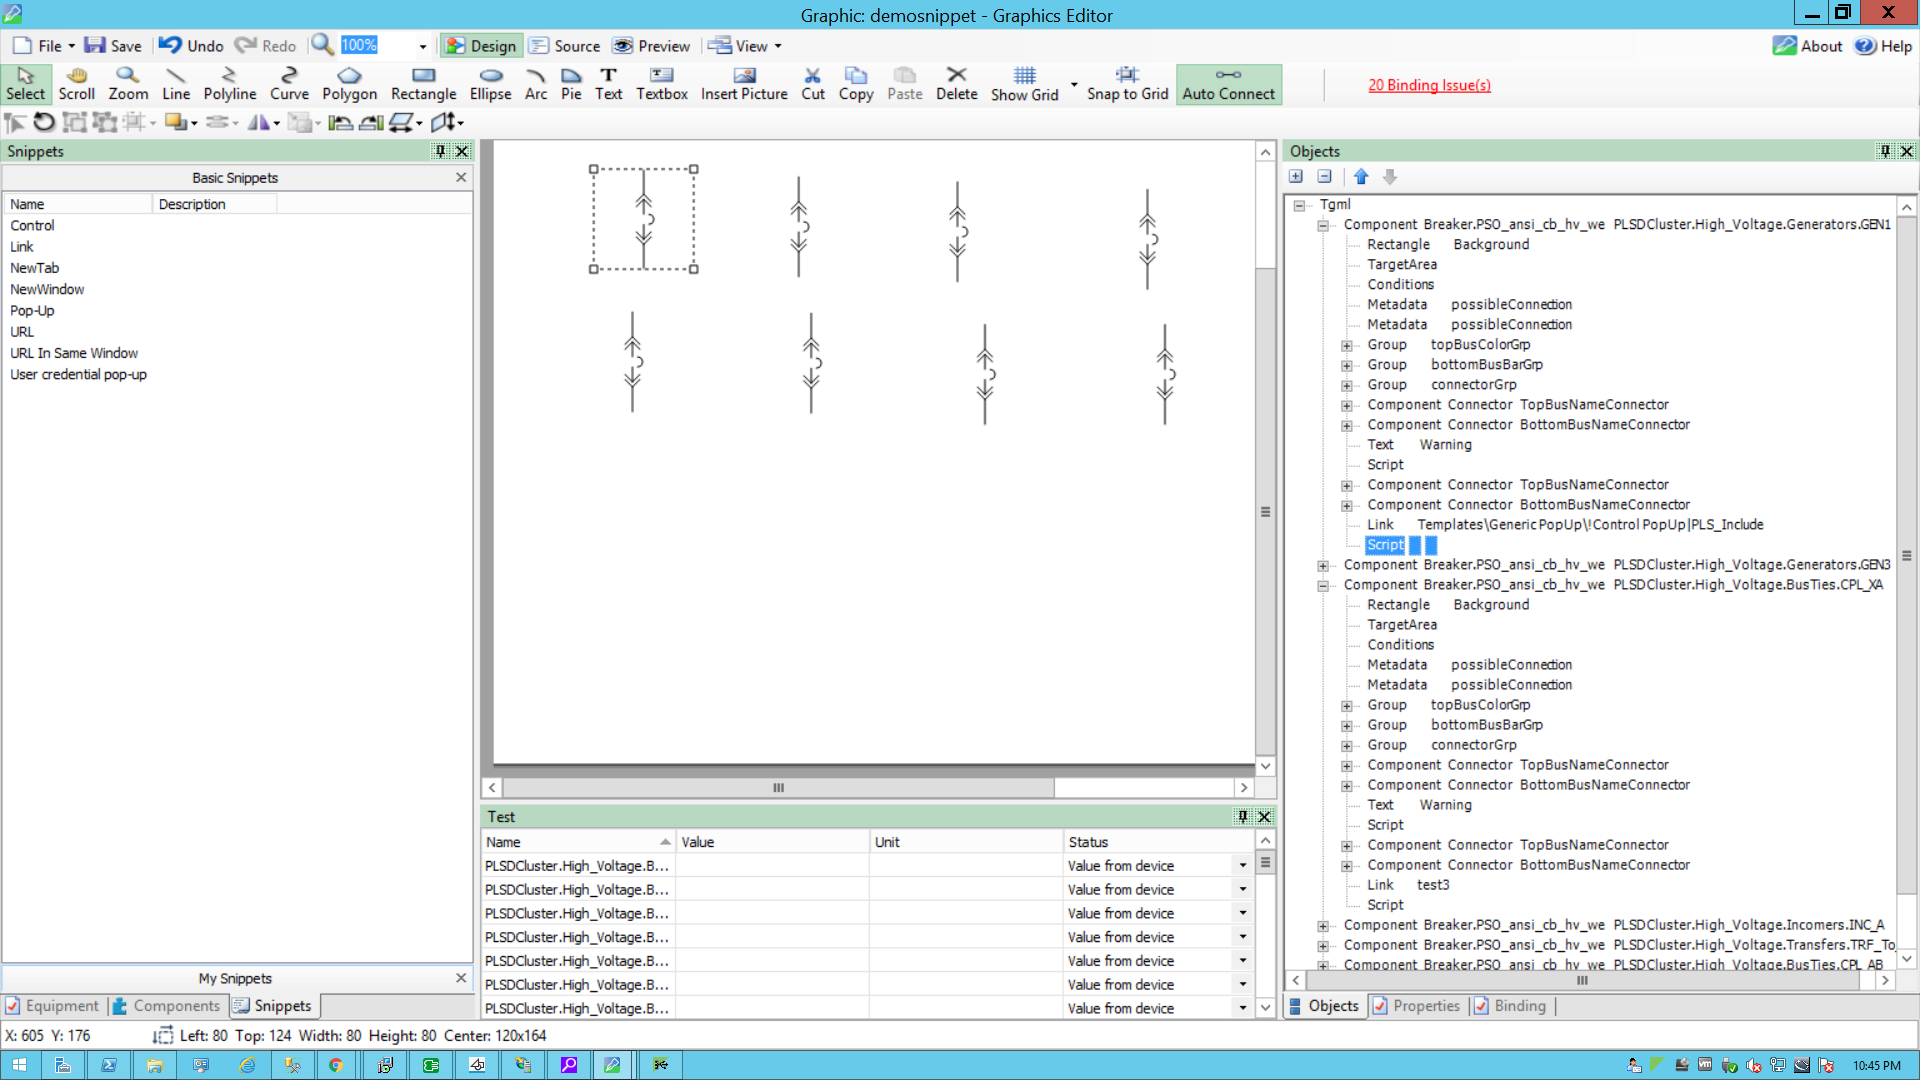
- Click Script.
- In the bottom right corner, click Properties, and then expand Behavior.
- Click the ellipsis button in OnMouseClick.
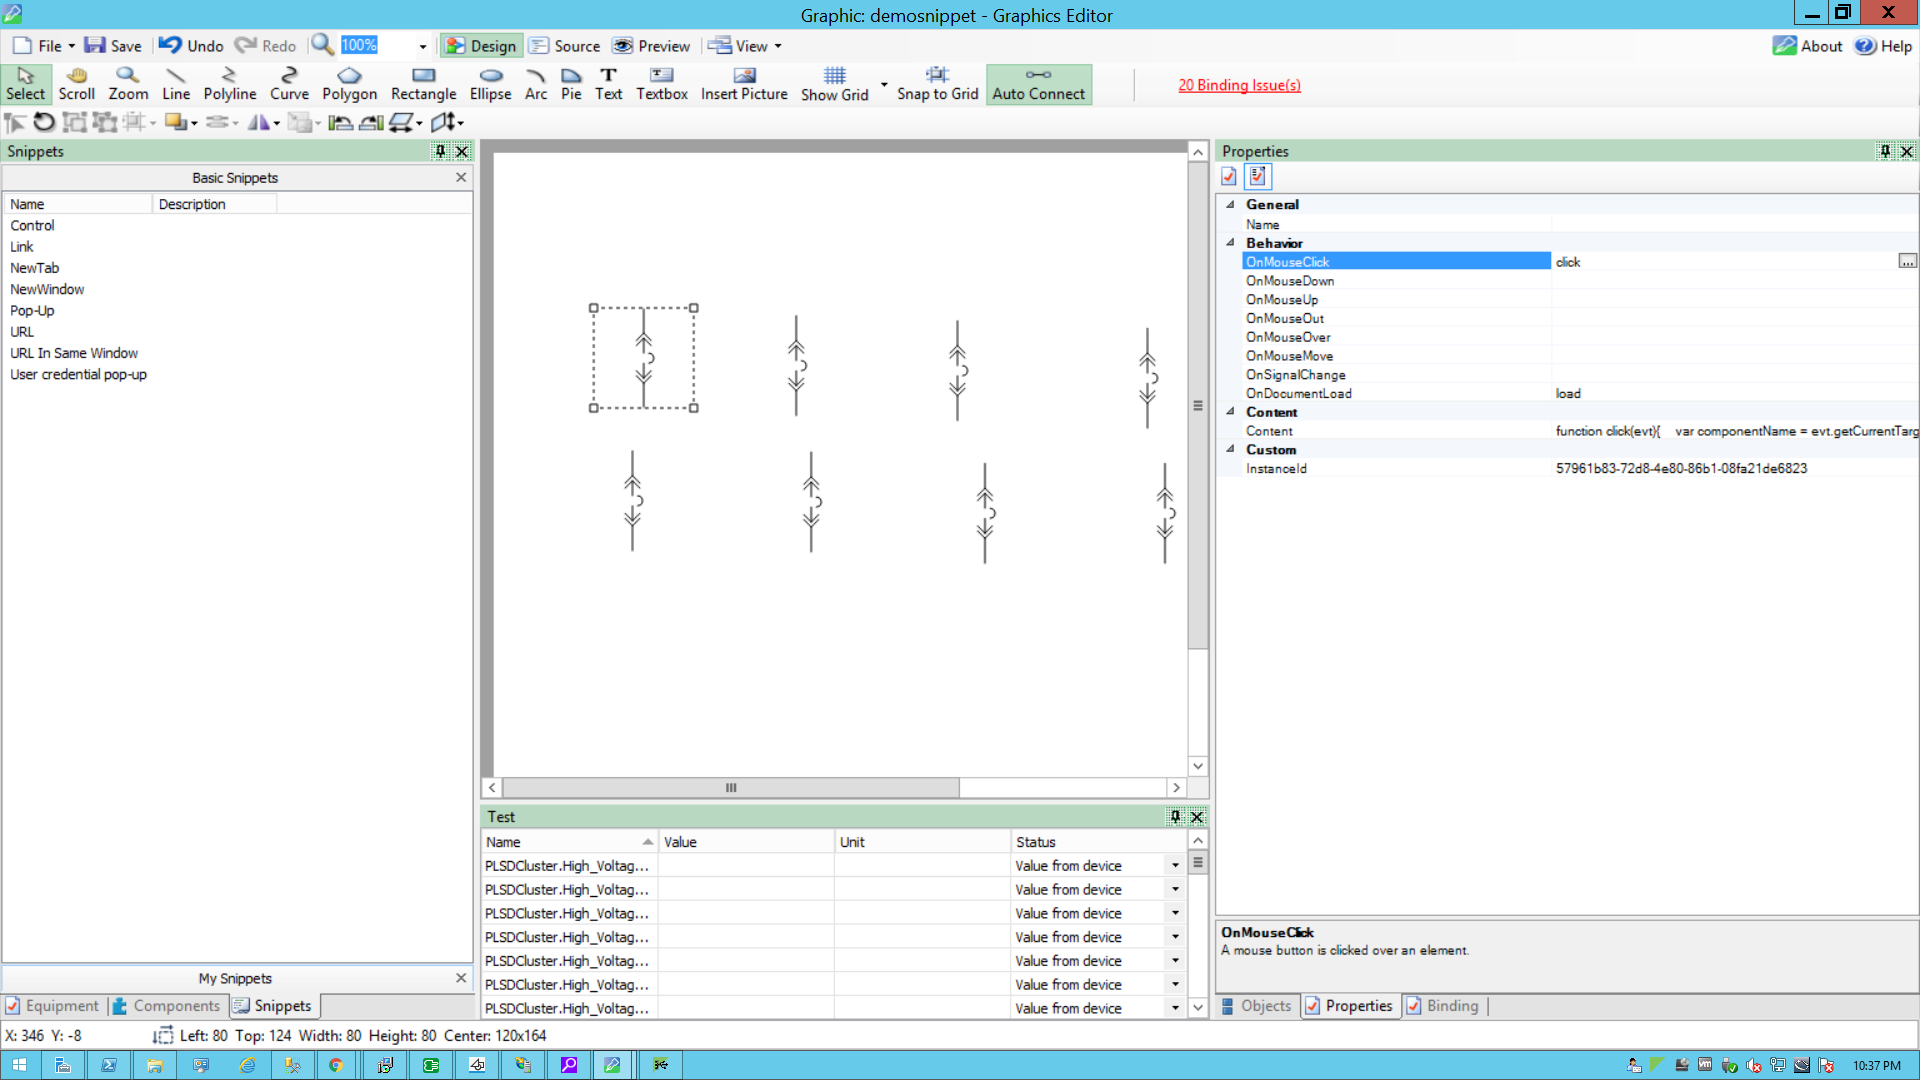
- In the script window, use the following script to configure the control snippet and then close the window.
- In the bottom right corner, click Objects, and then click Component inside the Tgml.
- In the bottom right corner, click Properties, click the Custom attribute, and then right-click to select Add.
- For Attribute, enter
DataPoint, and then click OK.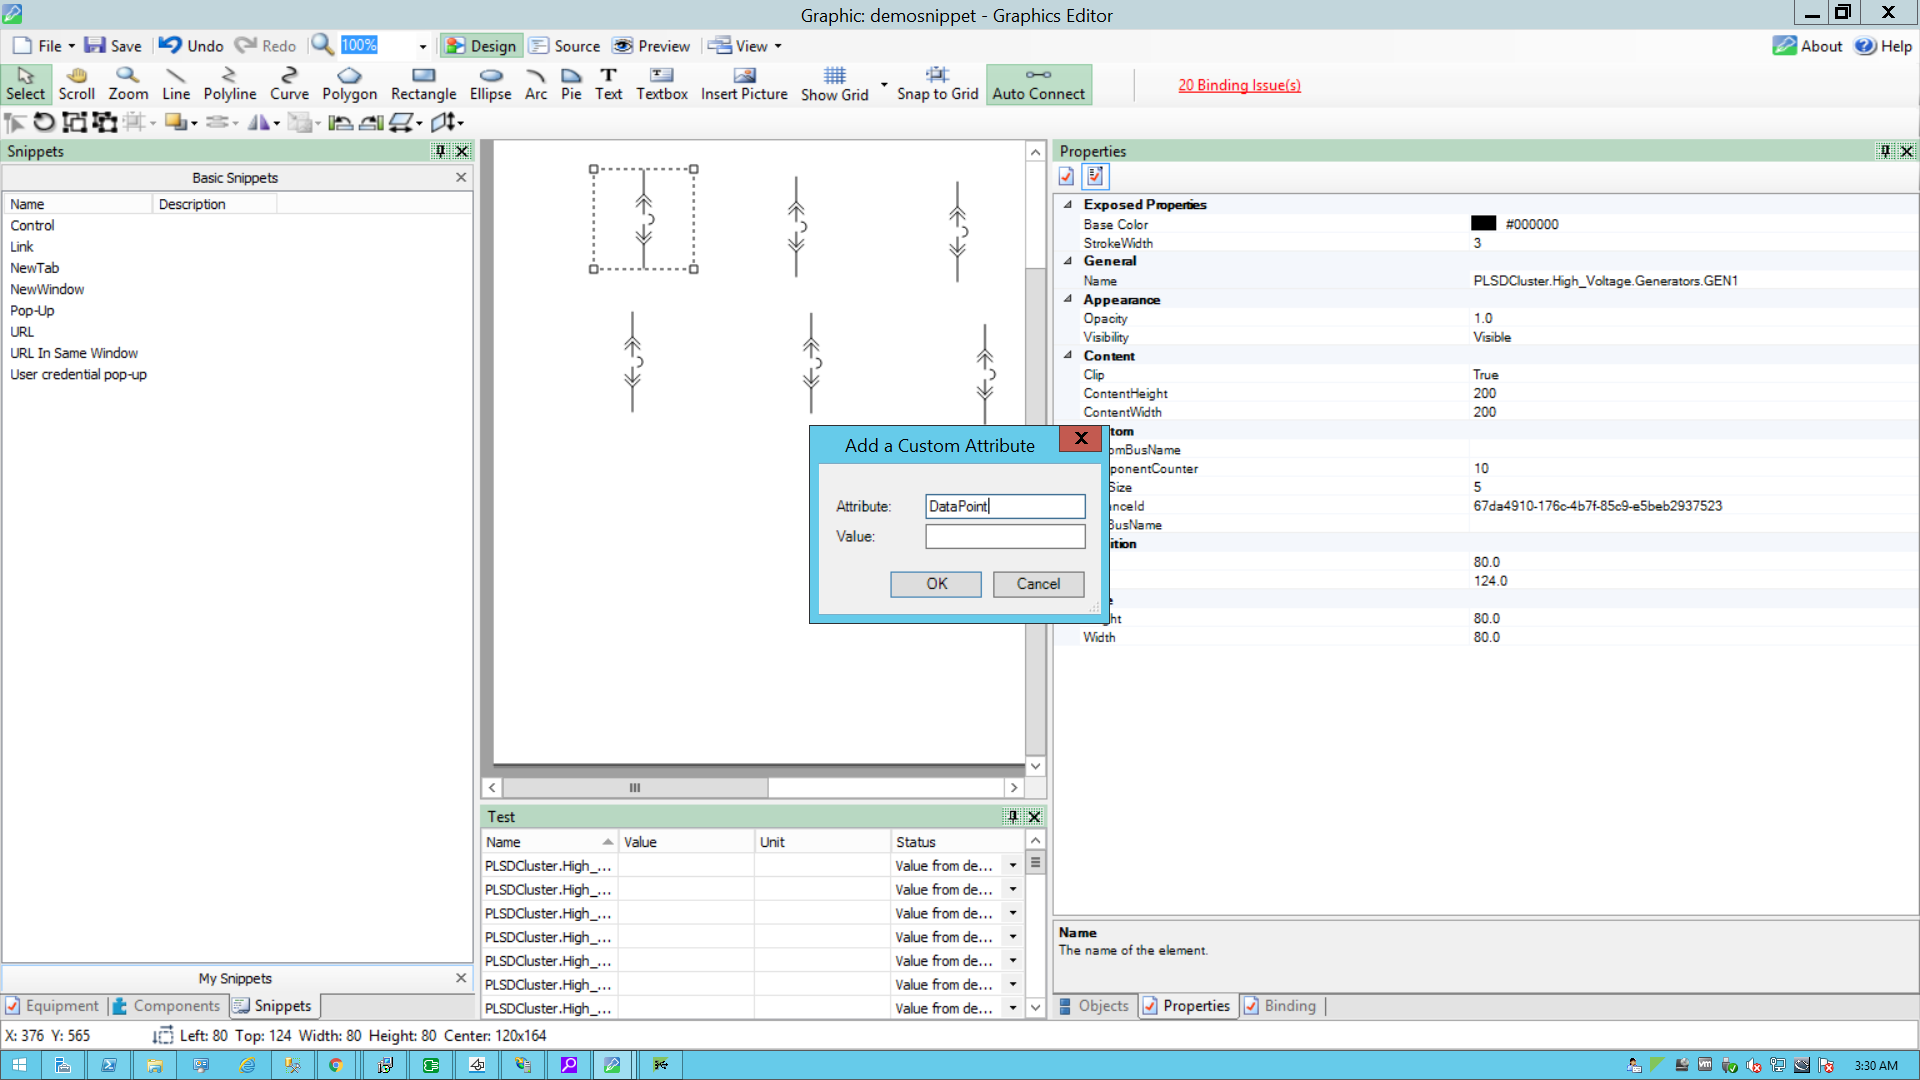
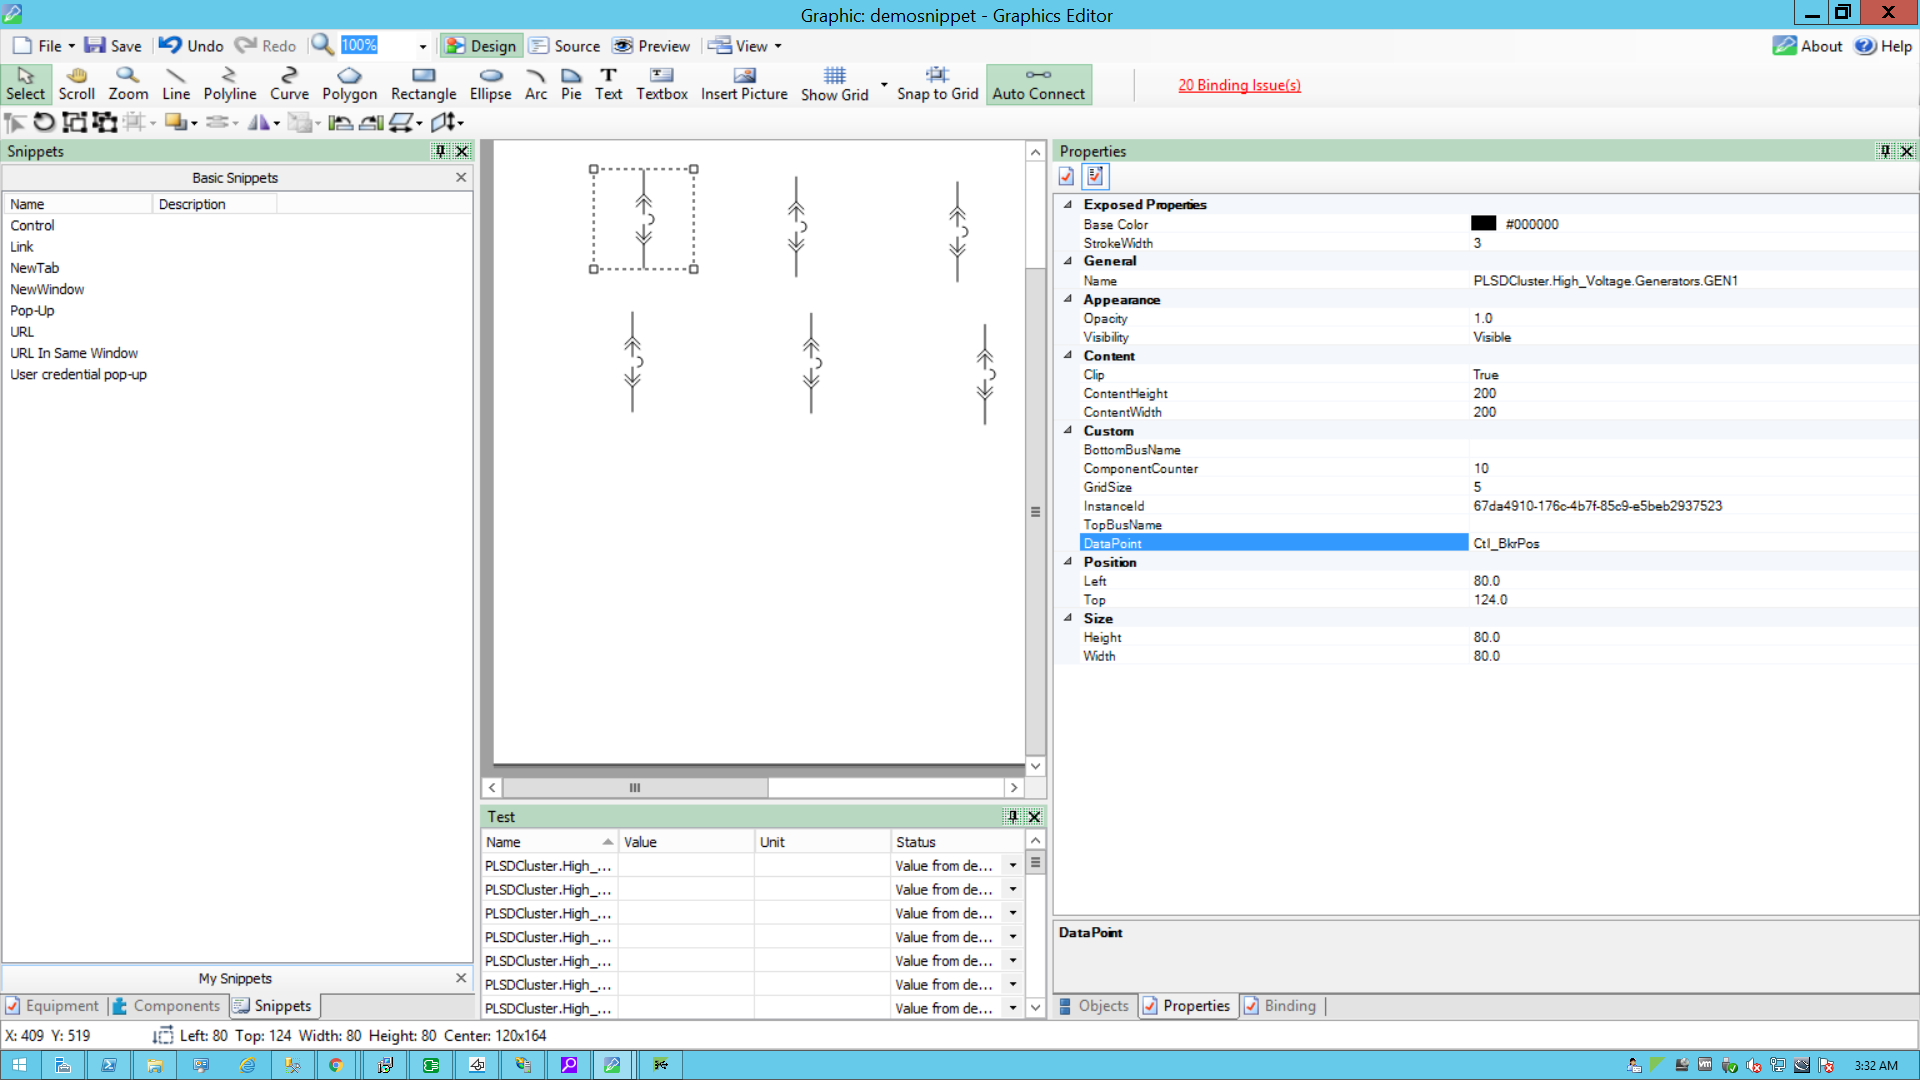
The following screen is displayed with the added DataPoint attribute in the Custom group:
- Get the DataPoint value:
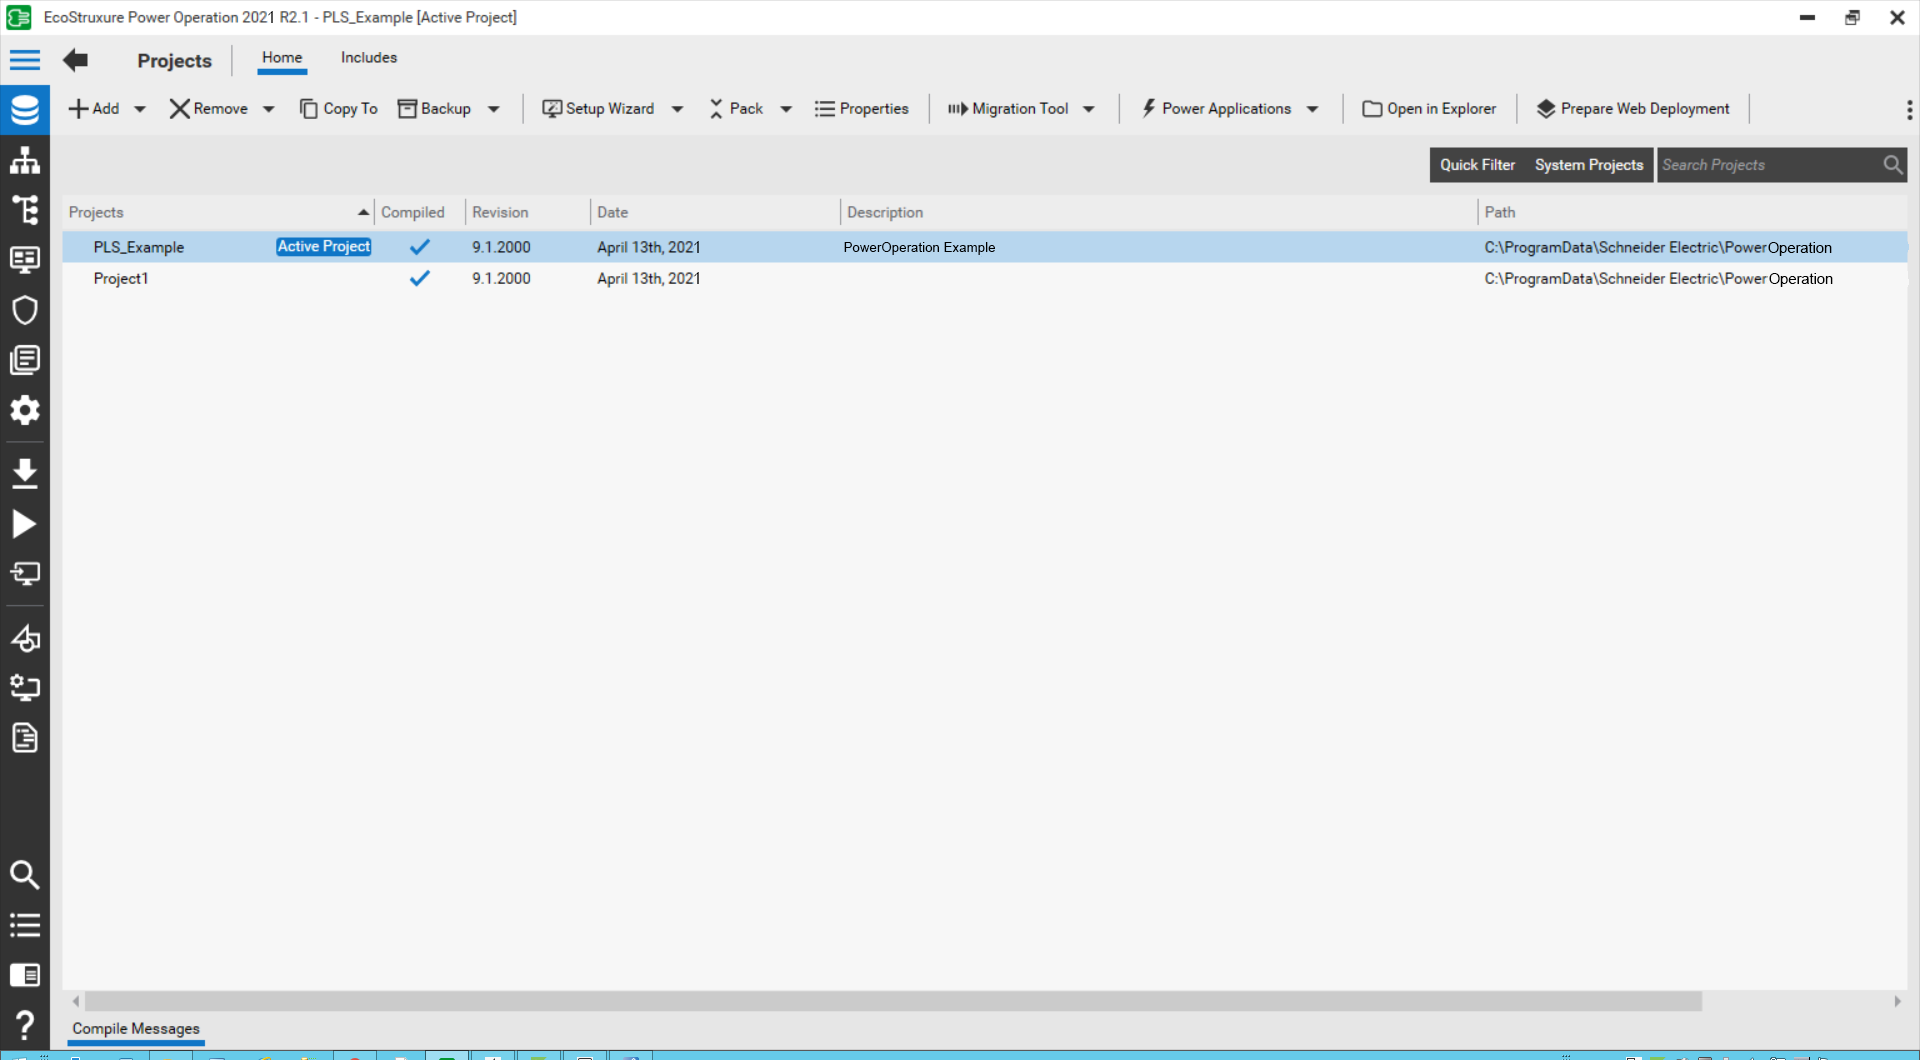
- Open Power Operation Studio.
- Go to the Active project.
- Click System Model.
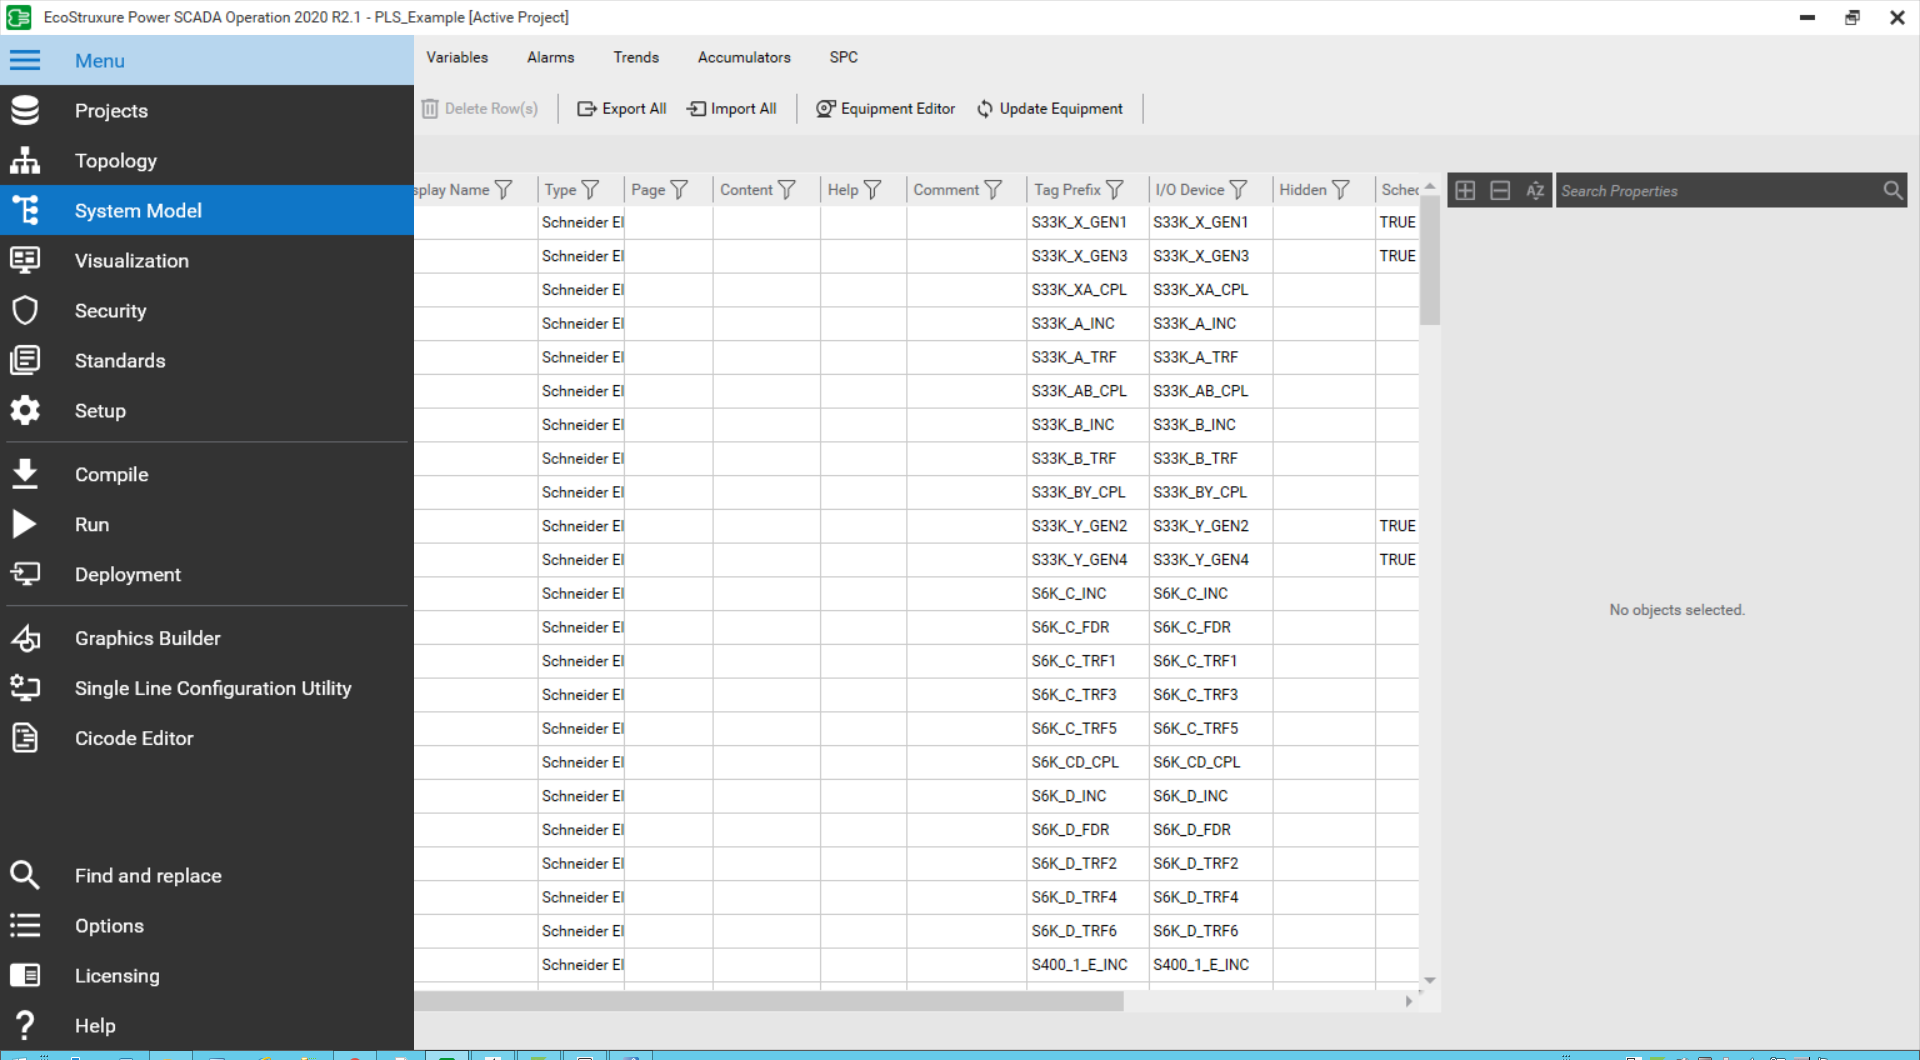
- Click on the Variable tab.
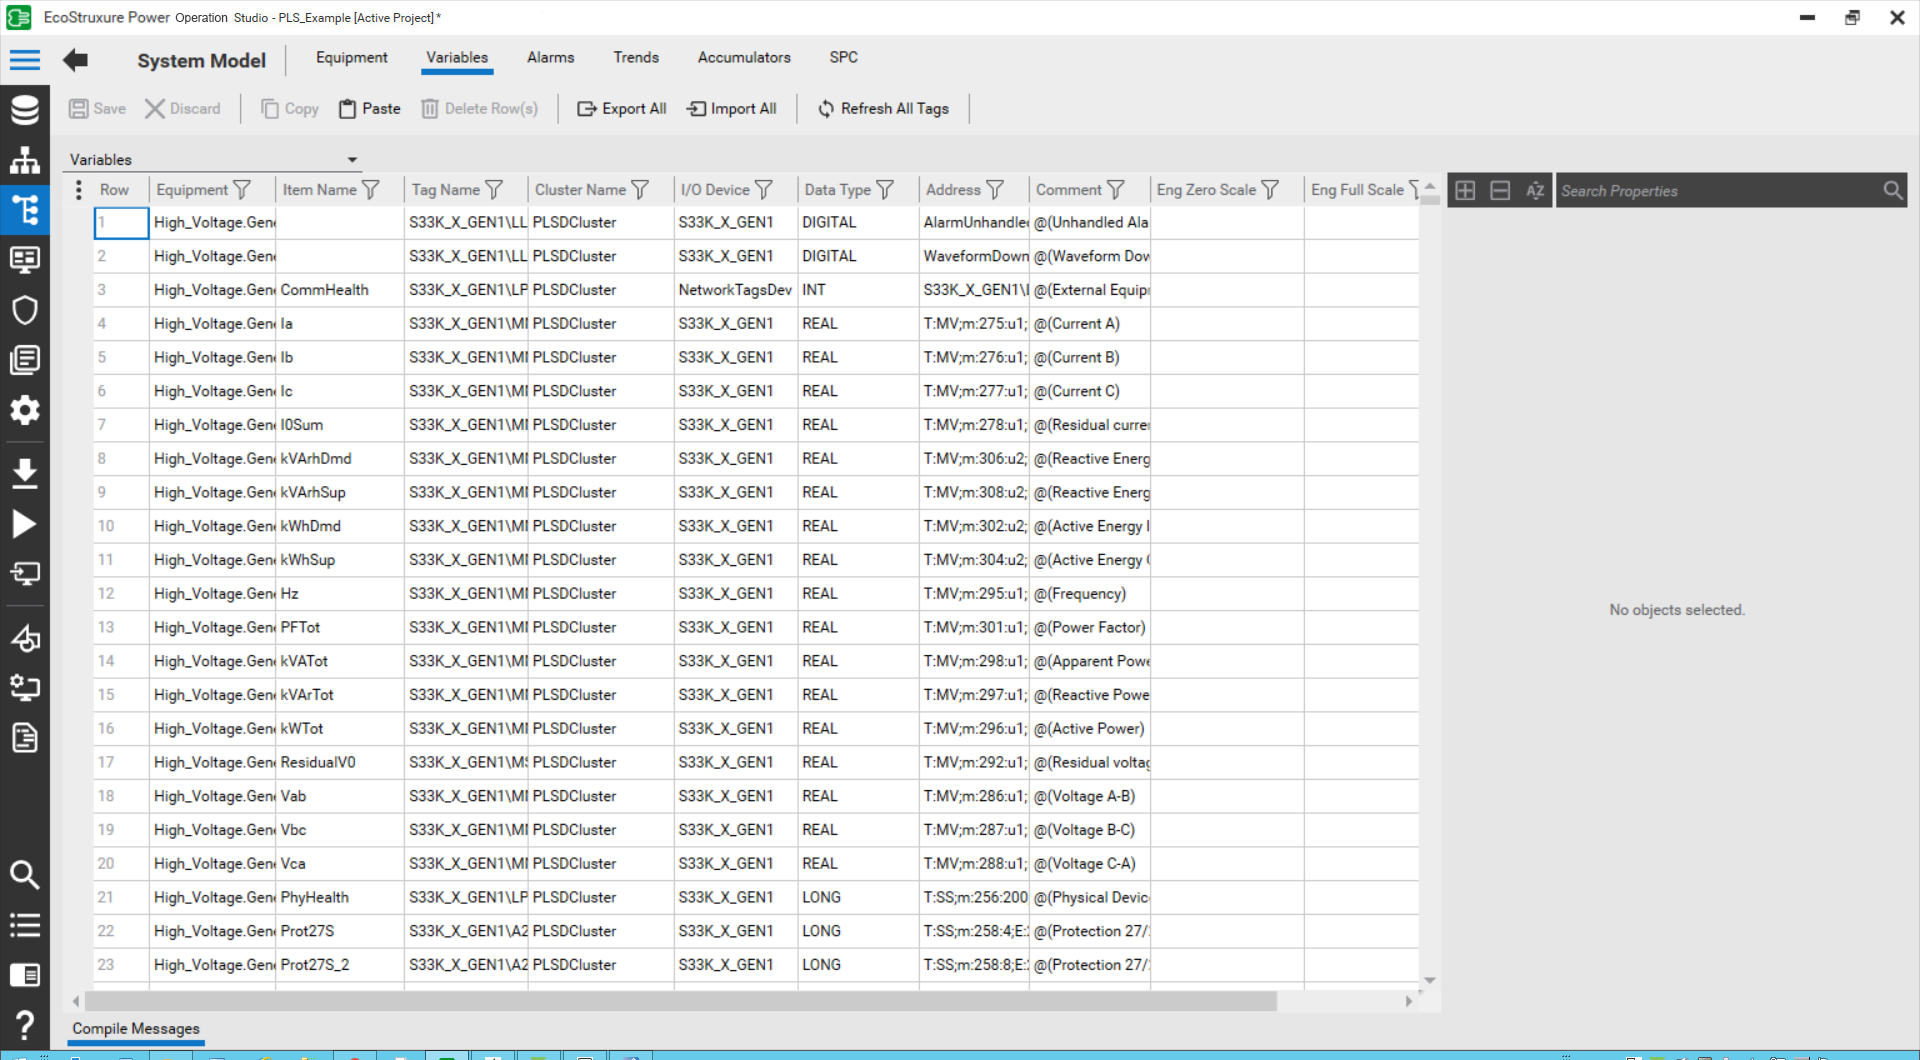
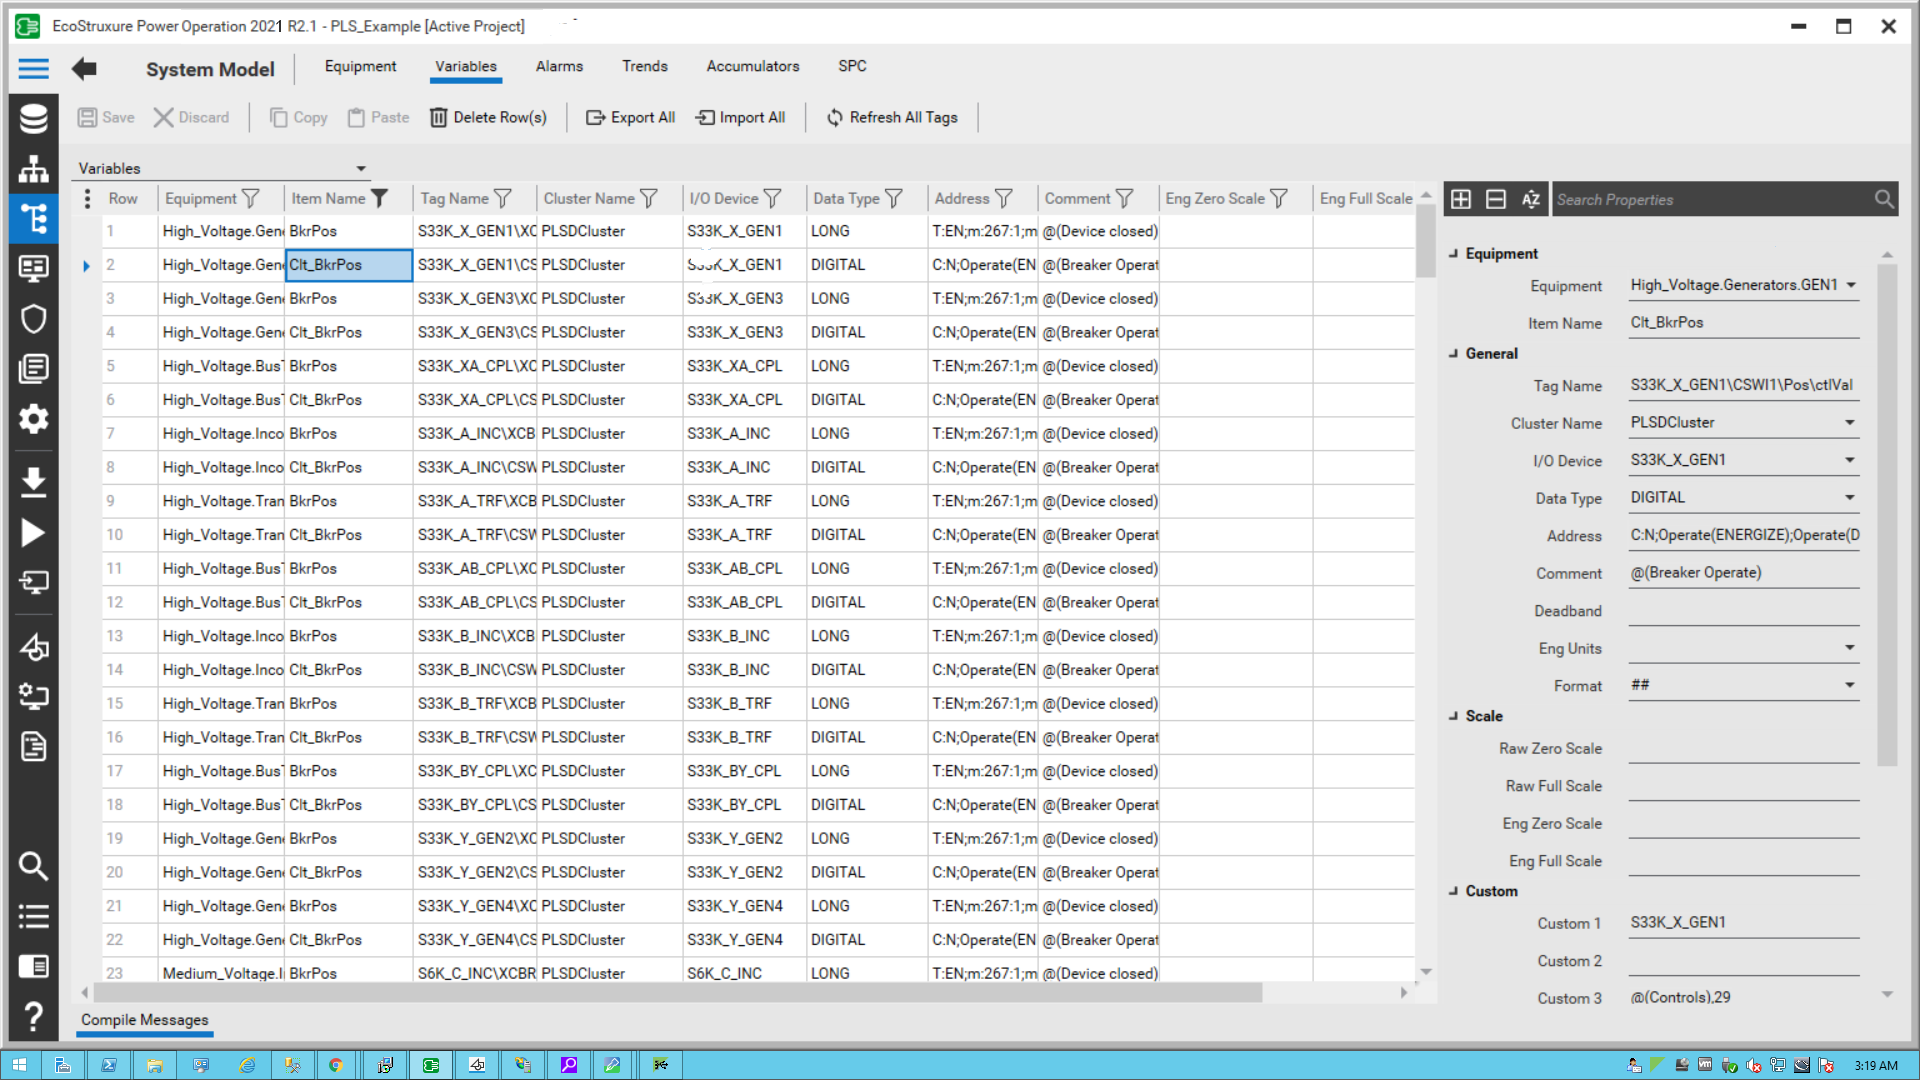
- Search for the required item name.
- Click Apply.
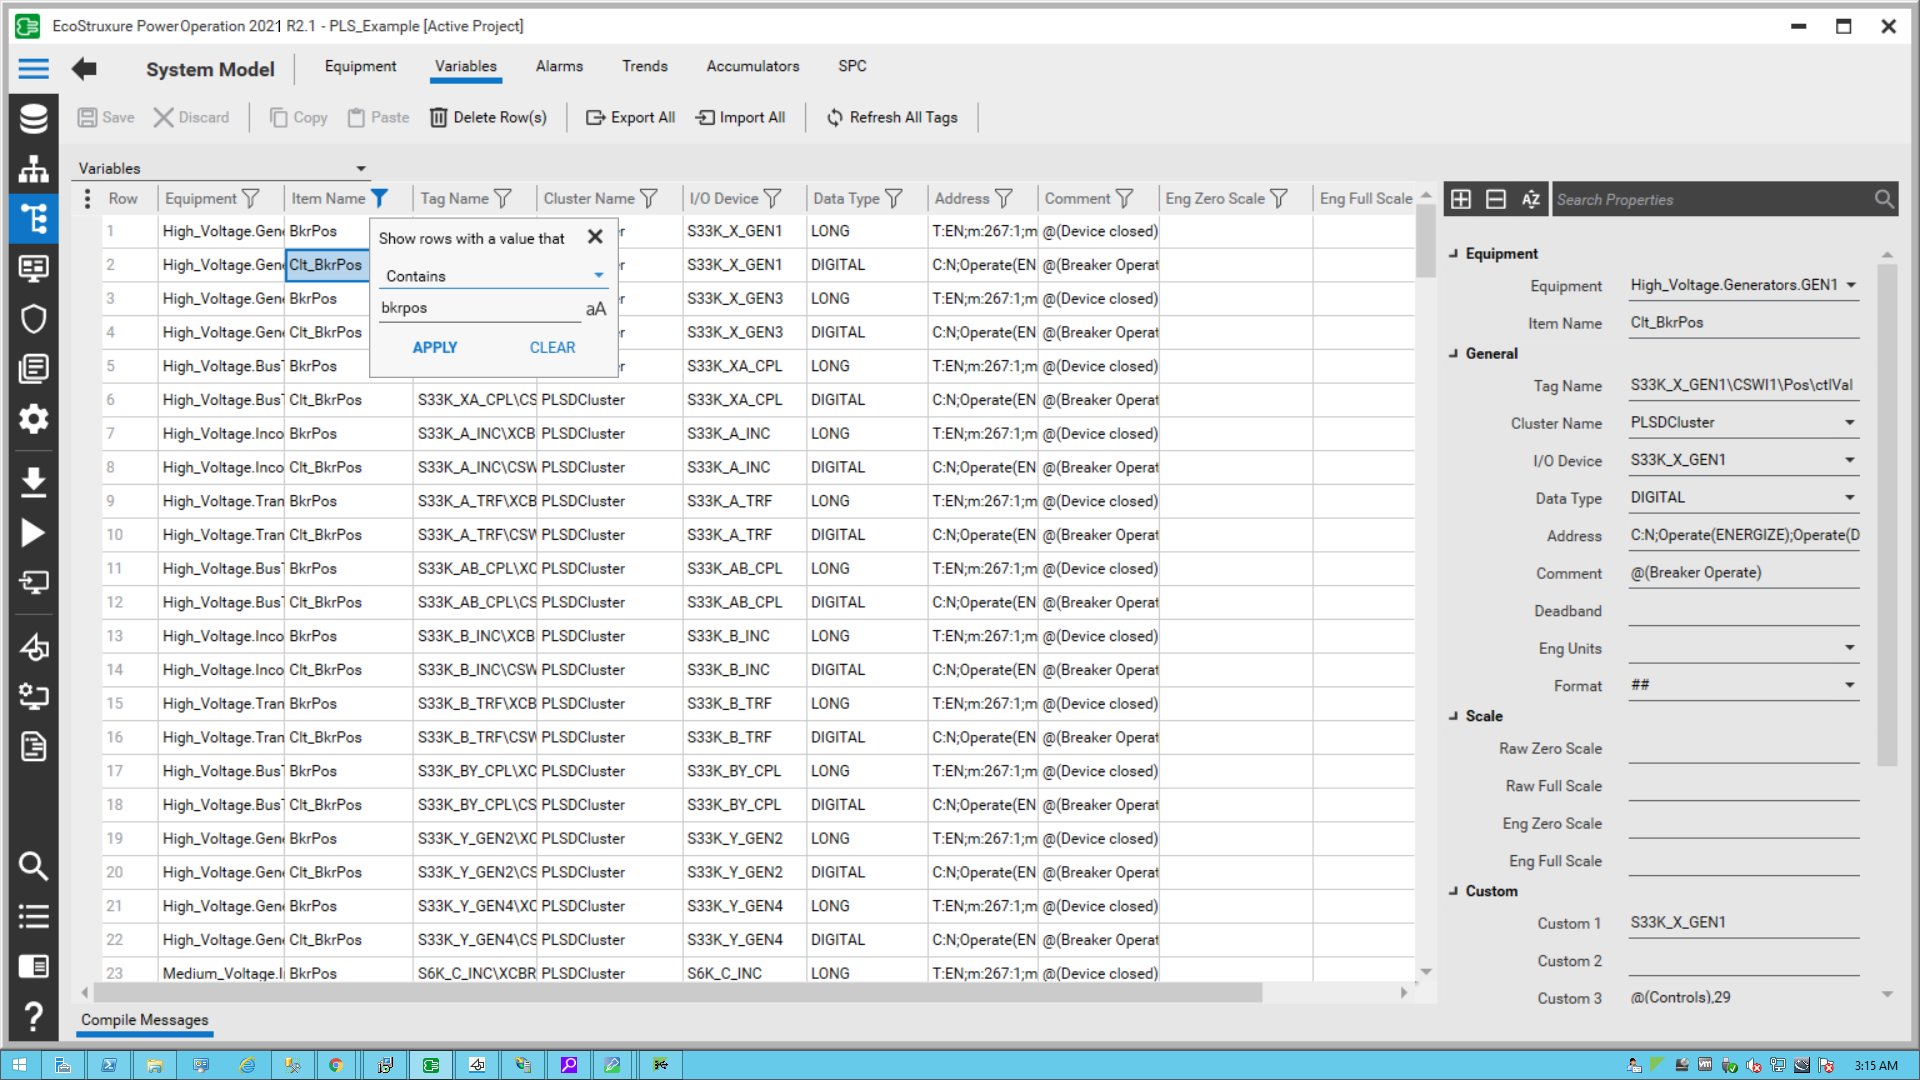
- Copy the item name (DataPoint name) and check if the Data Type is digital.
- Go to File > Save As > Project TGML.
- Enter a file name, and then click Save.
Copy
function click(evt)
{

    // componentName is name of the component based on the component selection we will fetch the component name
    var componentName = evt.getCurrentTarget().getAttribute("Name");

    //Collecting the links from the Component
    var Link = evt.getCurrentTarget().getElementsByTagName("Link");

    //InstanceId-It is auto generating id each component pop up selection it will create new instance id
    var instanceId = evt.getCurrentTarget().getAttribute("InstanceId");

    //dataPoint is the item name to do the write operation
    var dataPoint = componentName+"."+evt.getCurrentTarget().getAttribute("DataPoint");

    //title is component name use for showing the title
    var title = componentName;

    //CustomExpose-If two breakers are internally connected (means multi equipment)
    var customExpose = evt.getCurrentTarget().getAttribute("SubstituteNames");

    //Height & width can be configurable by the user
    var popUpWidth = evt.getCurrentTarget().getAttribute("PopUpWidth");
    var popUpHeight = evt.getCurrentTarget().getAttribute("PopUpHeight");

    //Sets the width of the window in pixels
    var width = (popUpWidth == "")? 576:popUpWidth;

    //height: Sets the height of the window in pixels
    var height = (popUpHeight == "")? 525:popUpHeight;

    //showTitleBar: Displays the Title Bar in the target pane when set to Yes
    var showTitleBar = "Yes";

    //showUnamePwd: Displays the Username and Password in the target pane when set to Yes
    var showUnamePwd = "Yes";

    //usercredbottom: The vertical position of a positioned element. Sets the position bottom  of the user credential popup
    var usercredbottom = 25;

    //usercredleft: The horizontal position of a positioned element. Sets the position left of the user credential popup
    var usercredleft = 15;

    //usercredbackcolor: Sets the background color of the user credential popup
    var usercredbackcolor = "white";

    //usercredwidth: : Sets the height of the user credential popup
    var usercredwidth = 65;

    //usercredheight:Sets the height  of the user credential popup
    var usercredheight = 24;

    //unamepwdwidth: Sets the width  user credential popup username and password
    var unamepwdwidth = 100;

    //unamepwdcolor: Sets the color user credential popup username and password
    var unamepwdcolor = "#9FA0A4";

    for (var i=0;i< Link.length;i++)
    {
        //LinkFileName : Extracting the file name from the Link
        var LinkFileName = Link.item(i).getAttribute("Name");

        //With invoke function you can configure the graphic component in Graphics Editor
        //to open a linked target object in a target location when you perform a
        //control action on the component
        invoke(LinkFileName, "Type = PopUp | ComponentName=" + componentName + " | InstanceID=" + instanceId + "  | DataPoint = "+ dataPoint +"| Title=" + title + " |Width=" + width + " | Height=" + height + " | ShowTitleBar =" + showTitleBar + " |ShowUnamePwd =" + showUnamePwd +" | UserCredBottom = "+usercredbottom +" |UserCredLeft = "+ usercredleft+" | UserCredWidth = "+ usercredwidth +" |UserCredHeight = "+usercredheight +" | UserCredBackColor = "+usercredbackcolor+" |UnamePwdWidth = "+unamepwdwidth+" | UnamePwdColor = "+unamepwdcolor);
    }
}

function load(evt)
{
}
To view the snippet behavior:
- In a web browser, log into PO Web Applications (https://localhost/webhmi or https://ipaddress/webhmi).
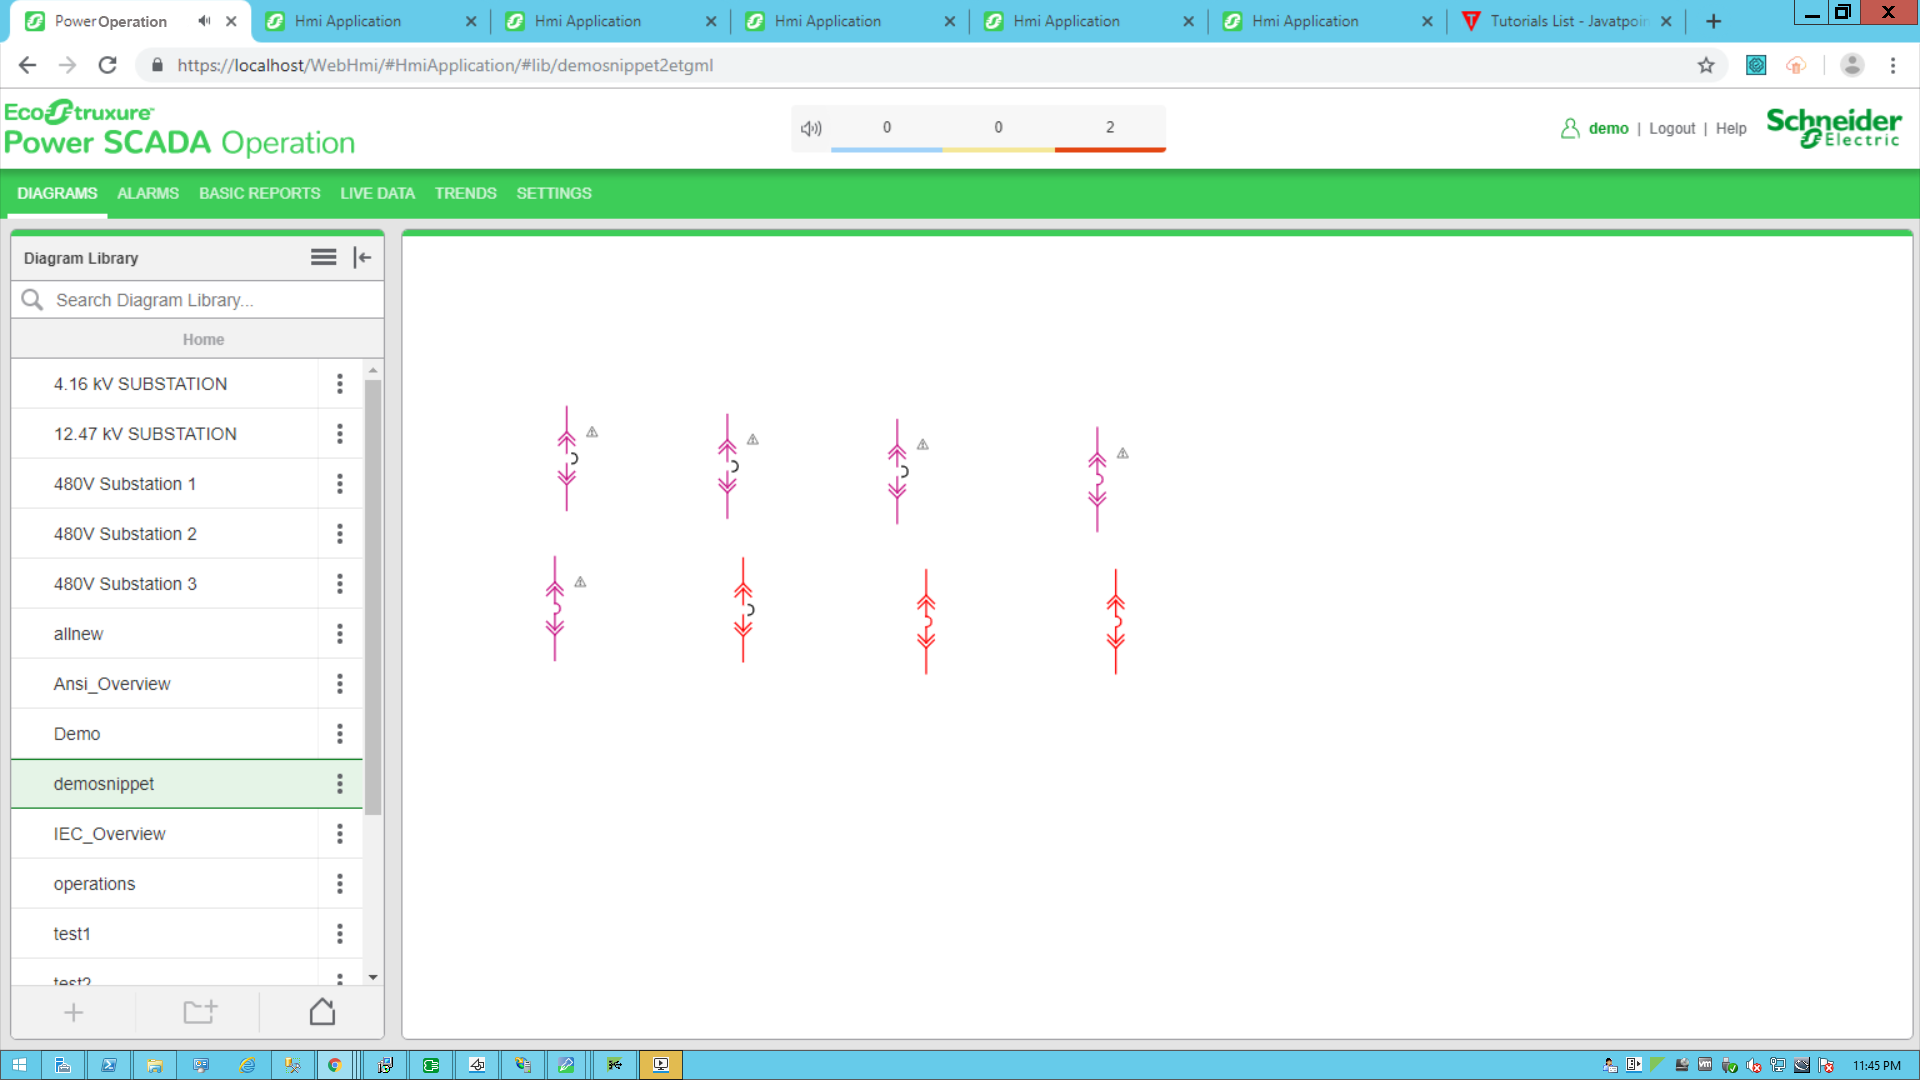
- From the left panel, select the new TGML file from the Diagram Library.
- Click on the breaker.
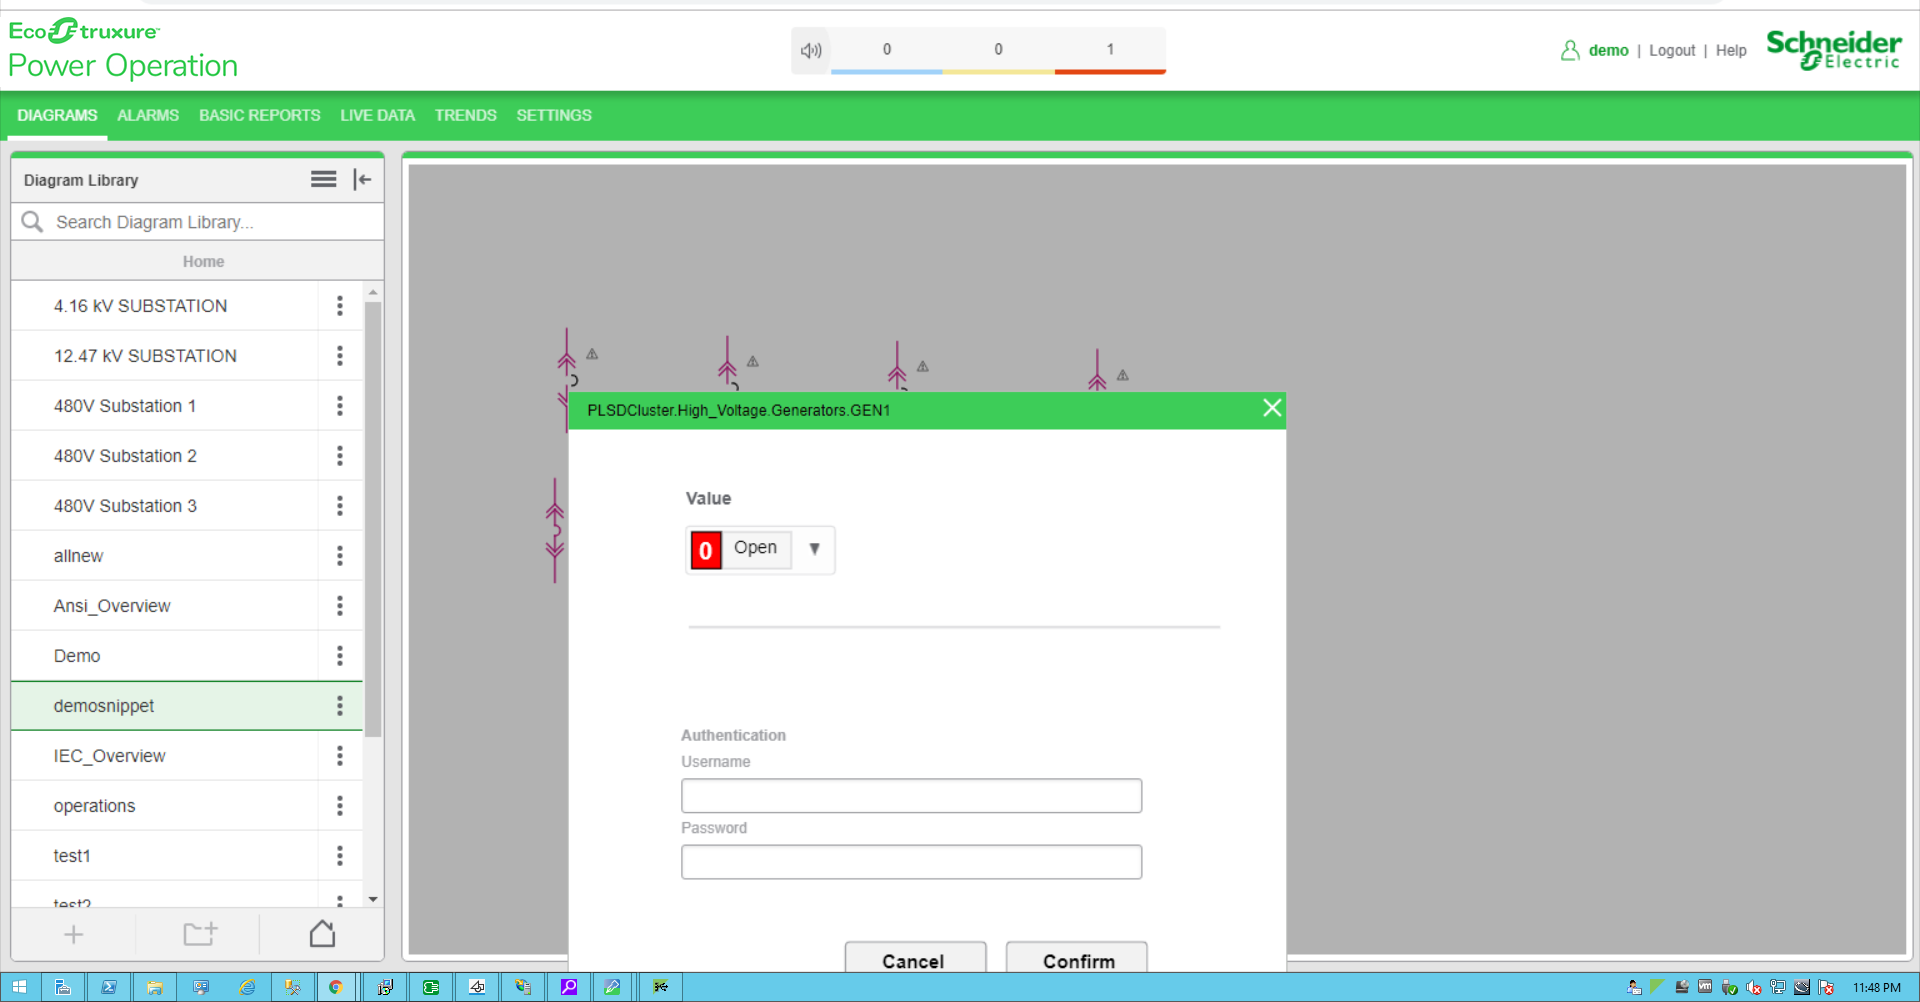
- Select a value (Open or Close) to perform the operation.
- Enter your Username and Password.
- Click Confirm.
One of the following dialog boxes appear:
- Success: This pop-up appears when the selected value (Open or Close) is updated on the device successfully.
- Unsuccessful: This pop-up appears when the operation has failed for one of the following reasons:
- The device is already in the selected state.
- The device is selected by another user.
- Another device problem or issue exists.
- Authentication failed: This appears when the provided credentials are not valid.
- Data point does not exist: This appears when the provided tag names are not correct.
- Network error: This appears when there are network-related issues.