Write and Confirm User Interactive
Use the Write and Confirm User Interactive component to perform breaker operations, On/Off digital outputs, set CT and PT ratios, and alarm set-points. This component prompts the user for an input (DataPoint) value, and then checks and confirms whether the value is written properly in the respective register.
To use Write and Confirm User Interactive:
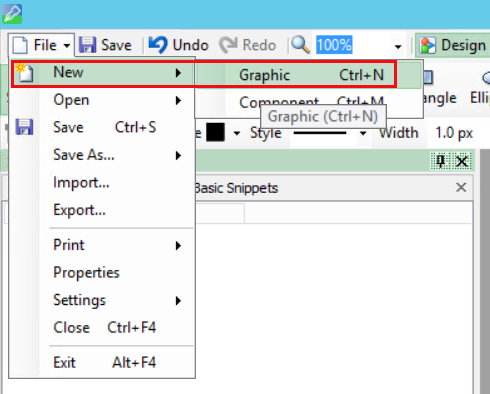
- In the Graphics Editor, create a new graphic file:
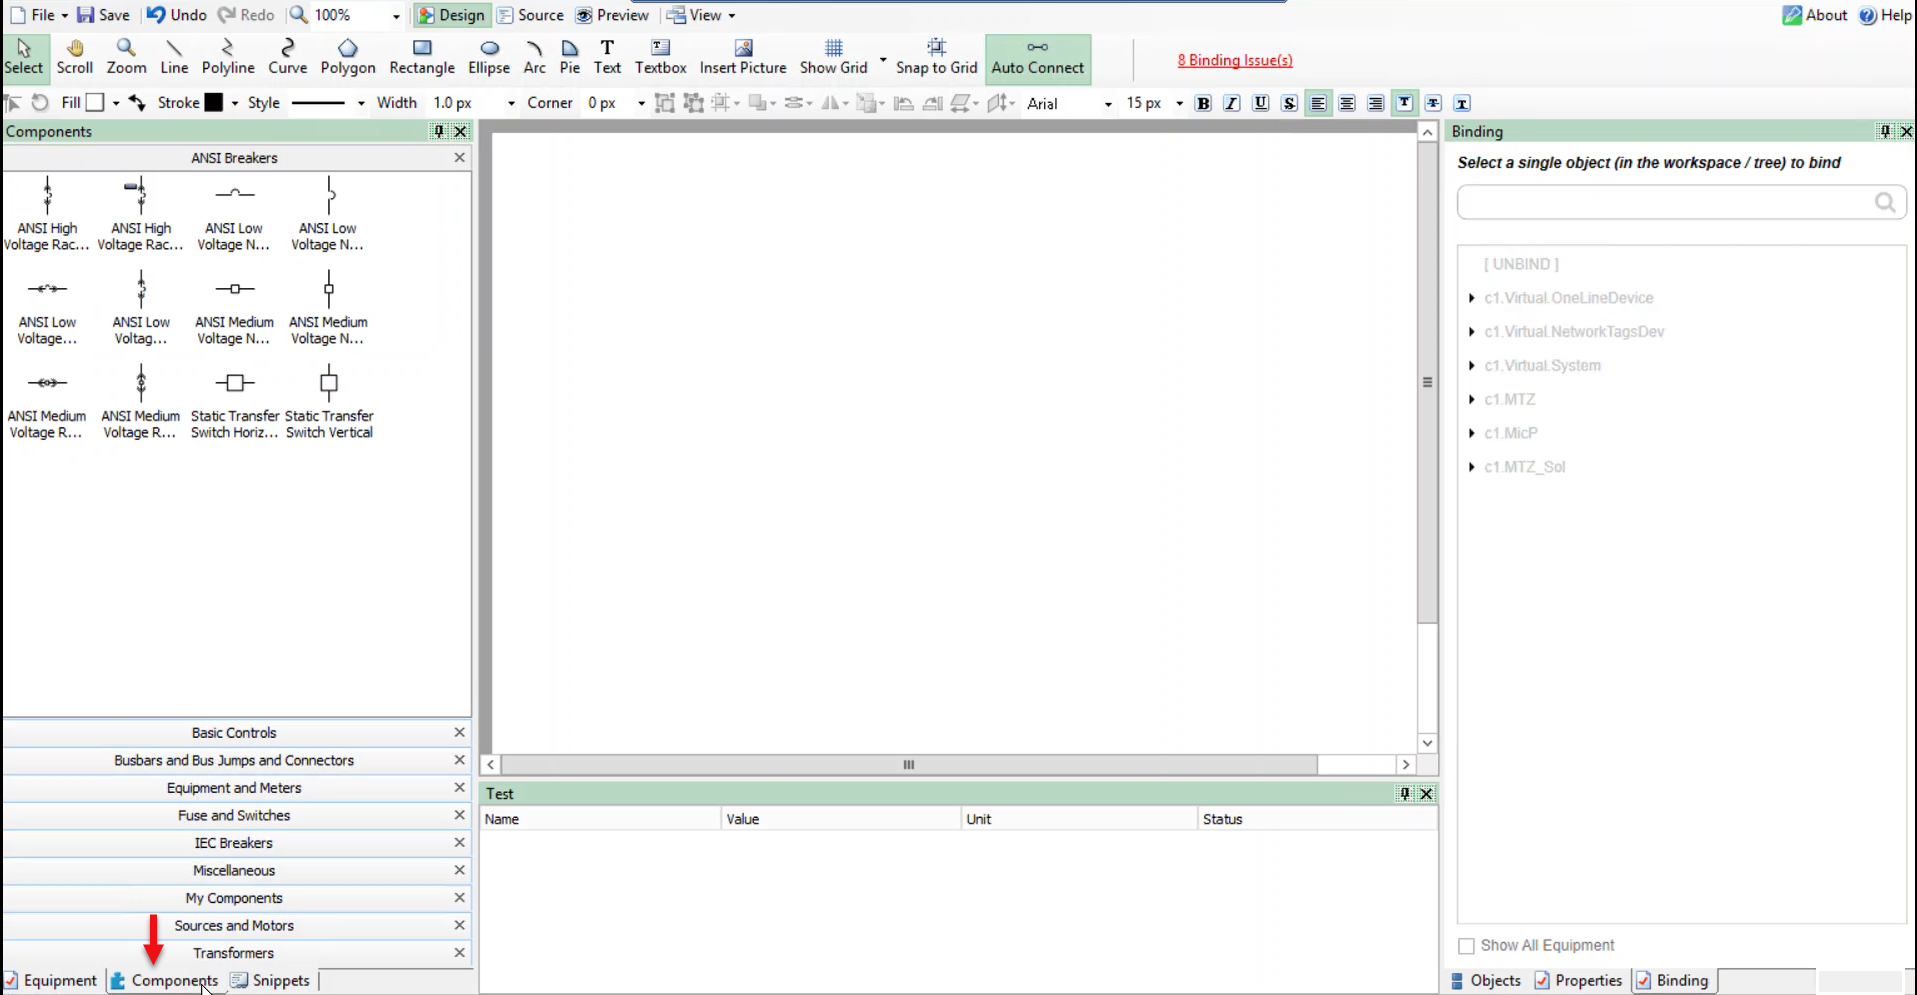
- In the bottom left corner, click Components:
- Expand Miscellaneous:
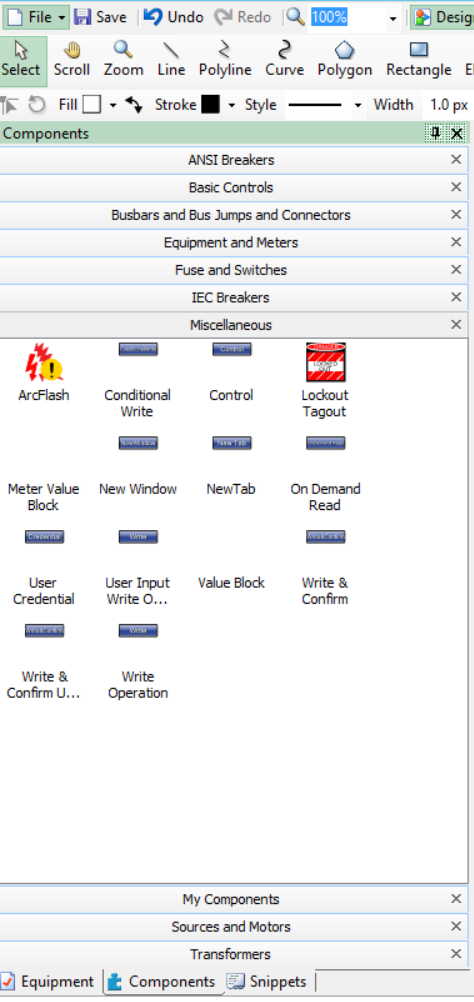
- Drag the Write and Confirm User Interactive component to the workspace.
- In the bottom left corner, click Equipment, and then expand Breakers:

- Drag and drop any breaker from the list of breakers to the Graphics Editor workspace (or multiple breakers based on your requirement).
- In the bottom left corner, click Component to verify that the Tgml components are added correctly:
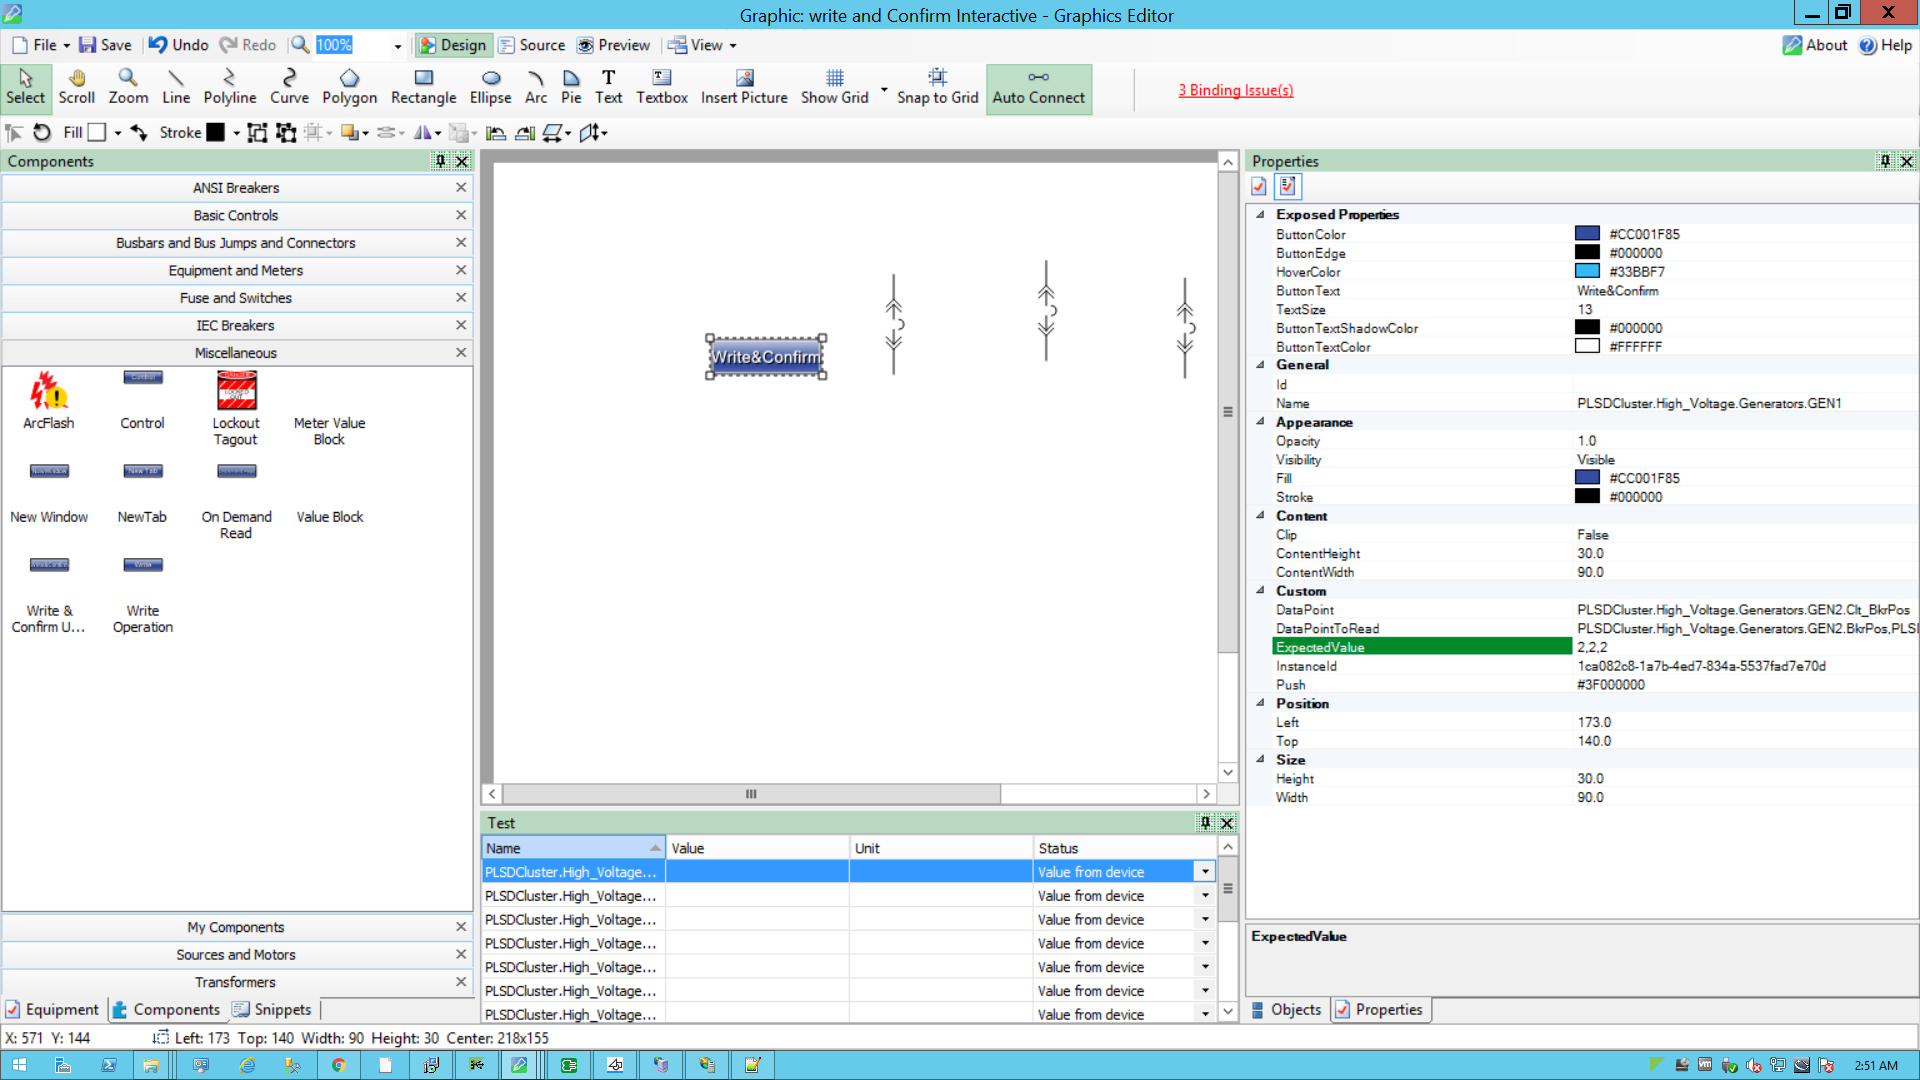
- In the bottom right corner, click Properties:
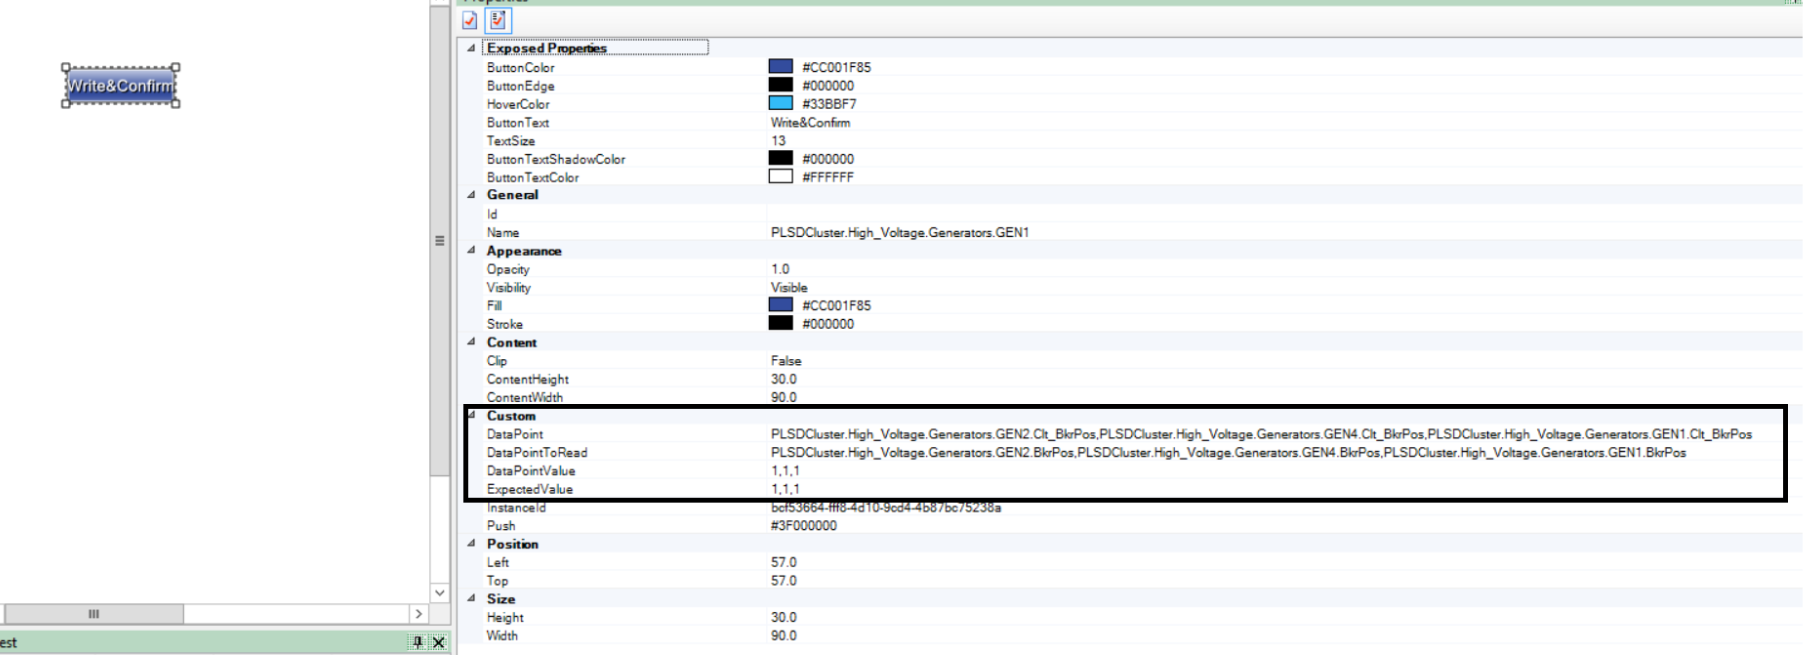
The DataPoint attribute is available in the Custom section.
- Add the fully qualified DataPoint names.
NOTE: Use a comma to add multiple DataPoint values.
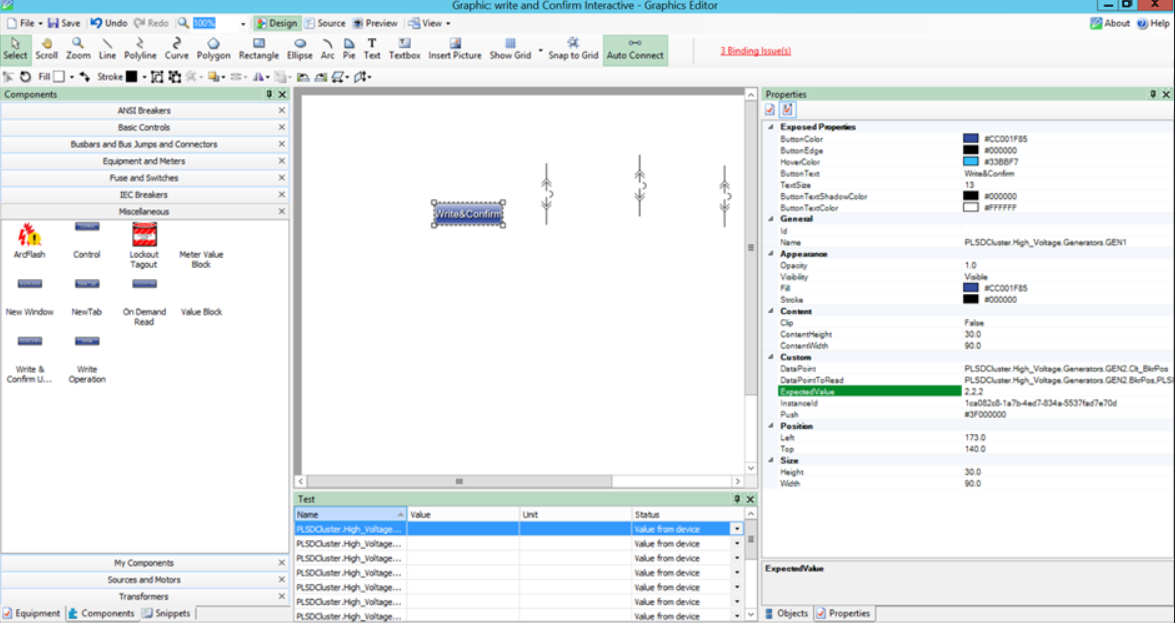
- Add the fully qualified DataPointToRead names.
NOTE: Use a comma to add multiple DataPointToRead values.

- Add the fully qualified ExpectedValue. For example: ExpectedValue (2,2,2)
NOTE: Use a comma to add multiple ExpectedValue values.
NOTE:
To close the breakers, ExpectedValue (2,2,2) for three breakers.
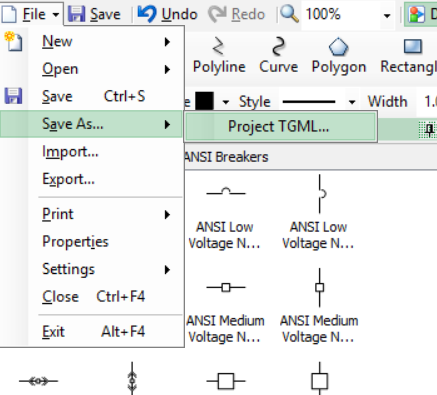
To open the breakers, ExpectedValue (1,1,1) for three breakers. - Go to File > Save As > Project TGML.
Test the changes:
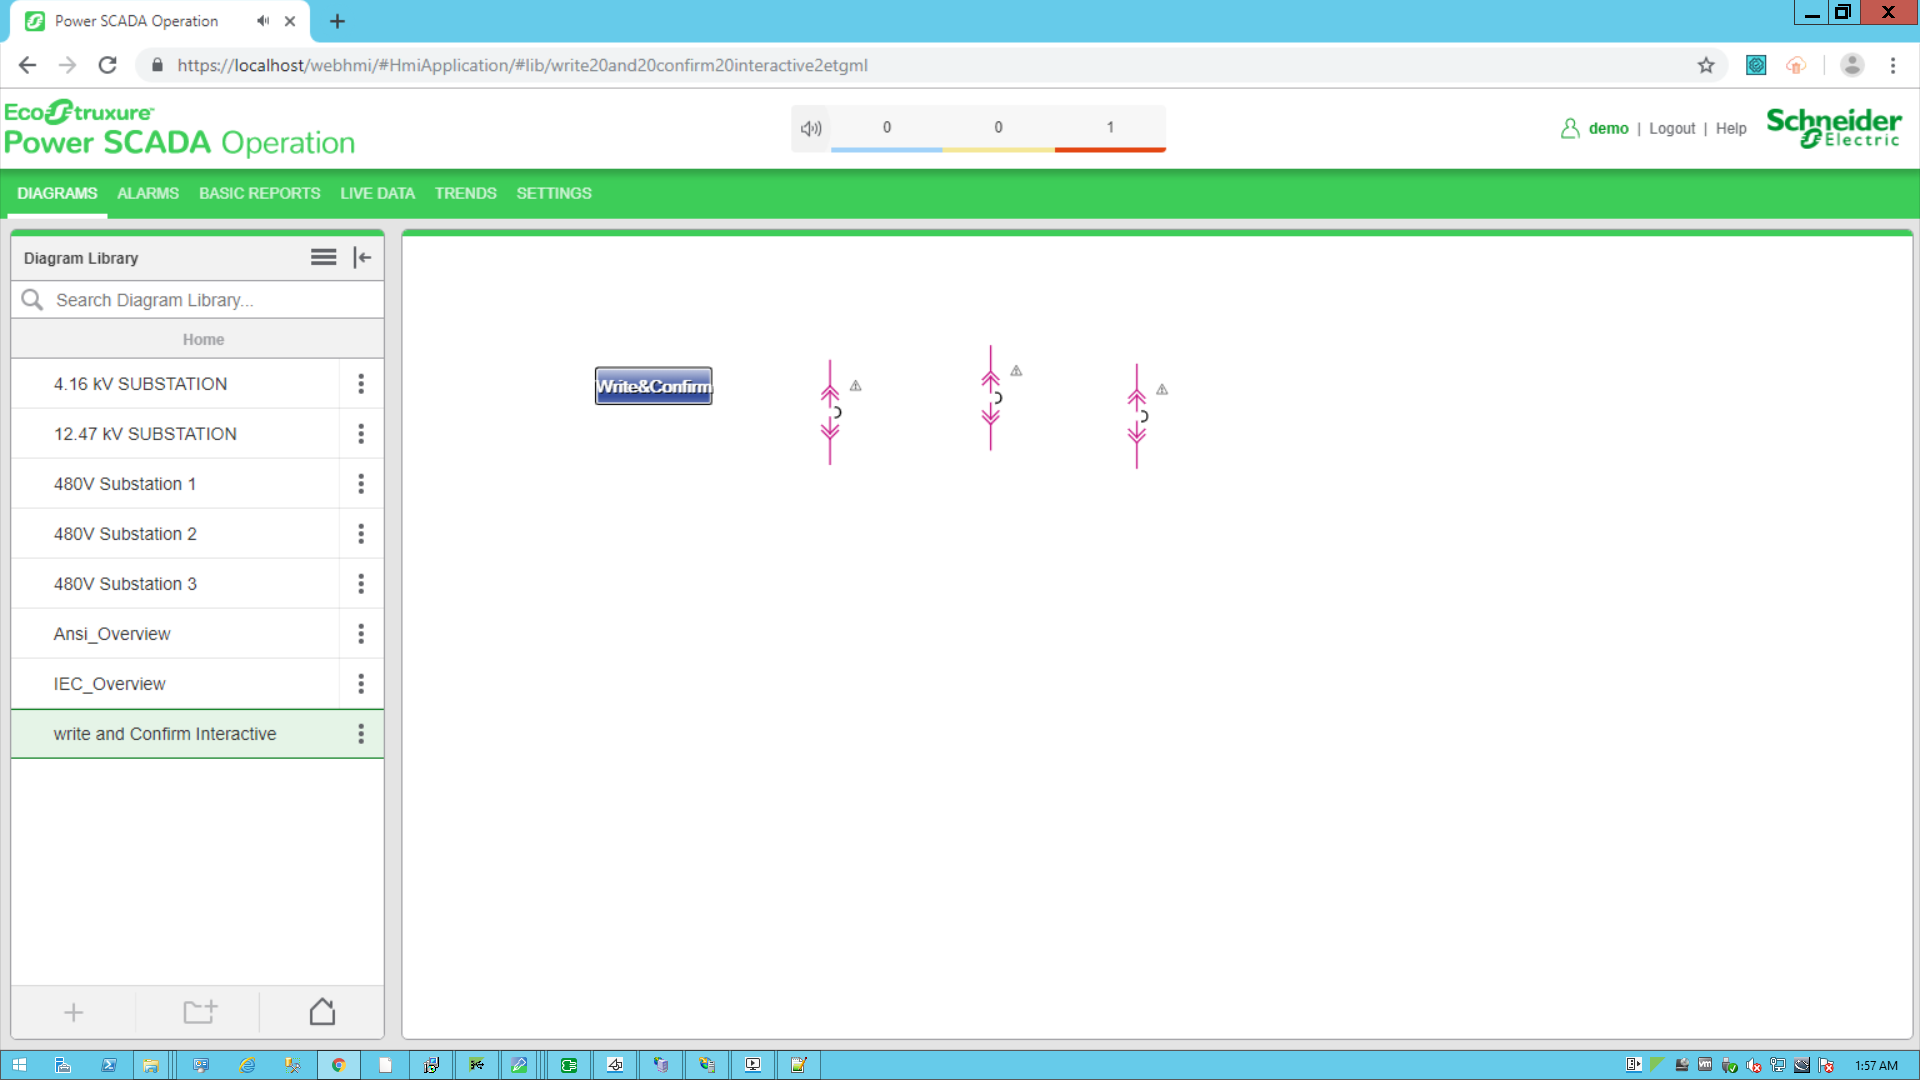
- Log in to PO Web Applications (https://localhost/webhmi or https://ipaddress/webhmi).
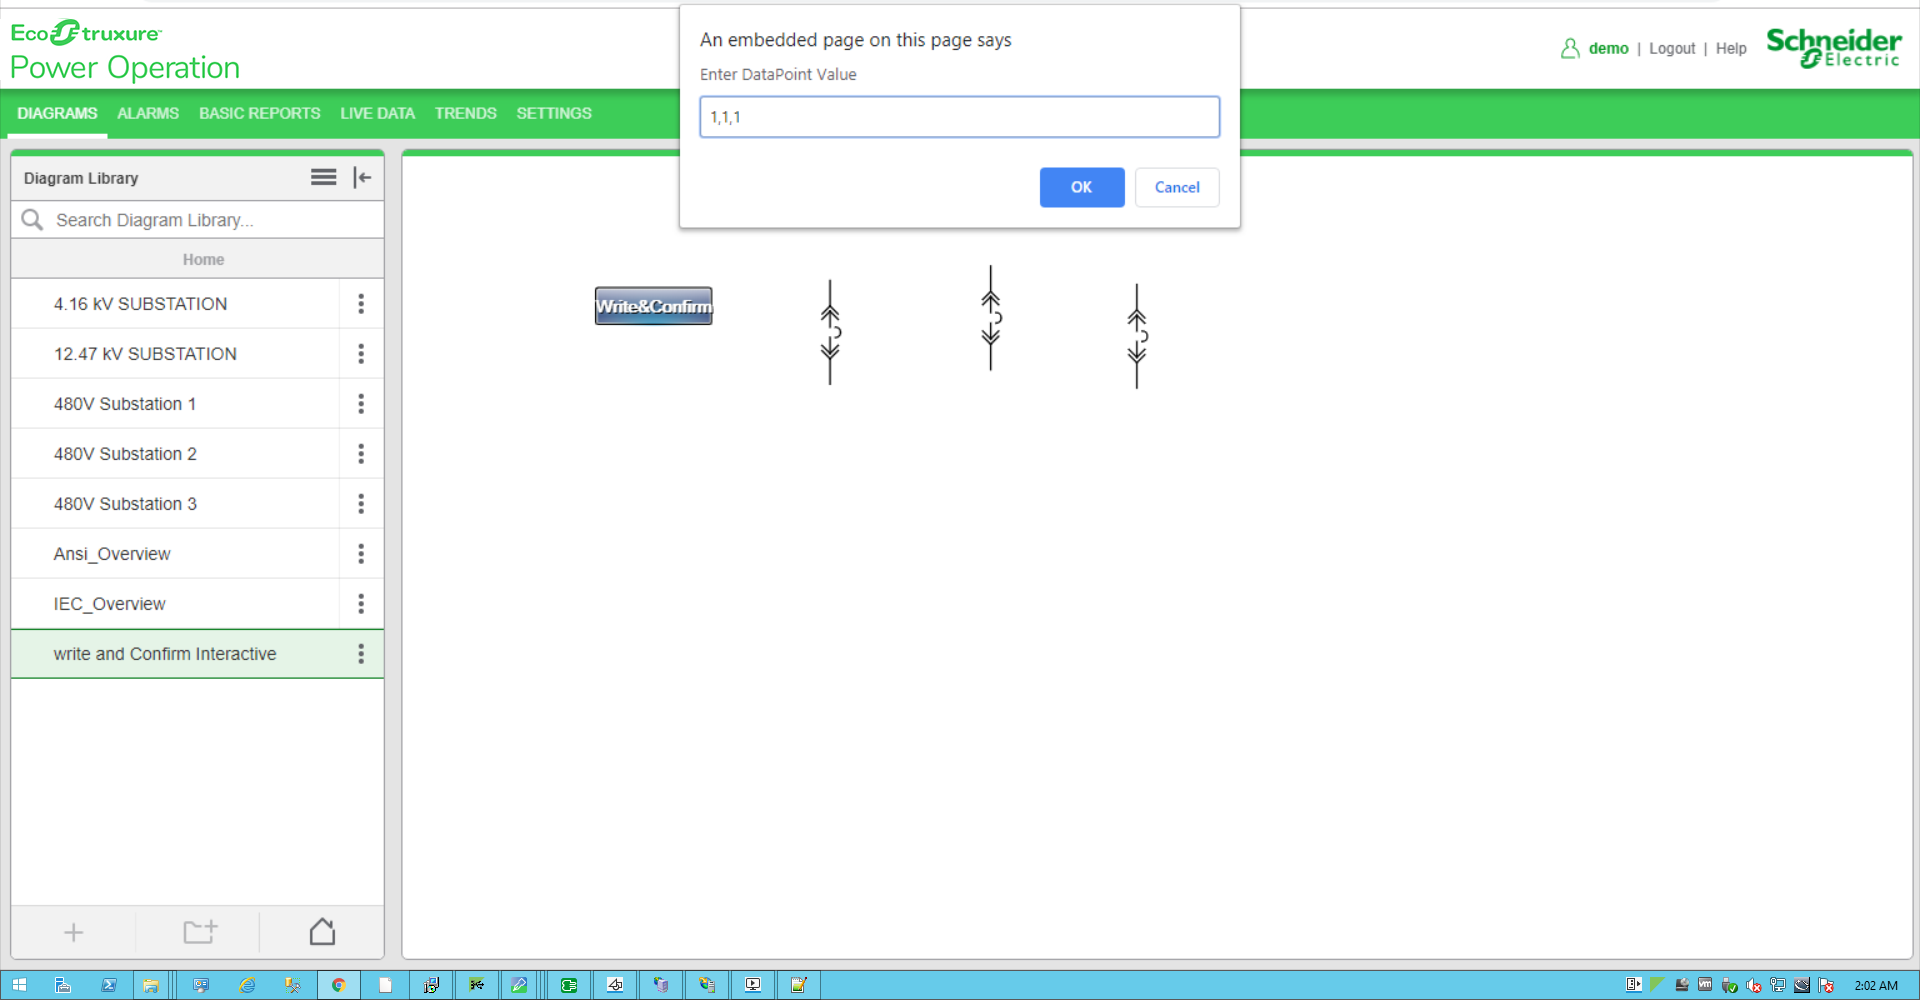
- Click on Write&ConfirmUserInteractive component created from the Diagram Library:
- Click on the Write&Confirm operation component, type the DataPoint value (for example, 1,1,1) in the displayed popup, and then click OK.
- Type the Username and Password, and then click Confirm. To control which components require authentication, see Turning off credential requirements for control components.
The success popup message is displayed:
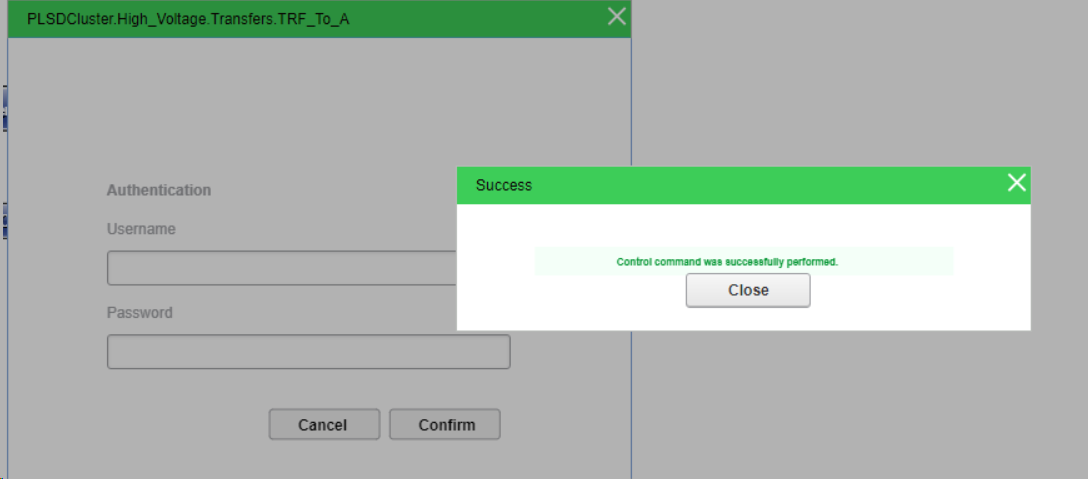
- Click Close. The following pop up appears: