Configuring two-factor authentication
NOTE: For cybersecurity purposes, it is strongly recommended that you configure two-factor authentication in your projects; especially in deployments with control functionality.
Power Operation uses a one-time password (OTP) to accomplish two-factor authentication. OTP is implemented in Power Operation using a USB key device called a YubiKey. The YubiKey is designed to fit on a key ring or attached to a badge. It must be plugged into the client machine when the user authenticates.
NOTE: You can export one-time password settings to other servers.
Ordering YubiKeys
Keep in mind these points when you are ordering or using a YubiKey:
- You must set "Allow RPC" to TRUE for all roles that are using YubiKey.
- YubiKey is compatible with all thick clients.
- YubiKey requires access to a USB port at each client.
- Each Power Operation I/O Server must have Application Services (Core Service Host) running.
- Multiple I/O servers may reside on a physical machine. In this case, only one instance of Application Services resides on the machine.
- YubiKey must be configured and synchronized across all I/O servers (this includes redundant pairs and distributed systems).
- YubiKey is enabled on each client independently. If YubiKey is enabled on a client, all users on that client must authenticate via YubiKey.
- It is possible to configure YubiKey on one machine, export the configuration for all users, and import the configuration to all remaining machines.
- It is not necessary to re-program YubiKey when changing passwords. The YubiKey changes the OTP every time so it is not susceptible to replay attacks.
- YubiKey is authenticated against all servers that contain at least one I/O Server. All servers must successfully authenticate the OTP for success. If a single server does not authenticate (due to misconfiguration, etc.), the user will not be able to log in.
- If a machine (with an I/O Server) is not available, it is not included in the authentication scheme. This means that if a primary server is down, the secondary can still successfully authenticate the OTP.
- If no servers (with I/O servers) are available, the user will not be able to log in on clients that have YubiKey enabled.
Add the Citect parameter
You need to add the parameter that allows Power Operation to communicate with the YubiKey. You can do this before or after you configure the YubiKey.
NOTE: Before you add the parameter, make sure the correct project is active.
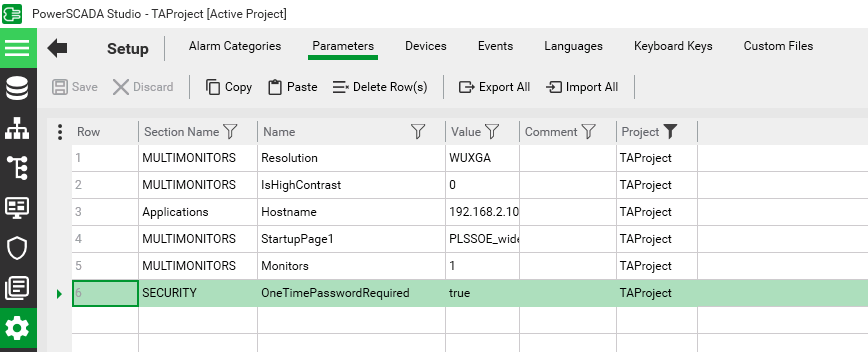
To add the parameter:
- From Power Operation Studio, select Setup
 > Parameters.
 - Enter the following:
- Section Name: Security
- Name: OneTimePasswordRequired
- Value: true
- Compile the project.
Set Allow RPC to TRUE for all YubiKey-user roles
To use YubiKey in Power Operation, you must set Allow RPC to TRUE for all roles that include users with assigned YubiKeys. The default for Power Operation 2024 is FALSE.
To change Allow RPC to TRUE:
- In Power Operation Studio, select Security
 > Roles.
 - For each YubiKey-user role, change Allow RPC to TRUE.
YubiKey configuration
You can autoconfigure a YubiKey or program it manually.
In most cases, you can autoconfigure the YubiKey, thus avoiding the lengthier process of programming it. Autoconfiguration may not work with all YubiKey models; however, all OTP-compliant keys can be manually programmed.
NOTES:
- Autoconfigure requires that you have a USB port available on your computer.
- If you do not have a USB port available on the server – because it is in a virtual machine or you do not have physical access– program the key on a remote machine (see Manually configure the YubiKey, below), and then transfer the configuration to the server
- Autoconfigure will not work on virtual machines.
- You can only have one YubiKey inserted at a time.
- If autoconfigure will not work, you must manually program the YubiKey. See Manually configure the YubiKey for instructions.
Auto-configuring the YubiKey
To auto-configure the YubiKey:
- Insert the YubiKey into the USB port of the computer.
- In the Application Configuration Utility, select Security > One-Time Password.
-
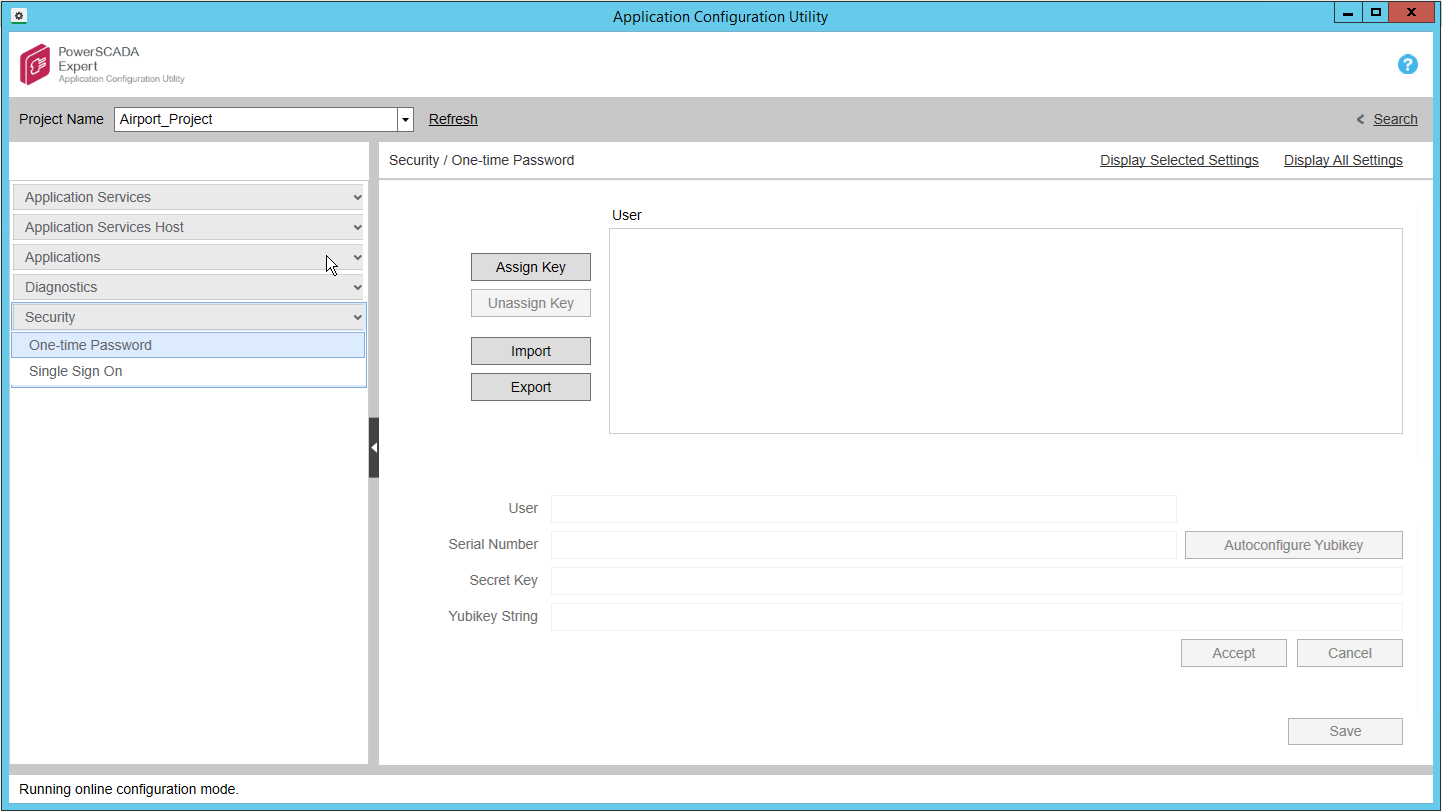
- Select Assign Key.
- In the User field, type the Power Operation username (or user name from Active Directory) to which you want to assign the YubiKey.
- Select Autoconfigure YubiKey. The following message appears:
- To continue, select Yes. The key will receive a new secret key.
- Select Accept.
The grayed-out fields are enabled.
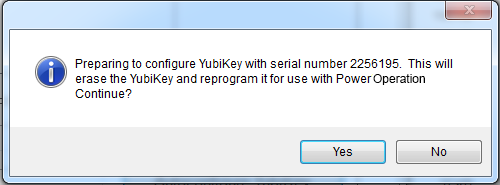
This message tells you that all settings on the key will be erased, including any key assignments.
Manually configure the YubiKey
If you cannot auto-configure the YubiKey, program and configure it manually.
After you obtain the YubiKey from a third-party vendor, (such as Amazon), download the YubiKey Personalization Tool from the Yubico web site: www.yubico.com; select Products > Services & Software > Personalization Tools > Download YubiKey Configuration Tools.
NOTE: This procedure outlines how to configure a single slot. If you want to use both of the key's configuration slots, download the YubiKey documentation, located under the Support tab of the Yubico website.
To manually configure the key:
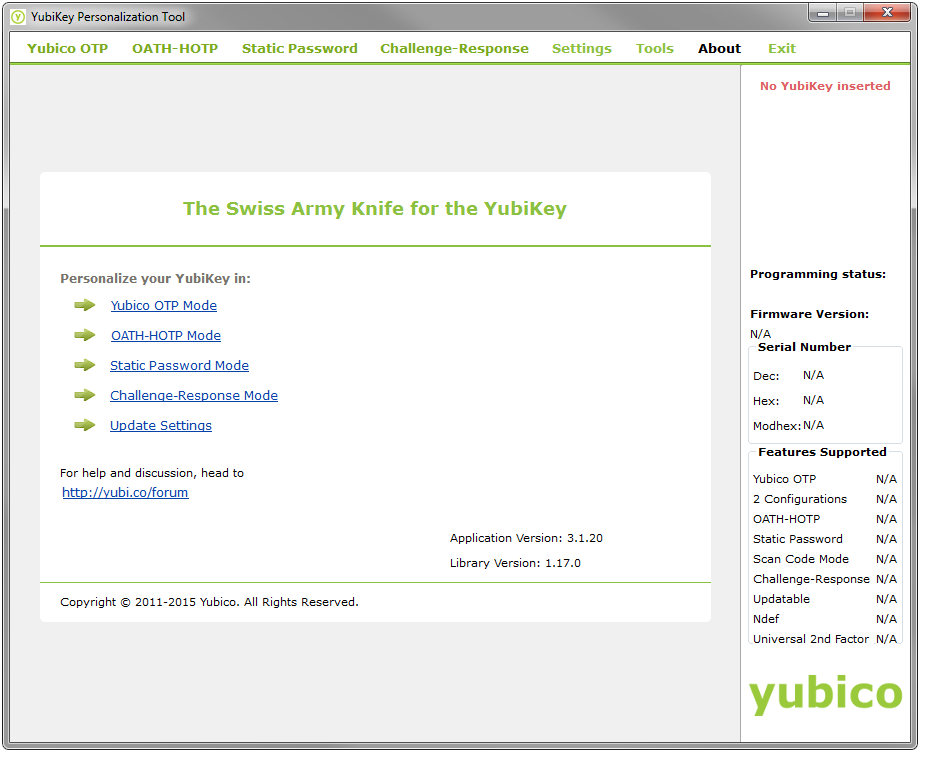
- Launch the YubiKey Personalization Tool. The following screen appears:
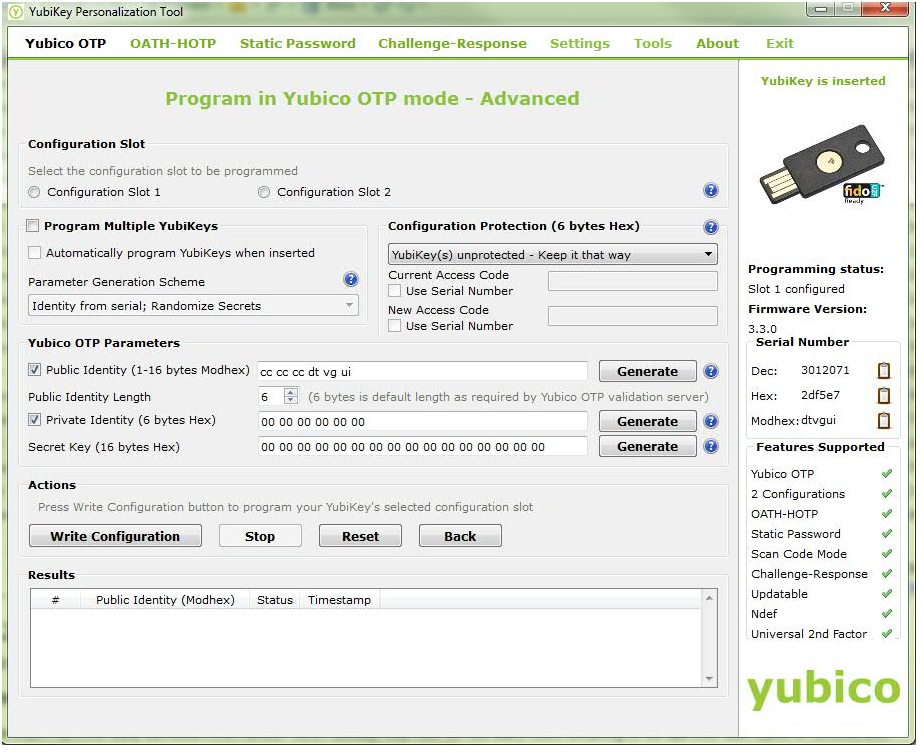
- Insert the YubiKey into a USB port of your computer. Select the Yubico OTP Mode link. At the next screen, select Advanced. The following screen appears:
- In the Configuration Slot section, select the slot you want to configure.
- In the Yubico OTP Parameters section:
- Select Public Identity, and then select Generate.
- Do not edit the default Public Identity Length.
- Select Private Identity and then select Generate.
- Beside Secret Key, select Generate.
- Make note of the secret key that displays, including all characters and spaces. You will need it when you add the key to the Application Configuration Tool.
- In the Actions section, select Write Configuration.
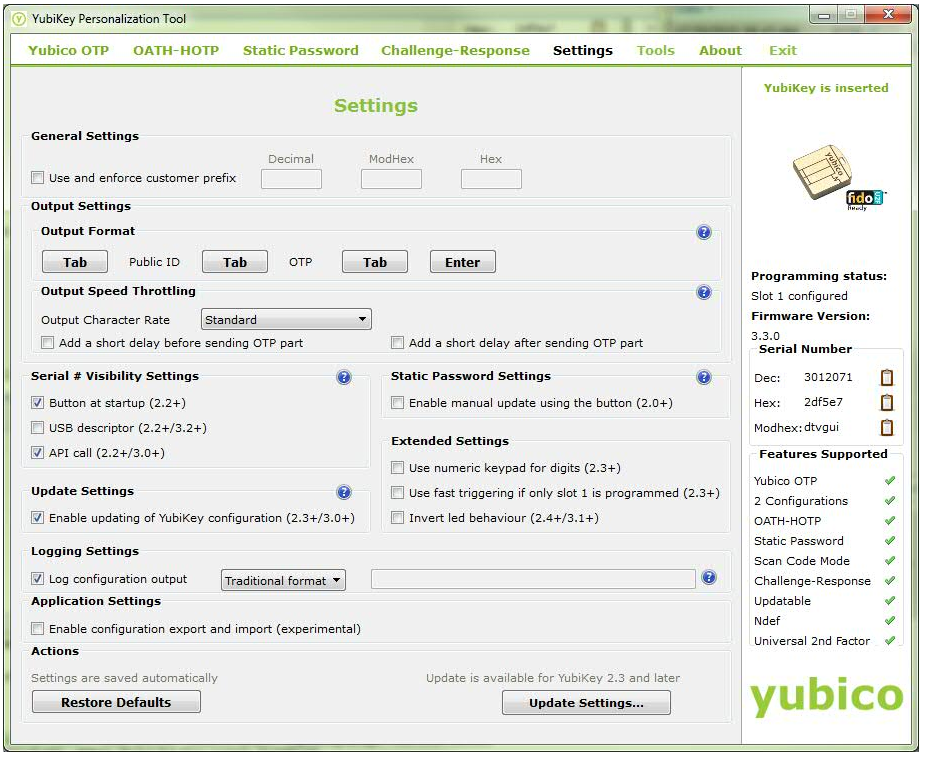
- Select the Settings tab. This following screen appears:
- Enter the following information:
- Under Output Settings, select Enter to enable it; when enabled the button turns blue. Do not enable any of the Tab buttons.
- Ignore the remaining settings. Select Update Settings at the bottom right of the screen.
This causes a return and an "OK" to automatically occur when you press the Yubikey as part of login in Power Operation.
The key is programmed.
- Next, configure the key on the Power Operation computer:
- In the Application Configuration Utility, select Security > One-Time Password.
- Select Assign Key.
- The fields on the lower half of the screen are enabled.
- For User, type the user name that you are adding. This should be a Power Operation Studio user.
- For Serial Number, type the number that is printed on the underside of the key.
- For Secret Key, enter the Secret Key from the YubiKey Personalization Tool (created previous). Enter the secret key exactly as it was created, including all spaces. After you enter it, the key will be encrypted and will display as bullets (••••) in the future.
- Press the button on the top of the YubiKey.
- YubiKey String: This field is populated when you press the button in step 6.
- Select Accept.
- Repeat step 8 for any additional keys.
NOTE: Repeat steps 1 to 8 on each server computer in a redundant or distributed system.
Logging in with a programmed YubiKey and One-Time Password
After the key is programmed and associated with a user in Power Operation, and you have enabled YubiKey usage, the user will use the key to log in to the system.
To log in:
- Insert the programmed YubiKey into a USB port of the Power Operation server.
- Launch Power Operation Runtime, or access runtime via a remote web client.
- Run the project you want to view.
- In the upper right corner of the Startup screen, select Login.
- Enter your name and password and then select OK. The One-time Password screen appears.
- Press the button on the YubiKey.
The one-time password is generated. The key and software communicate behind the scenes to verify the uniqueness of the one-time password and to select OK.
You can start using runtime screens.
Disabling YubiKeys
To disable a YubiKey:
- In Power Operation Studio, select Setup > Parameters, locate the parameter for the YubiKey.
- Change the Value from true to false, and then compile the project.