Saving to Archive
Saving a configuration to an archive file lets you copy the system that is loaded in the Configuration Manager and save it as a ZIP file. You can then use the Configuration Manager to load and write the archived configuration and historical data to the new system.
To save a configuration to an archive file:
- Read a system into Configuration Manager.
- (Optional) Add any pertinent notes or attachments to the configuration.
- Click Save to Archive.
The Save As dialog opens with the file name format:
Configuration-<SOURCE_SERVER_NAME-SourceVersion_yyyy-mm-dd_hh-mm-ss>.zip.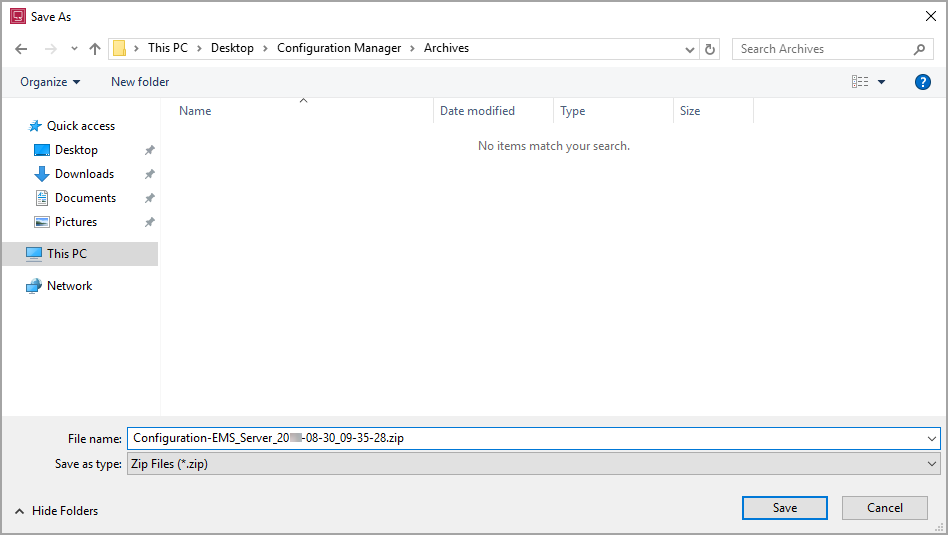
- Navigate to the location where you want to save the archive file and click Save.
-
(Optional) Exclude the historical database and historical database archives from the archive by de-selecting them.
TIP: Exclude the historical database or historical database archives if disk space is a concern or if you do not want to overwrite the historical data on the target system.
-
(Optional) Enter a password for the archive.
- Click Save.
- When the Save To Archive operation completes, click OK.
NOTE: You cannot save an archive to a network drive. To save an archive to a network location save it to a local drive and then copy it to the network location.
The Configuration Manager copies the system and saves it to an archive file.
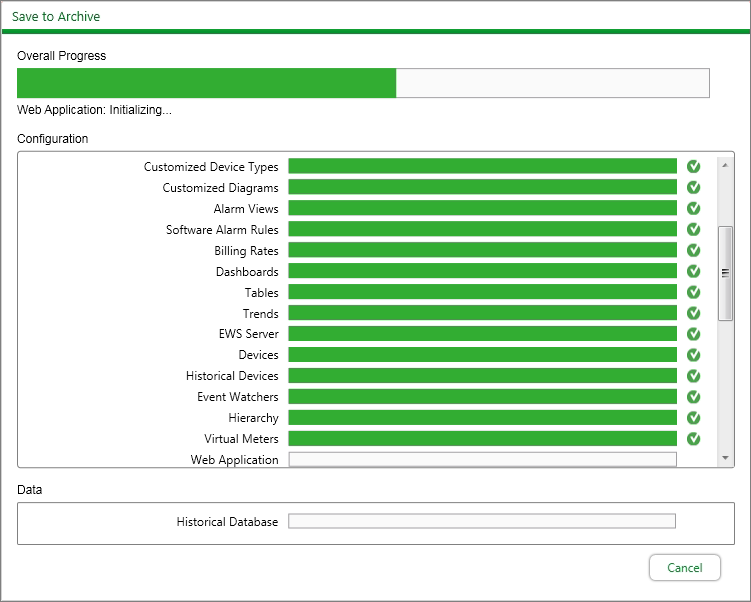
NOTE: Save to archive will continue even if errors occur. Review the log to determine whether you need to correct them and then save to archive again.
The archive is saved to the ...\<Configuration Manager extraction location>\Archives folder and is named Configuration-<SOURCE_SERVER_NAME-SourceVersion_yyyy-mm-dd_hh-mm-ss>.zip.
The saved archive configuration information appears beside the source system:
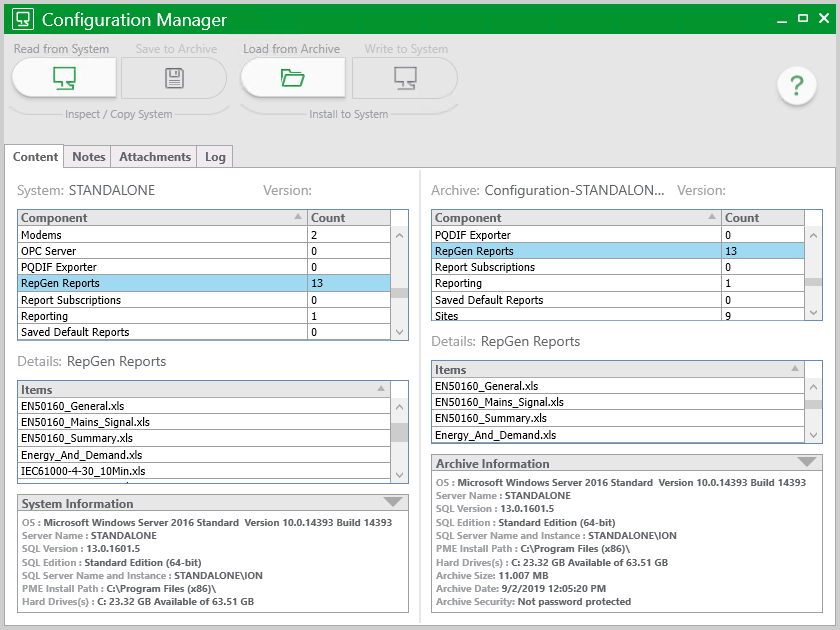
Copy the saved archive file to another file location on a local or mapped network drive, an external drive, or the target system.