Configuring Numeric Control components
To create a TGML graphic page sample with a Numeric Control operation:
- Open the Graphics Editor: select Start > Power Monitoring Expert > Graphics Editor.
- Select on File > New > Graphic.
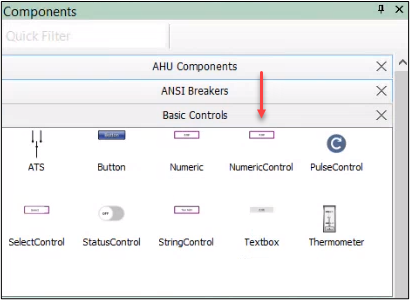
- At the bottom left, select Components.
- Expand Basic Controls.
- Drag and drop the Numeric Control component to the workspace.
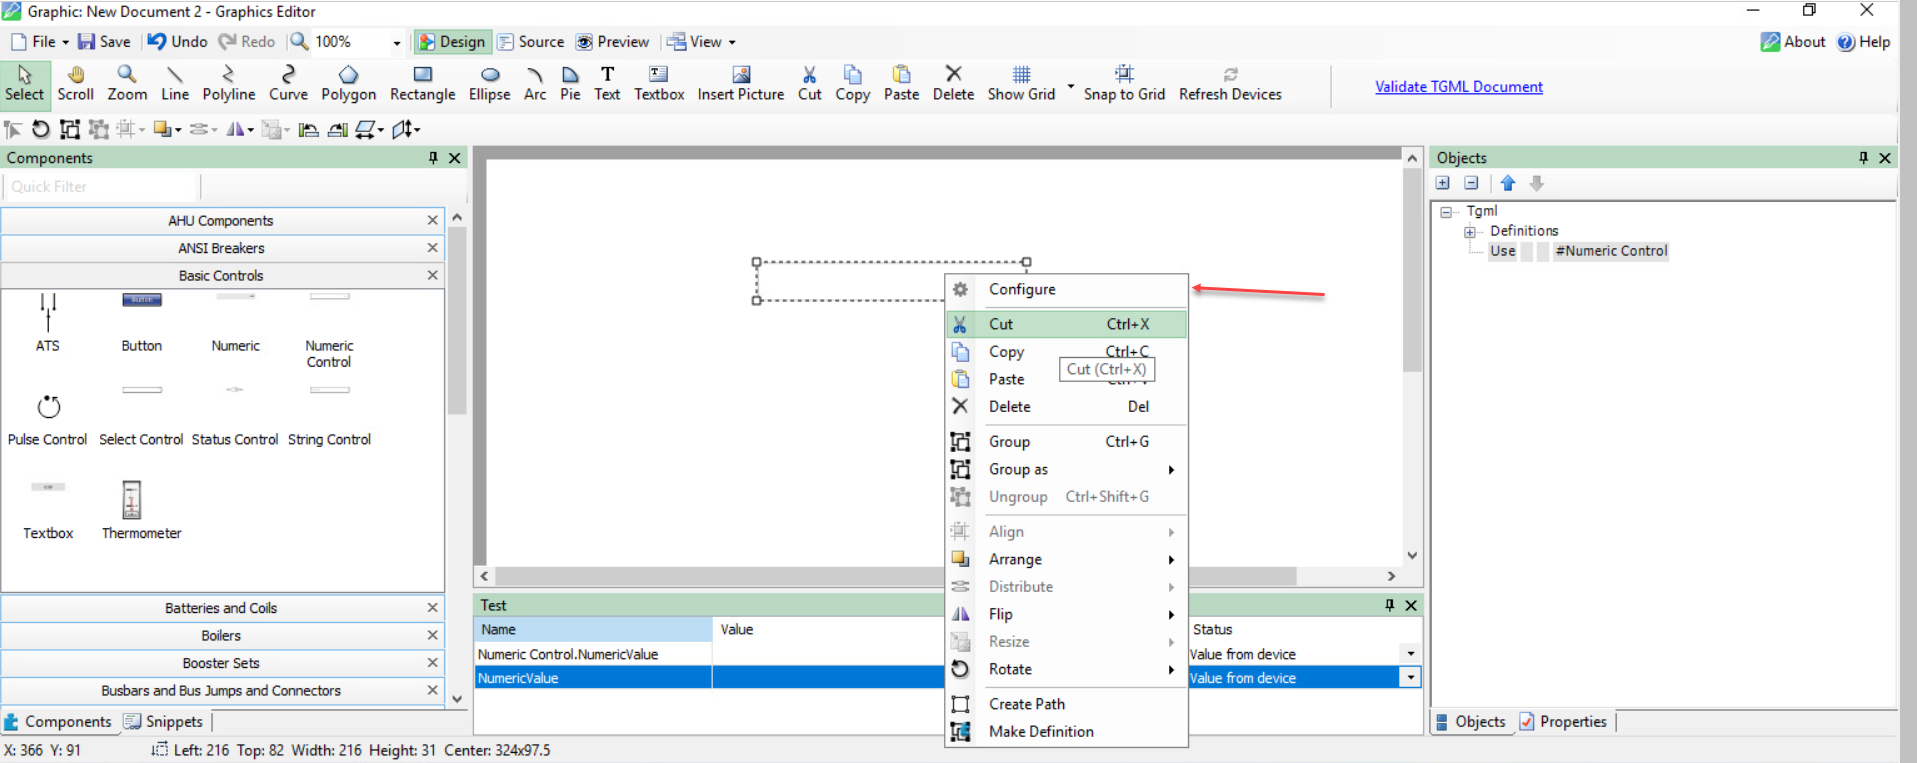
- Select the Numeric Control component and then right-click Configure
-
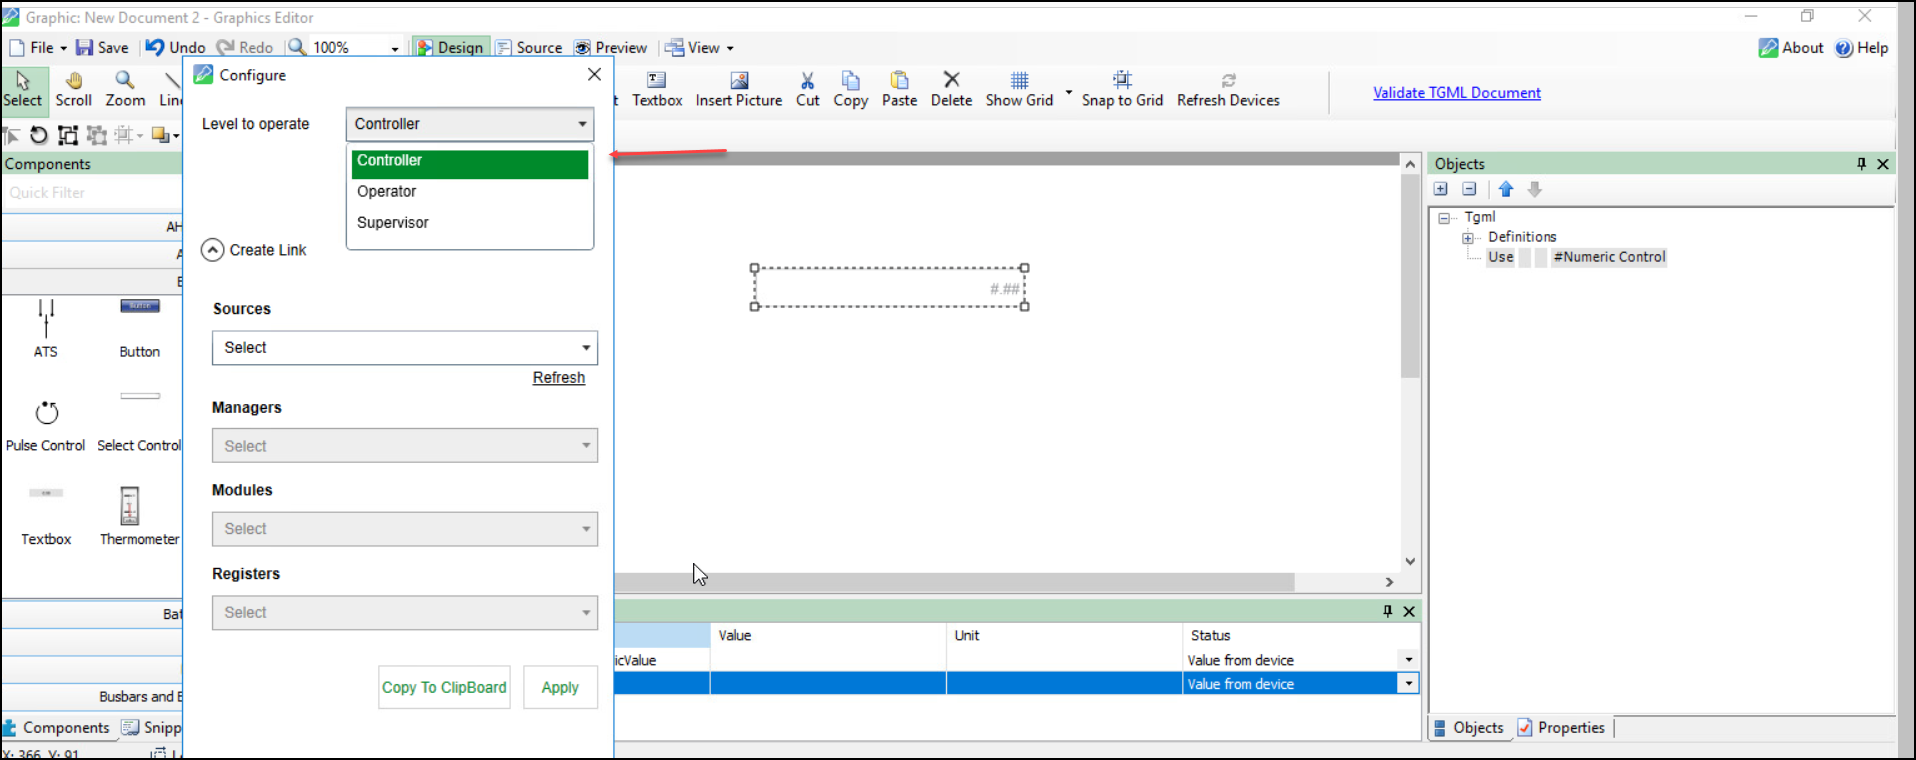
Select the Level to Operate from the drop-down list.
NOTE: This feature is privileged for Operators, Controller and Supervisor.
-
If you select Operator, Supervisor can access the privileges, but Controller cannot access the privileges.
-
If you select Controller, both Operator and Supervisor will be able to access the privileges.
-
If you select Supervisor, both Operator and Supervisor can access the privileges, but Controller will not be able to use the privileges.
-
-
Select Apply.
-
Select the configuration for the Numeric Control:
- Select the Sources.
- Select the Managers.
- Select the Modules.
- Select the Registers.
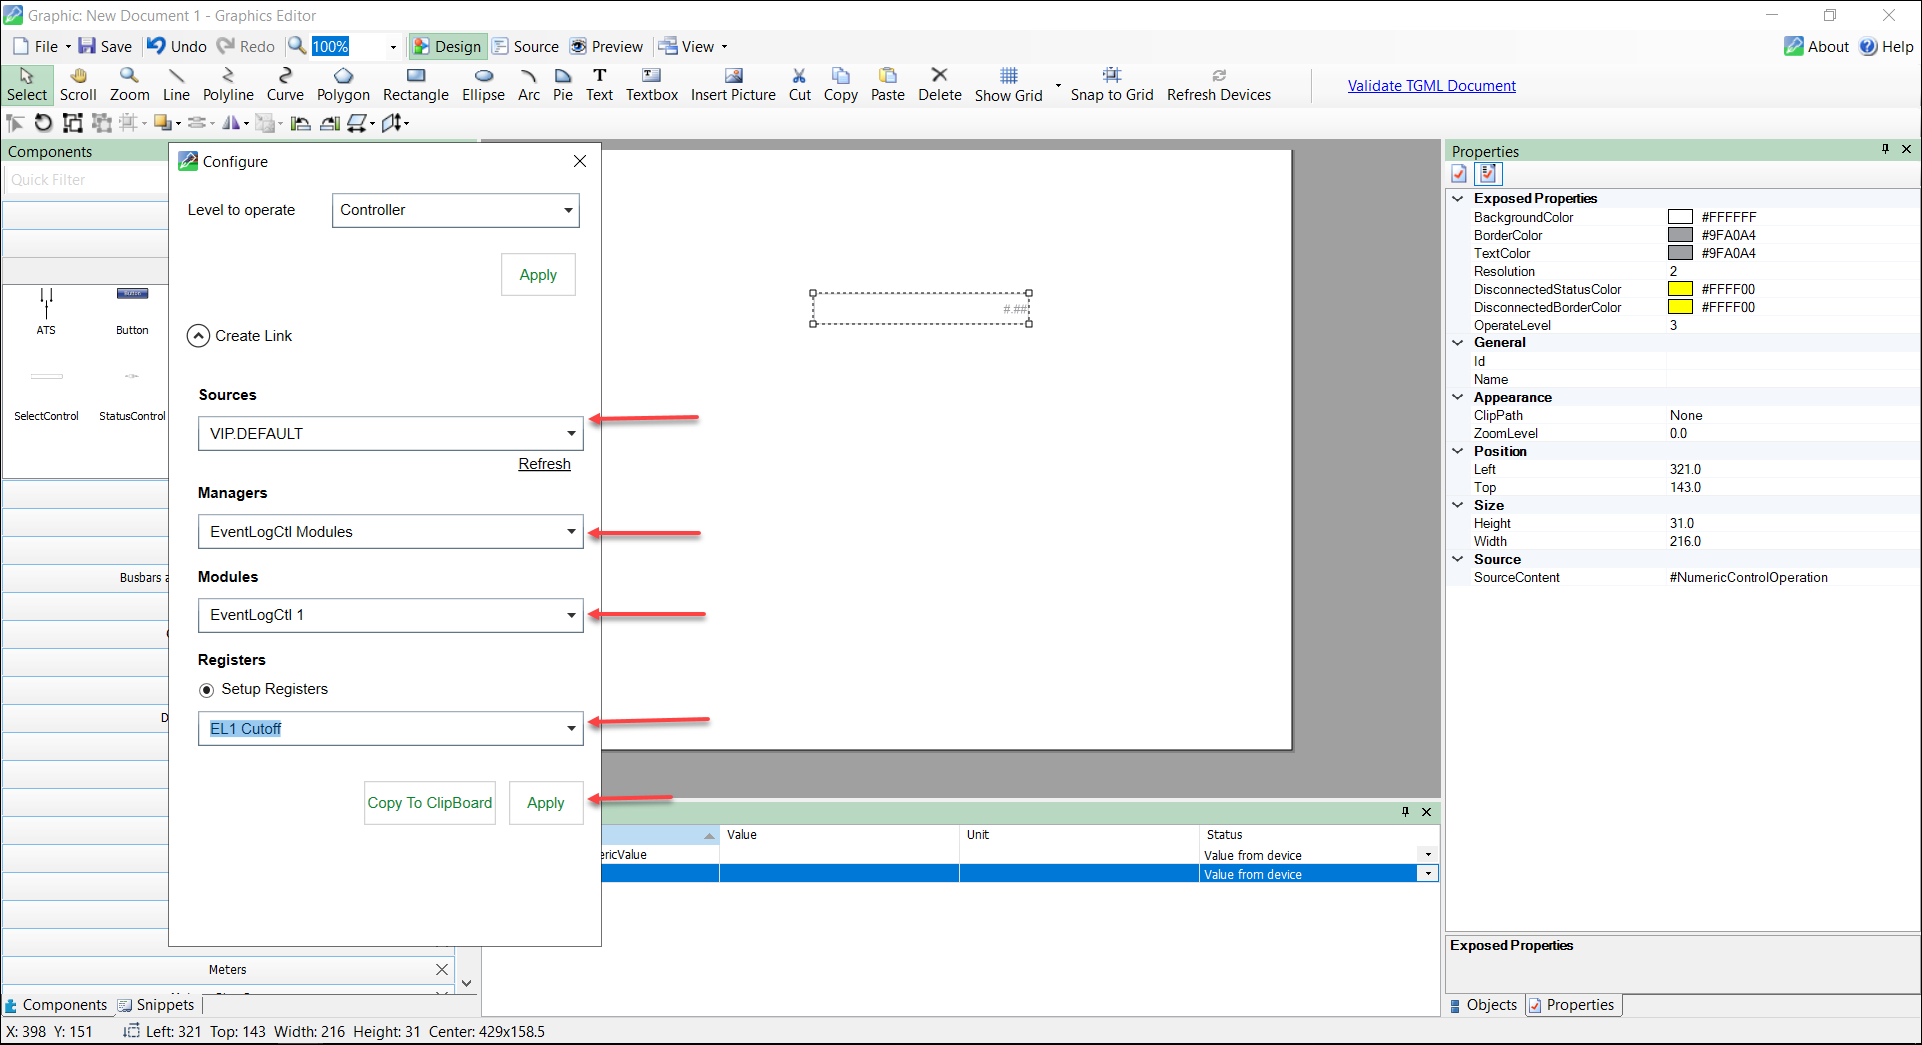
- Select Apply.
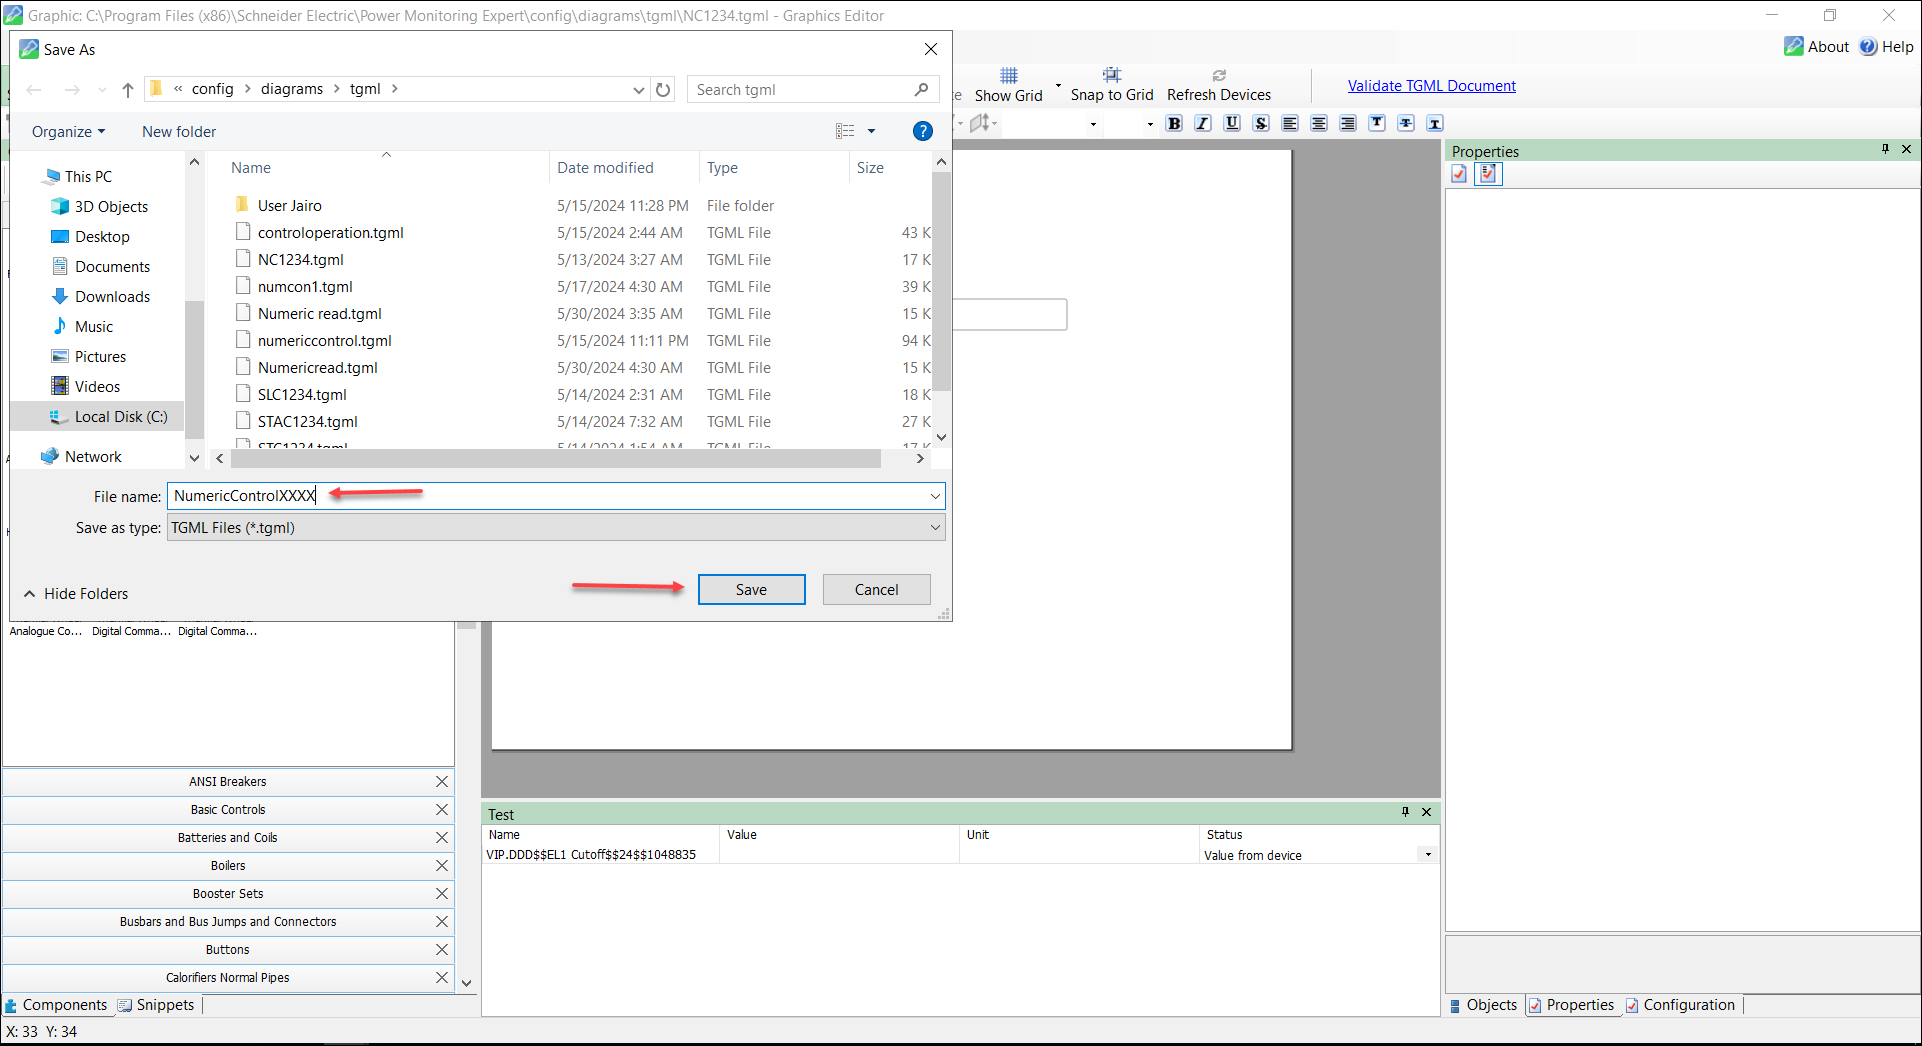
- Select Save to save the TGML file.
- Enter the File name and select Save.
- (Optional) You can change the default color properties by following the below steps:
- Select the Numeric Control component / Use the Numeric Control component.
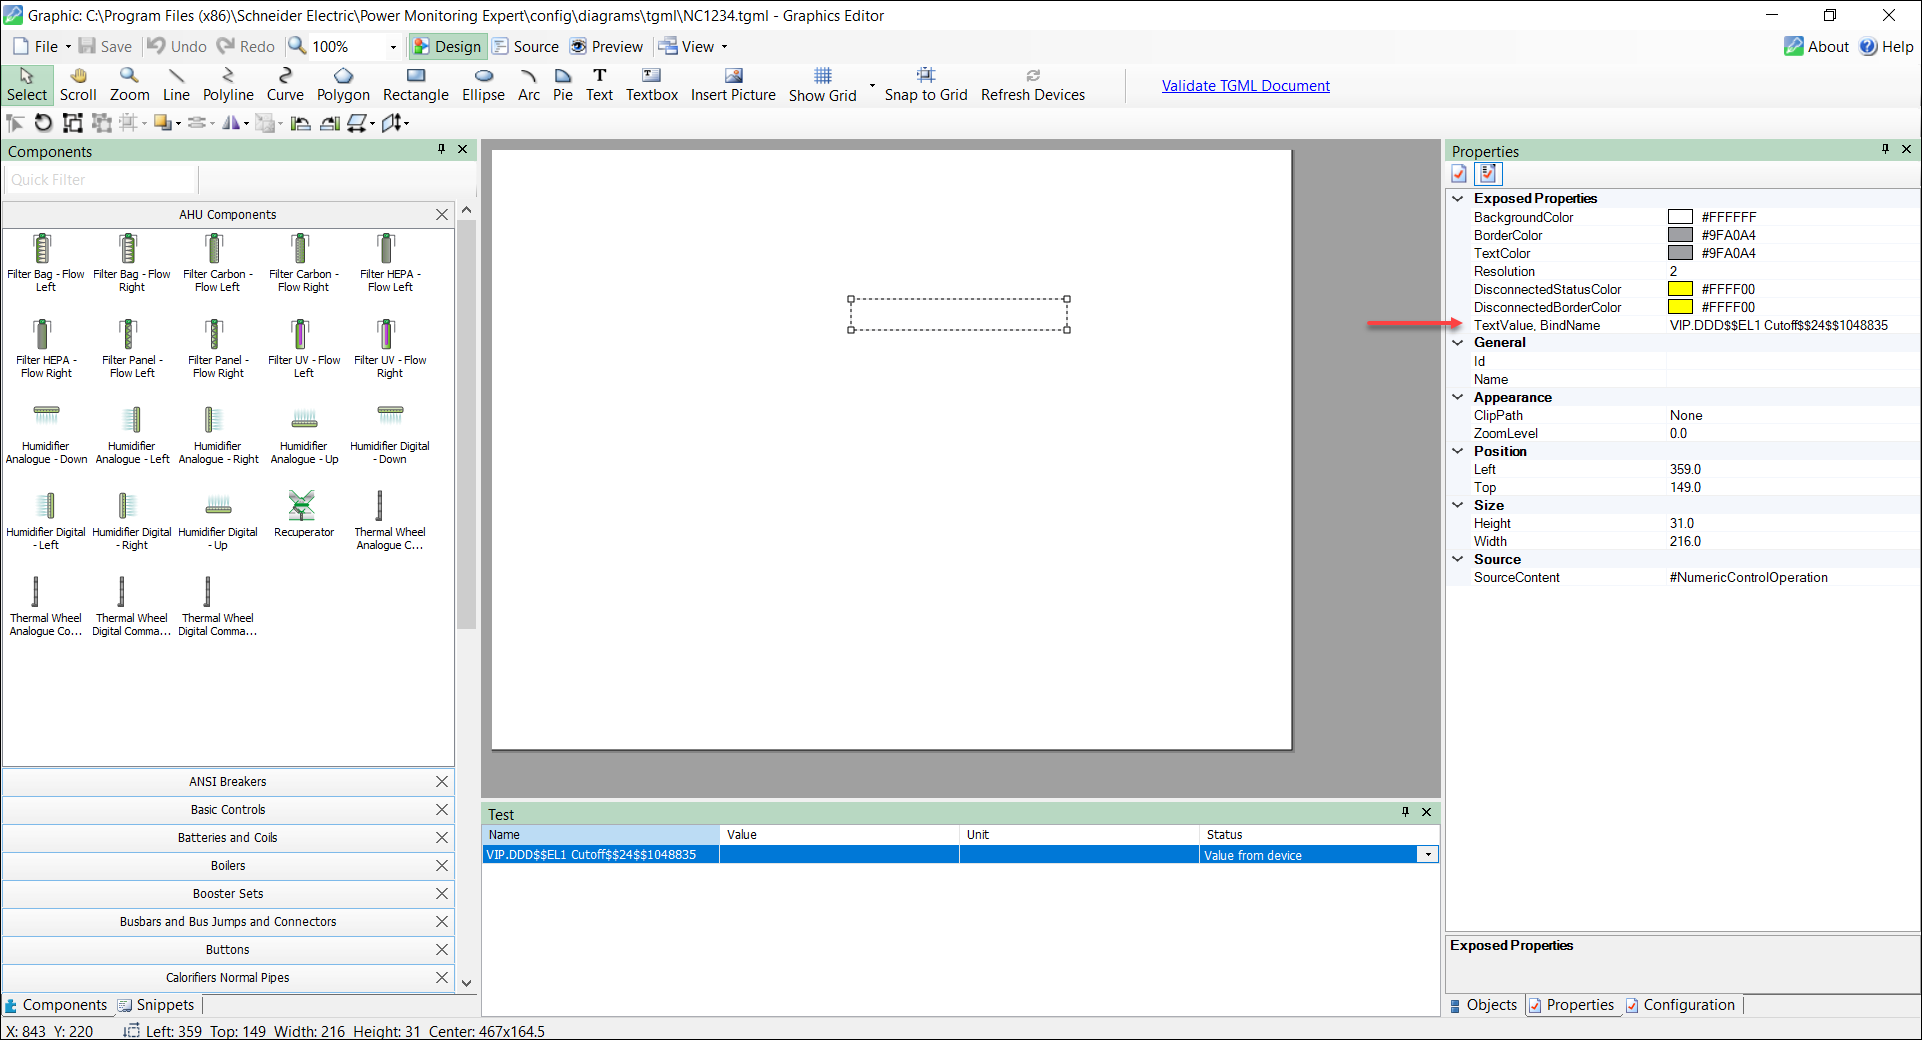
- At the bottom right, select Properties.
- Change the following Exposed Properties:
- BackgroundColor: To change the background of the Numeric box.
- BorderColor: To change the border of the Numeric box.
- TextColor: To change the text color in the Numeric box.
- Resolution: To set decimal points for floating numbers.
- TextValue and BindName: To set bindname to the Numeric Control .
- DisconnectedStatusColor: To set the color of the Numeric box when source is disconnected.
- DisconnectedBorderColor: To set the border color of the Numeric box when source is disconnected.
- Select Save to save the TGML file.