Creating TGML graphic pop-ups
You can call any TGML graphic page as a pop-up. This topic describes the steps to add a pop-up to a device or component, and includes an example to illustrate how to create a TGML graphic pop-up.
To create a TGML graphic pop-up:
- Open the Graphics Editor: Go to Start > Power Operation > Graphics Editor.
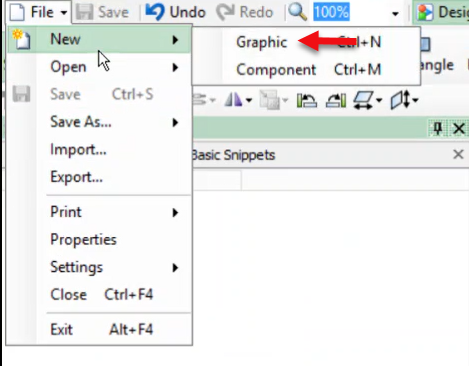
- Go to File > New > Graphic.
- Create a TGML page in a new Graphics page, as per your requirement. The following example demonstrates a developed TGML graphics page that will be invoked as a pop-up. By default, this page is saved under PLS_Include:
C:\ProgramData\Schneider Electric\Power Operation\v2024\User\PLS_Include\TGML\Templates\Generic Popup
All TGML graphics pages should be saved under either ..\PLS_Include\TGML or ..\PLS_Include\TGML\Templates\Generic Popup.

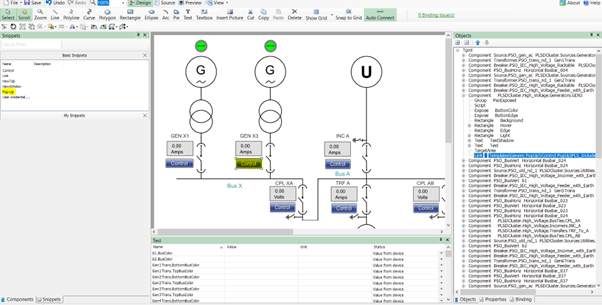
To invoke a pop-up, drag and drop a PopUp snippet over the components.
For example, in the following image, a Pop-Up snippet was dragged and dropped onto the Control button. In the Object pane, the PopUp file Link has been updated to Templates\Generic PopUp\!Control PopUp|PLS_Include.
NOTE:
Newly created TGML graphic pop-ups can be used for all the devices.
When the user clicks on a breaker in the PO Web Applications, the pop-up displays the same for all the components, but the values will be different based on the breaker.
To create a component and bind it to an item:
The following steps demonstrate how to create a component and bind it to an Item name.
-
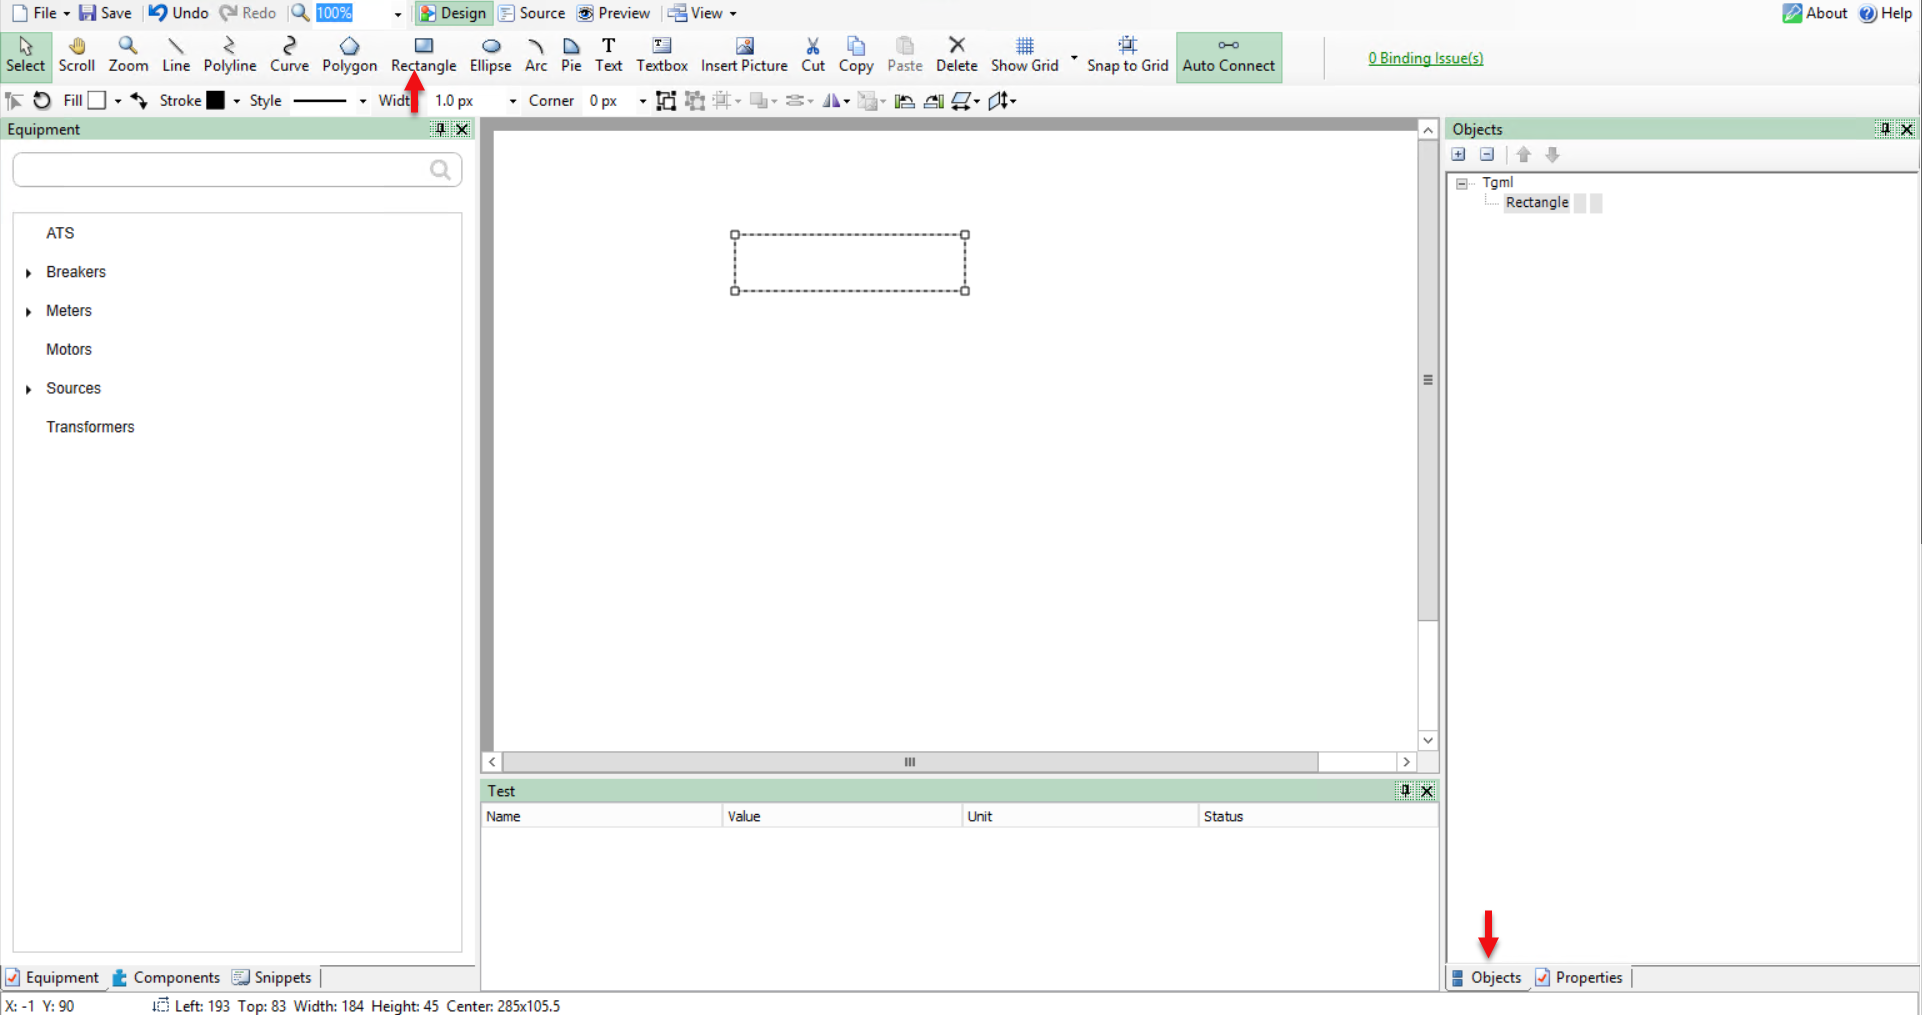
From the top menu bar, click Rectangle, draw on the workspace, and click the Objects tab.
-
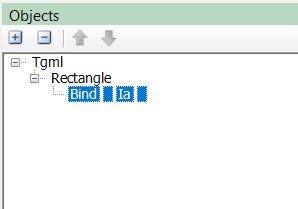
Go to the TGML > Right click on Rectangle, click New, and select Bind.
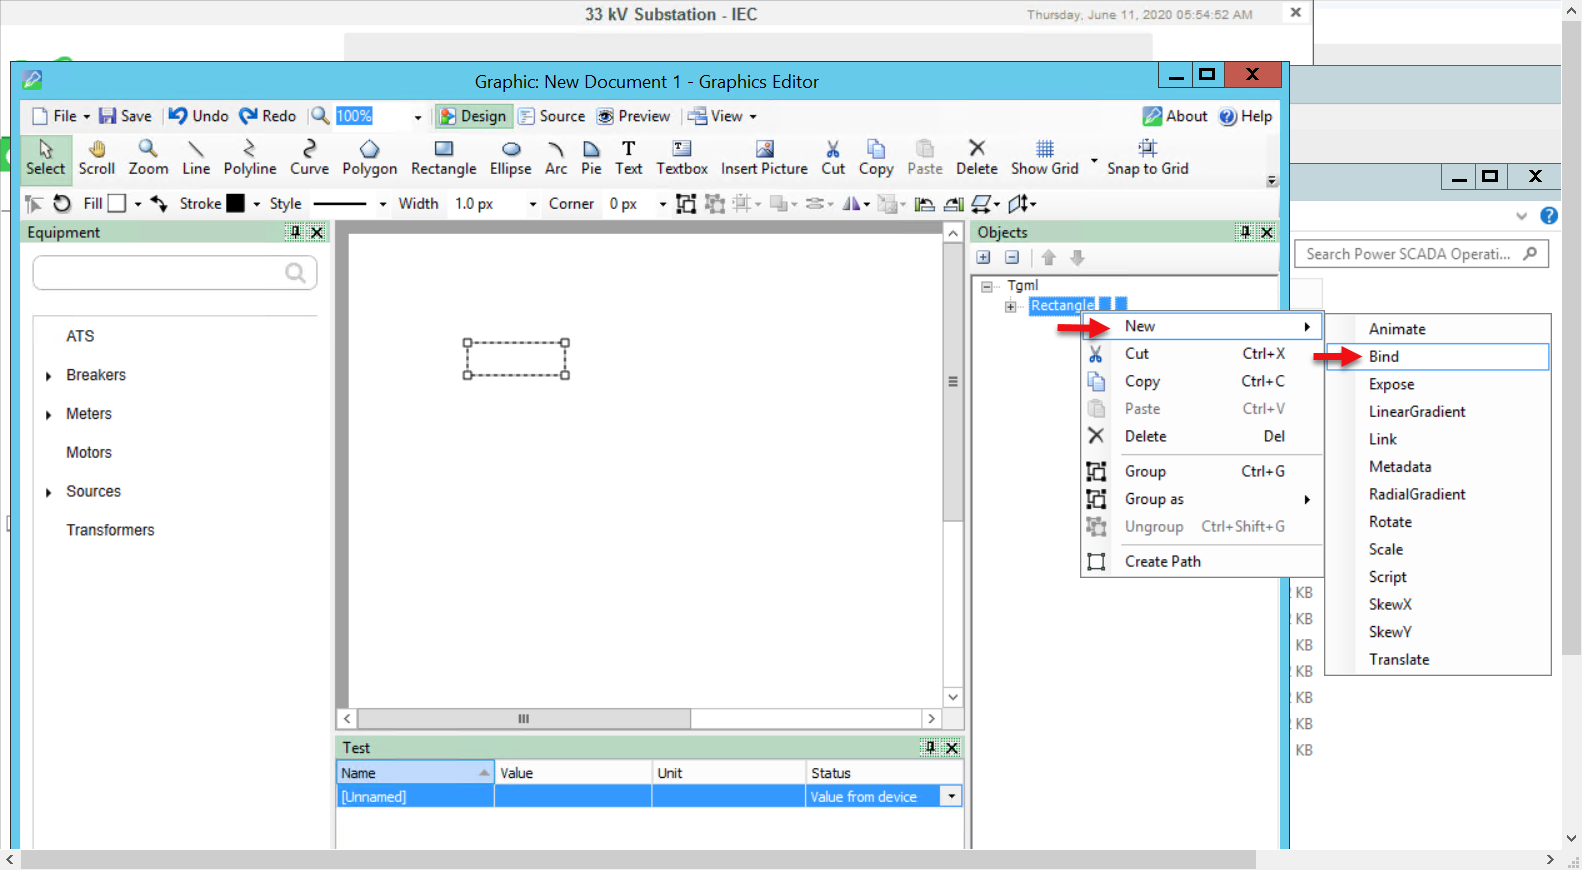
The following screen is displayed:

-
Double-click Bind and then type the required item name.
-
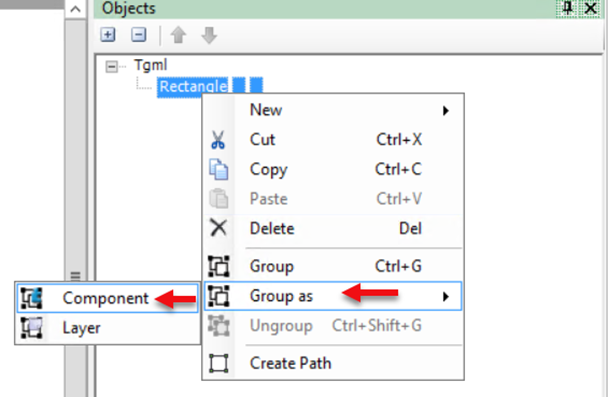
Right click on Rectangle, click Group as, and select Component.
-
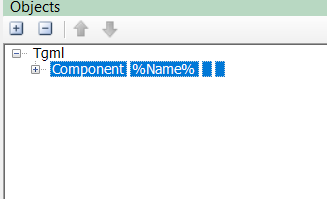
Rename the component as %Name%. As the device details are inherited from the parent, this action will make the TGML graphic concept work.
NOTE: If the direct bind name is used without a component, rename the bind to %Name%.BindName. Refer to the following image:
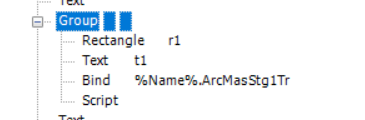
While initiating the instance for the PopUp,%Name% will be replaced with the device name only in these two cases.
For an example of how to create a PopUp snippet, see PopUp snippet example.