Collision Protection
Overview
In the event of a collision during manual operation, the Lexium Cobot Arm does not rebound, either in motion or at rest. The Lexium Cobot Arm can be pushed within a certain range if the external force continues to act.
In the event of collision during automatic operation, collision handling is performed as specified in Collision Processing Setting.
To set up the collision handling, go to .
Two setting methods for the collision protection are available:
-
Quick setup (automatic setting according to a selected protection sensitivity)
-
Customize (user-defined setting)
| DANGER | |
|---|---|
Collision Handling
You can define the following collision handling options in :
-
Program pause
The program is stopped without any rebound. Subsequently, the program can be continued by using the Resume program function. For further information, refer to Function Settings.
-
Program terminated and rebounded
The program is terminated and a rebound is performed. You can set the rebound angle from 0° to 3°.
Bouncing Procedure
The bouncing procedure depends on the motion type of the Lexium Cobot Arm before the collision. The process is presented in the following figure.
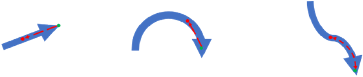
Blue arrows: Original trajectory
Red dots: Bouncing end point
Red lines: Bouncing trajectory
Green dots: Collision point
Example:
If the rebound angle value is 3, the Lexium Cobot Arm operates at the moment of a collision as follows:
-
If the Lexium Cobot Arm is moving in Cartesian space (linear motion), it bounces back 3 cm (1.18 in) along the original trajectory (a, b).
-
If the robot is moving in the joint space (joint motion), the joint with maximum speed at the moment of collision bounces back 3°, and the other joints bounce back correspondingly, so that the Lexium Cobot Arm moves back along the original trajectory.
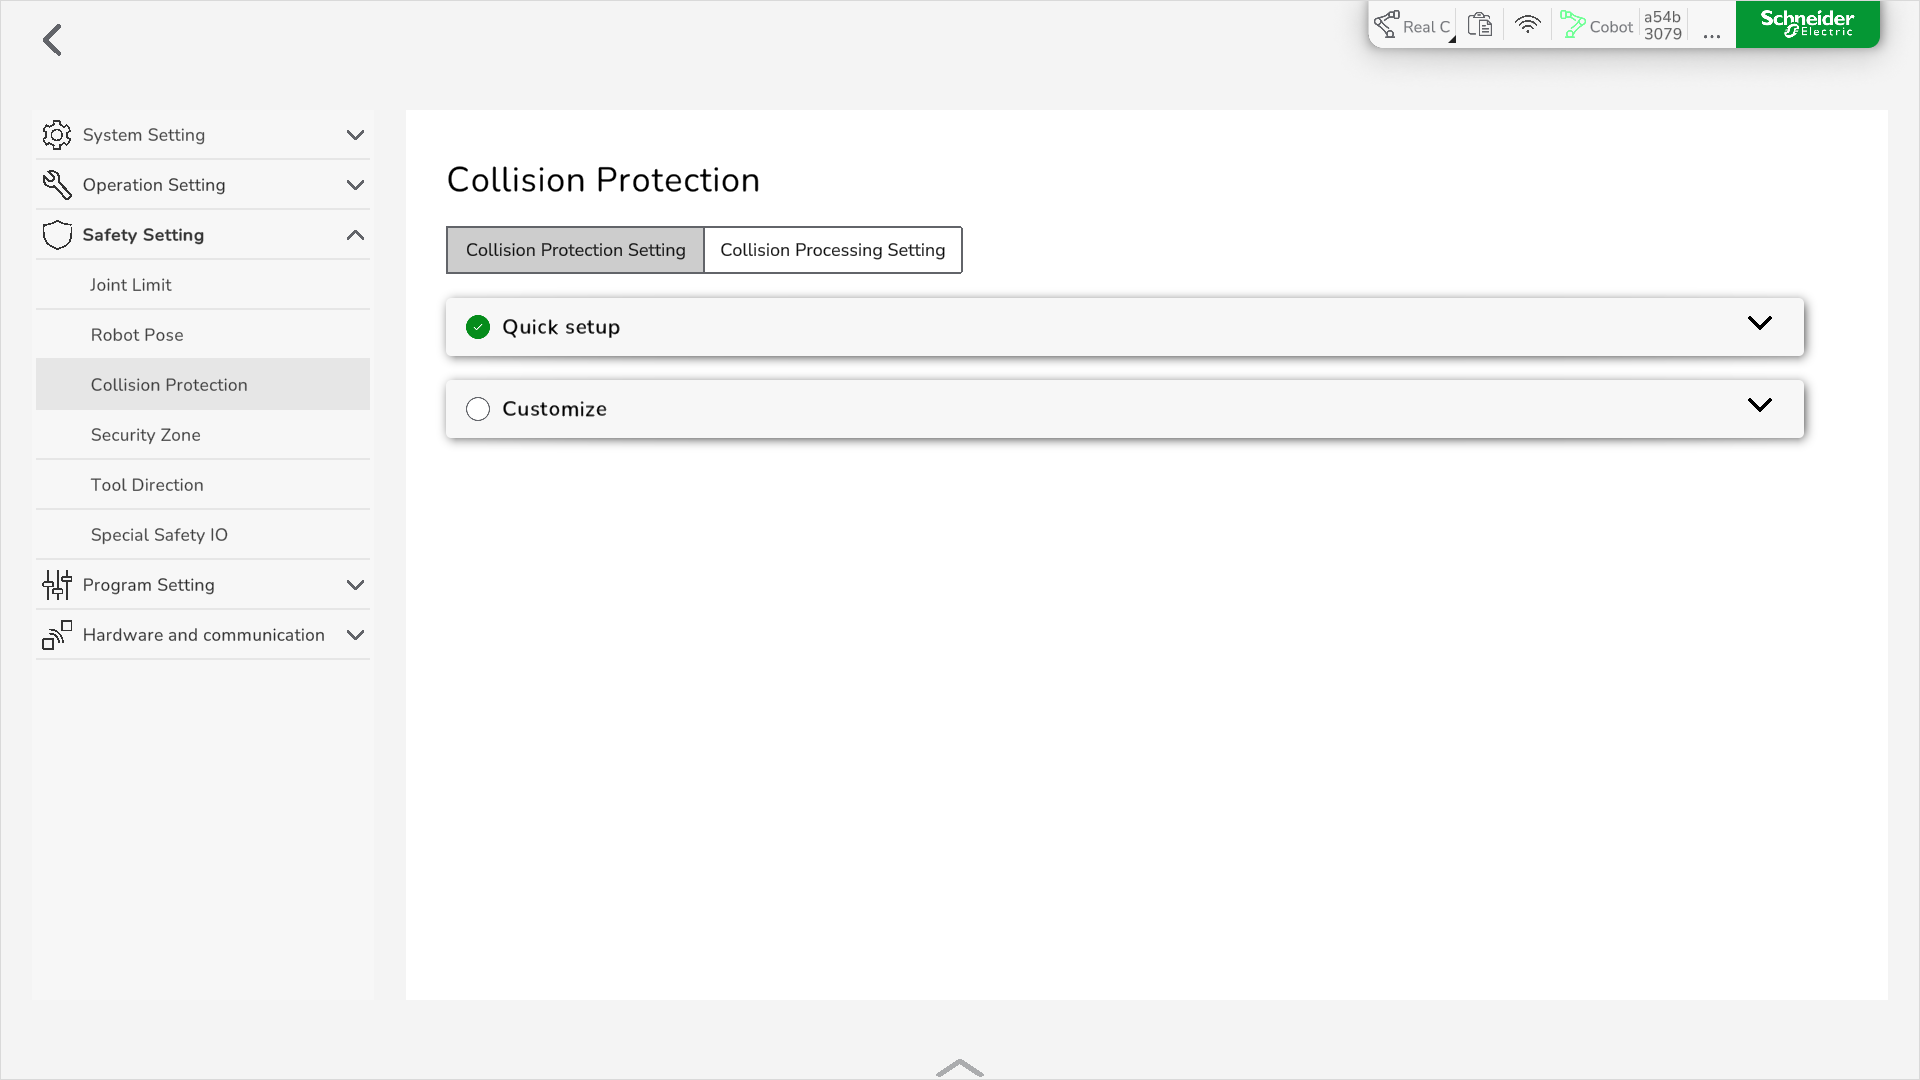
Setting Up Collision Protection via Quick Setup
To set up the collision protection with predefined settings, perform the following steps:
|
Step |
Action |
|---|---|
|
1 |
In , select Collision Protection Setting. |
|
2 |
Select Quick setup. |
|
3 |
Move the slider in the Quick setup bar to the appropriate protection sensitivity. Four predefined settings are available
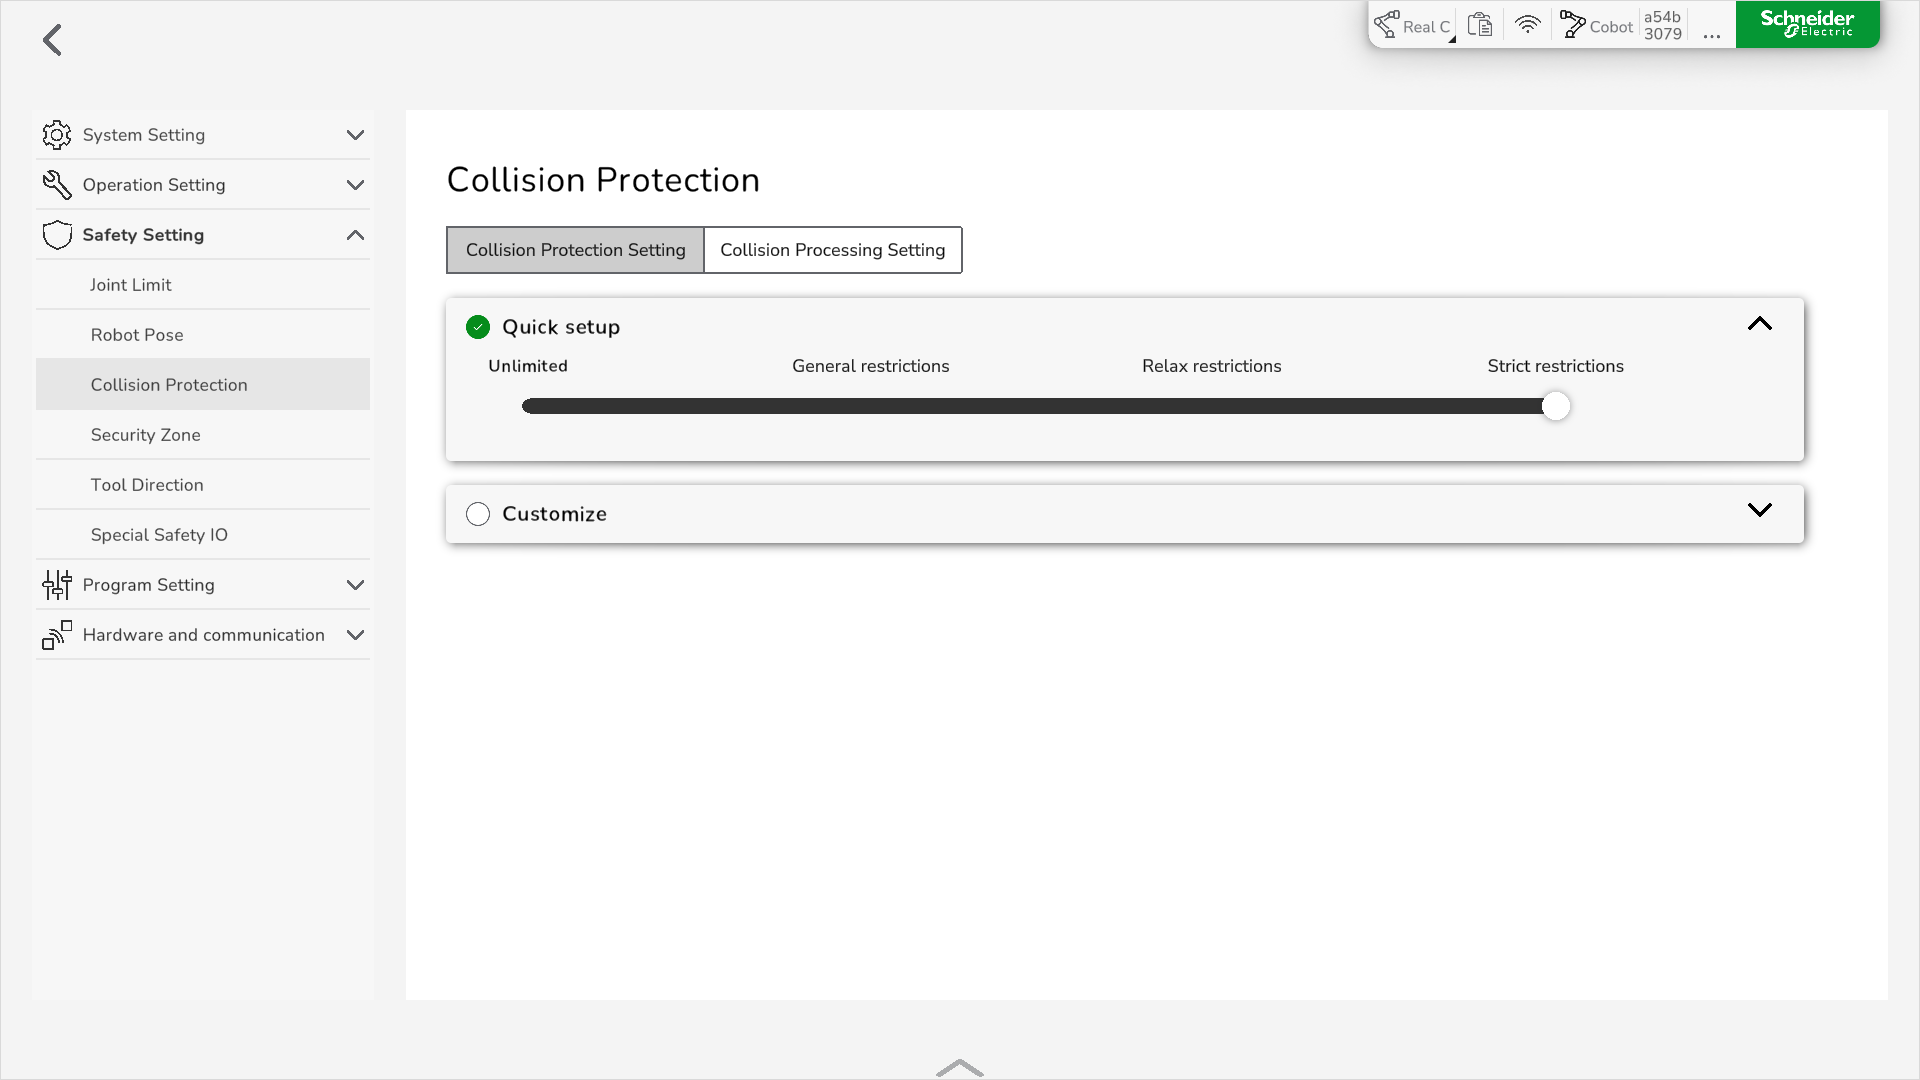
Result: The collision protection is set. To display the corresponding values for the Quick setup, expand Customize using the arrow icon. |
|
4 |
Display the corresponding values for each Quick setup level by expanding Customize using the arrow icon on the right and verify if the parameters are applicable for your application. Change the settings as necessary. Result: The collision protection is set. |
Using Customized Settings
To set up the collision protection with customized settings, perform the following steps:
|
Step |
Action |
|---|---|
|
1 |
In , select Collision Protection Setting. |
|
2 |
Select Customize. 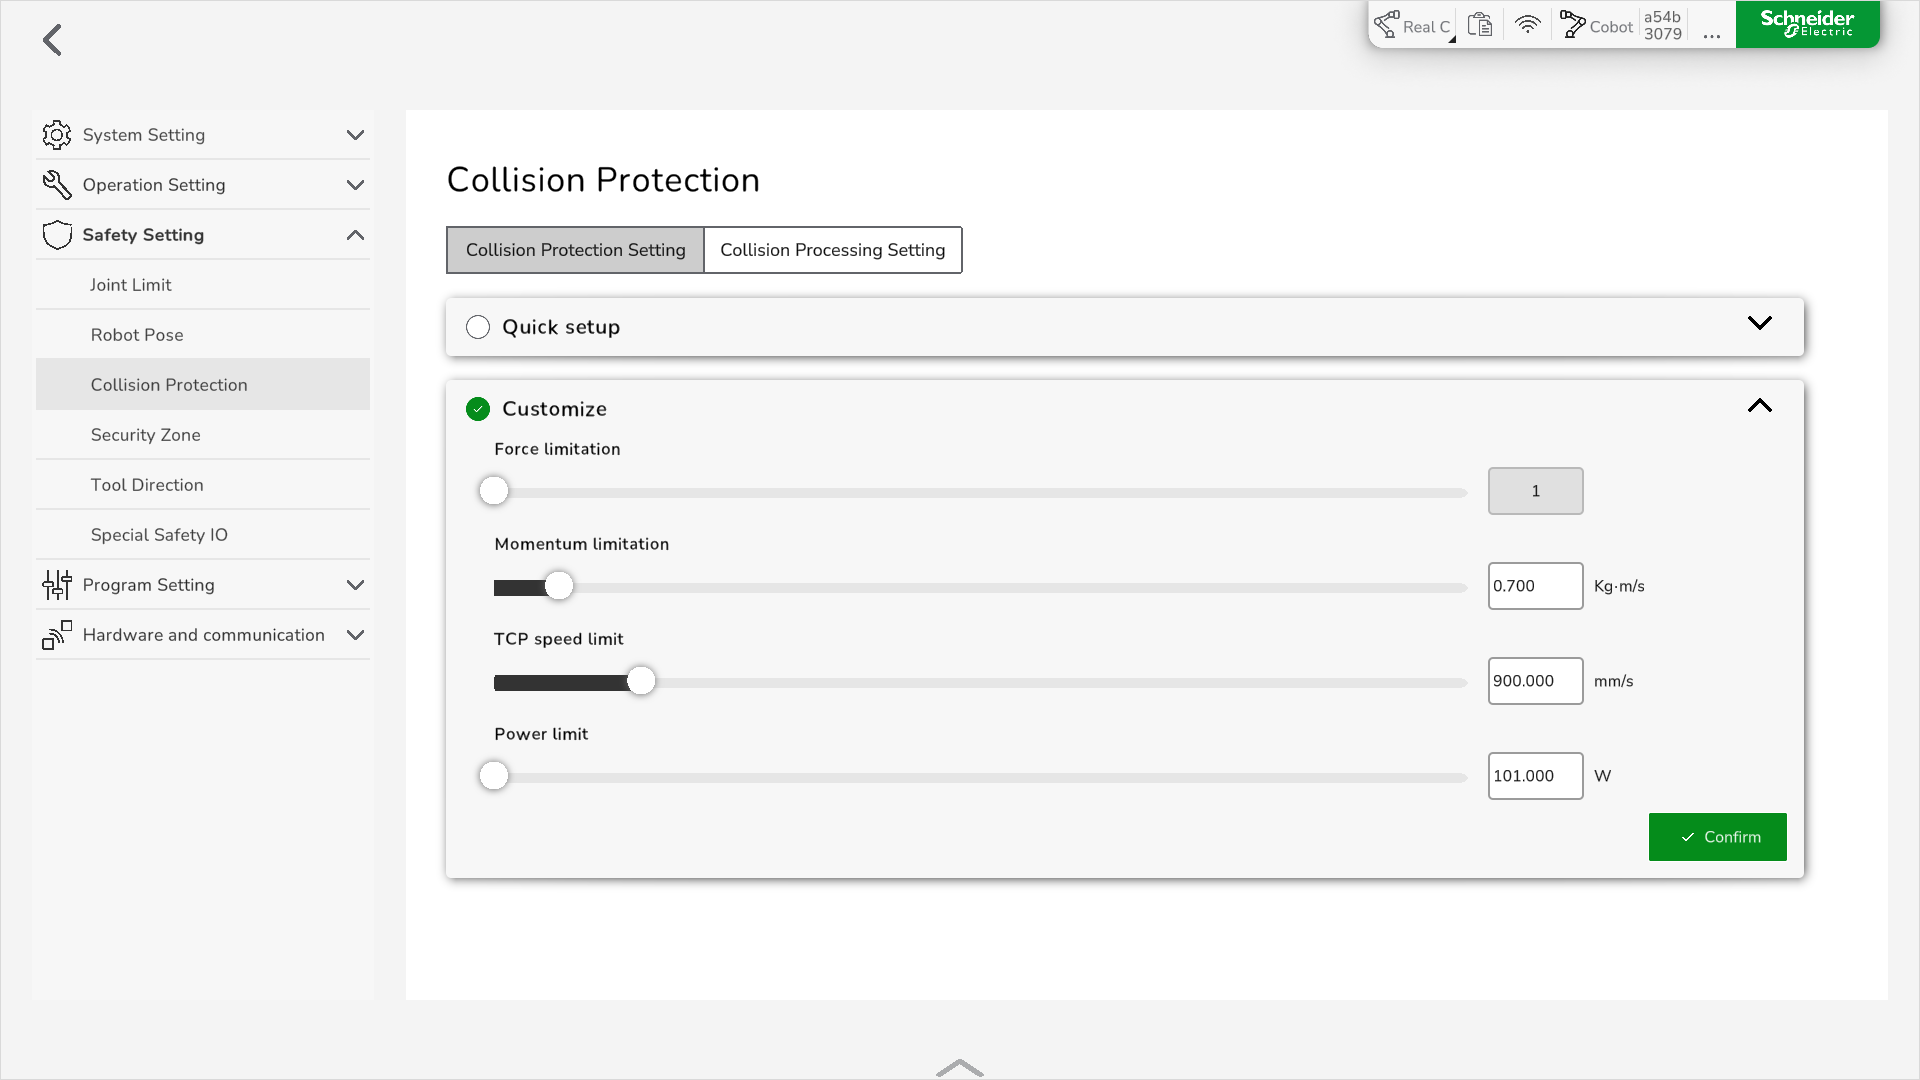
|
|
3 |
Enter the collision protection data either by moving the corresponding slider, or by clicking on the value and typing in the new value.
NOTE:
Result: The collision protection is set. |
Setting the Collision Processing
To set up the collision processing, perform the following steps:
|
Step |
Action |
|---|---|
|
1 |
In , select Collision Processing Setting. 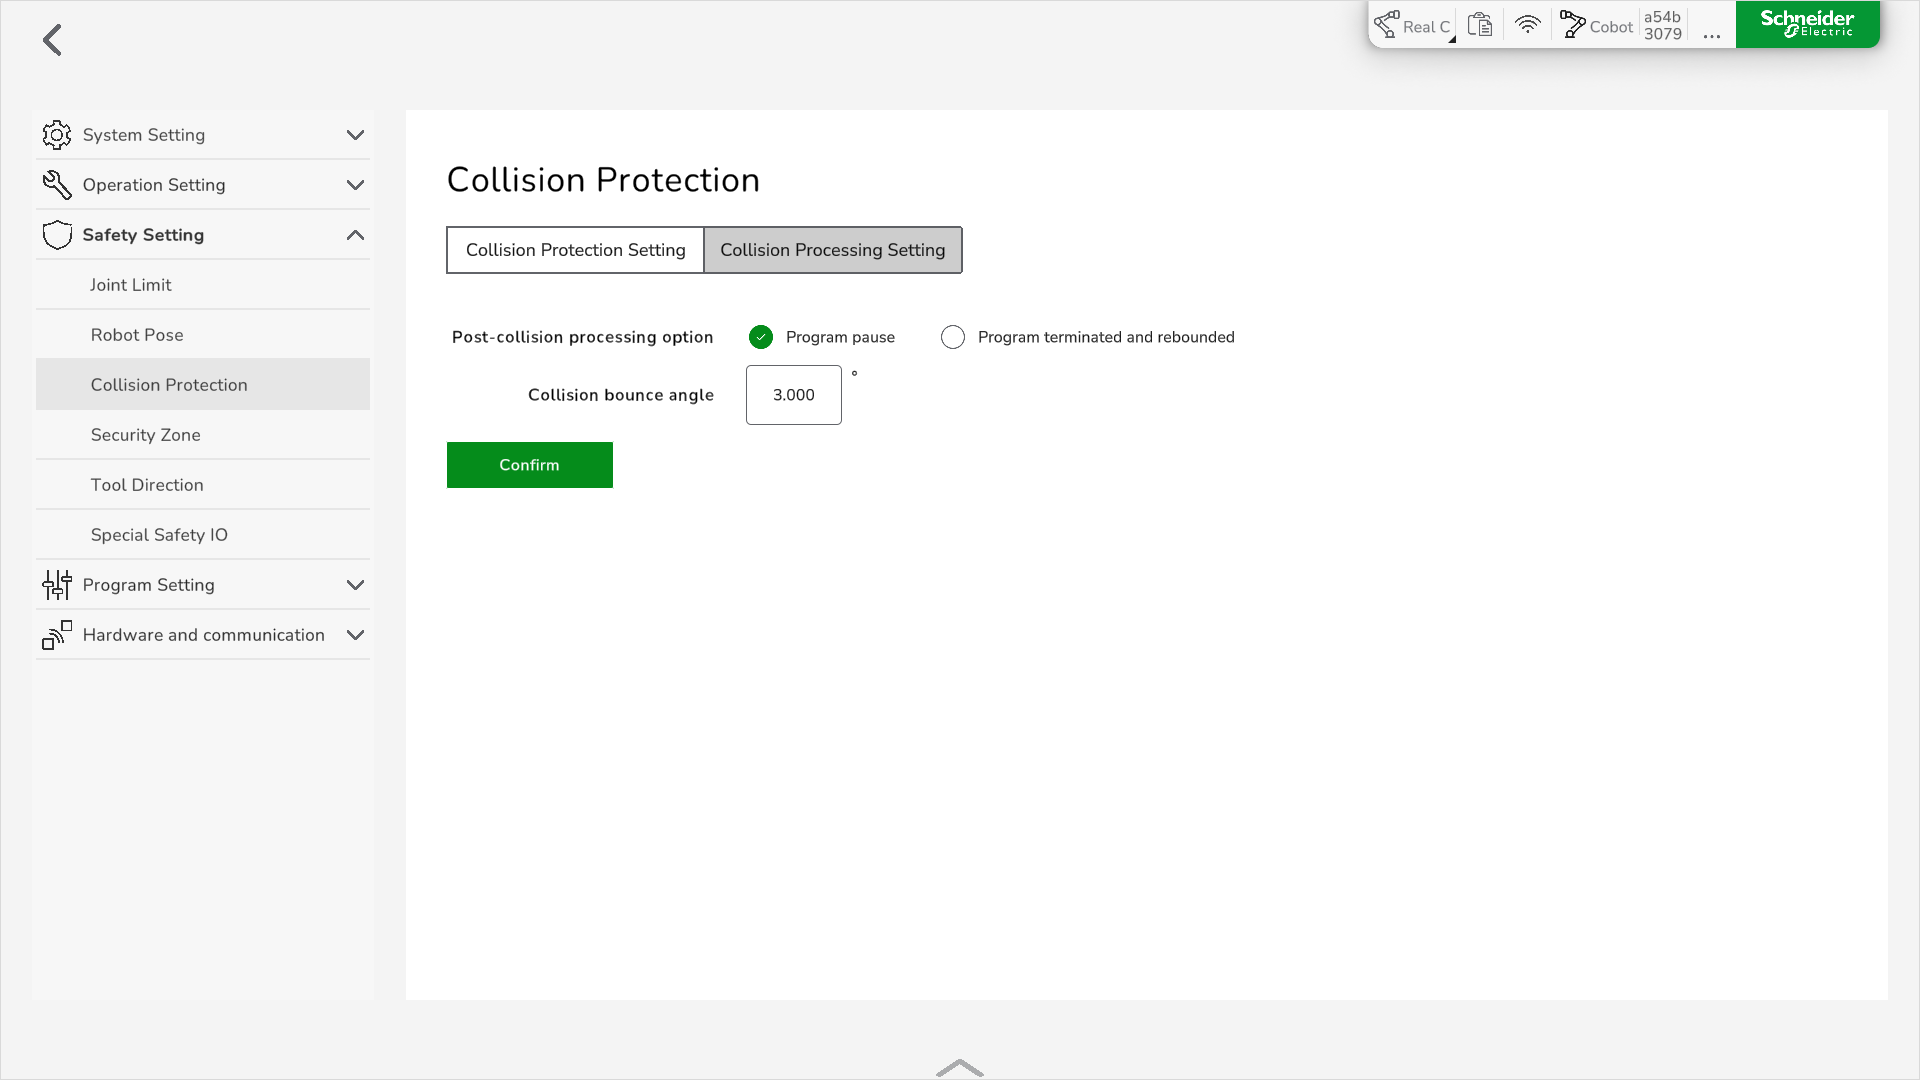
|
|
2 |
Select the Post-collision processing option and type in the Collision bounce angle. Result: The collision processing is set. |