FAQ - Why is a Connection to the Controller not Possible?
Why is a Connection to the Controller not Possible Even Though the IP Address Seems to Fit?
If you have set the IP address of the controller as described in the Accessing New Controllers chapter, and you still cannot connect to the controller, the reason can be the subnet mask. Since the used communication protocol requires an identical subnet mask on both the sender and the receiver site, it may be possible that a ping to the controller is successful, but a connection cannot be established.
|
Step |
Action |
|---|---|
|
1 |
In EcoStruxure Machine Expert, open the Communication Settings view of the device editor. |
|
2 |
To adapt the communication settings of the controller, right-click the controller in the Communication Settings list, and execute the command Edit communication settings... from the contextual menu. Result: The Edit communication settings dialog box opens. |
|
3 |
Adapt the Subnet mask configured for the controller exactly to the subnet mask of your EcoStruxure Machine Expert PC. Example: Change 255.255.0.0 to 255.255.255.0. |
NOTE: After you have changed the Connection Mode in the Communication Settings dialog box, it may be required to perform the login procedure twice to gain access to the selected controller.
Why is a Login to a Controller not Possible?
For communications between an application (such as EcoStruxure Machine Expert Logic Builder, Controller Assistant) and a controller, a running EcoStruxure Machine Expert gateway is required. If you attempt to login to a controller, the application automatically starts the active EcoStruxure Machine Expert gateway. If EcoStruxure Machine Expert has not been started with (Windows) administrator rights, the start of the gateway cannot be executed.
|
Step |
Action |
|---|---|
|
1 |
In the Windows notification area, verify whether the Gateway Management Console icon is displayed in red to indicate that the selected gateway is stopped: |
|
2 |
Right-click the Gateway Management Console icon, and execute the command Start Gateway from the contextual menu. Result: The selected gateway service is started. |
|
3 |
In the Windows notification area, verify whether the Gateway Management Console icon is displayed in green to indicate that the selected gateway is running: |
|
4 |
Start another attempt to log in to the controller. |
Why is the Controller not Listed in the Communication Settings Tab?
If you establish a connection between the controller and the EcoStruxure Machine Expert PC by using the classic mode, then the Communication Settings tab is displayed in classic mode.
|
Step |
Action |
|---|---|
|
1 |
Open the Tools > Options > Device editor dialog box. |
|
2 |
Select the Communication page > Controller selection mode setting and confirm by clicking OK. |
Why is the Controller not Listed in the Communication Settings View?
If you do not find your controller in the list of the Communication Settings tab in controller selection mode, the reason can be that two different devices are assigned the same Nodename. If two devices are assigned the same Nodename, only one of these devices is listed in the list.
You must carefully manage the Nodename because each device on the network requires a unique Nodename. Having multiple devices with the same Nodename can cause unpredictable operation of your network and associated equipment.
|
|
|
UNINTENDED EQUIPMENT OPERATION |
|
oVerify that all devices have unique Nodenames before placing the system into service. oUpdate the Nodename after cloning any application that includes Ethernet communications to a unique Nodename. |
|
Failure to follow these instructions can result in death, serious injury, or equipment damage. |
|
Step |
Action |
|---|---|
|
1 |
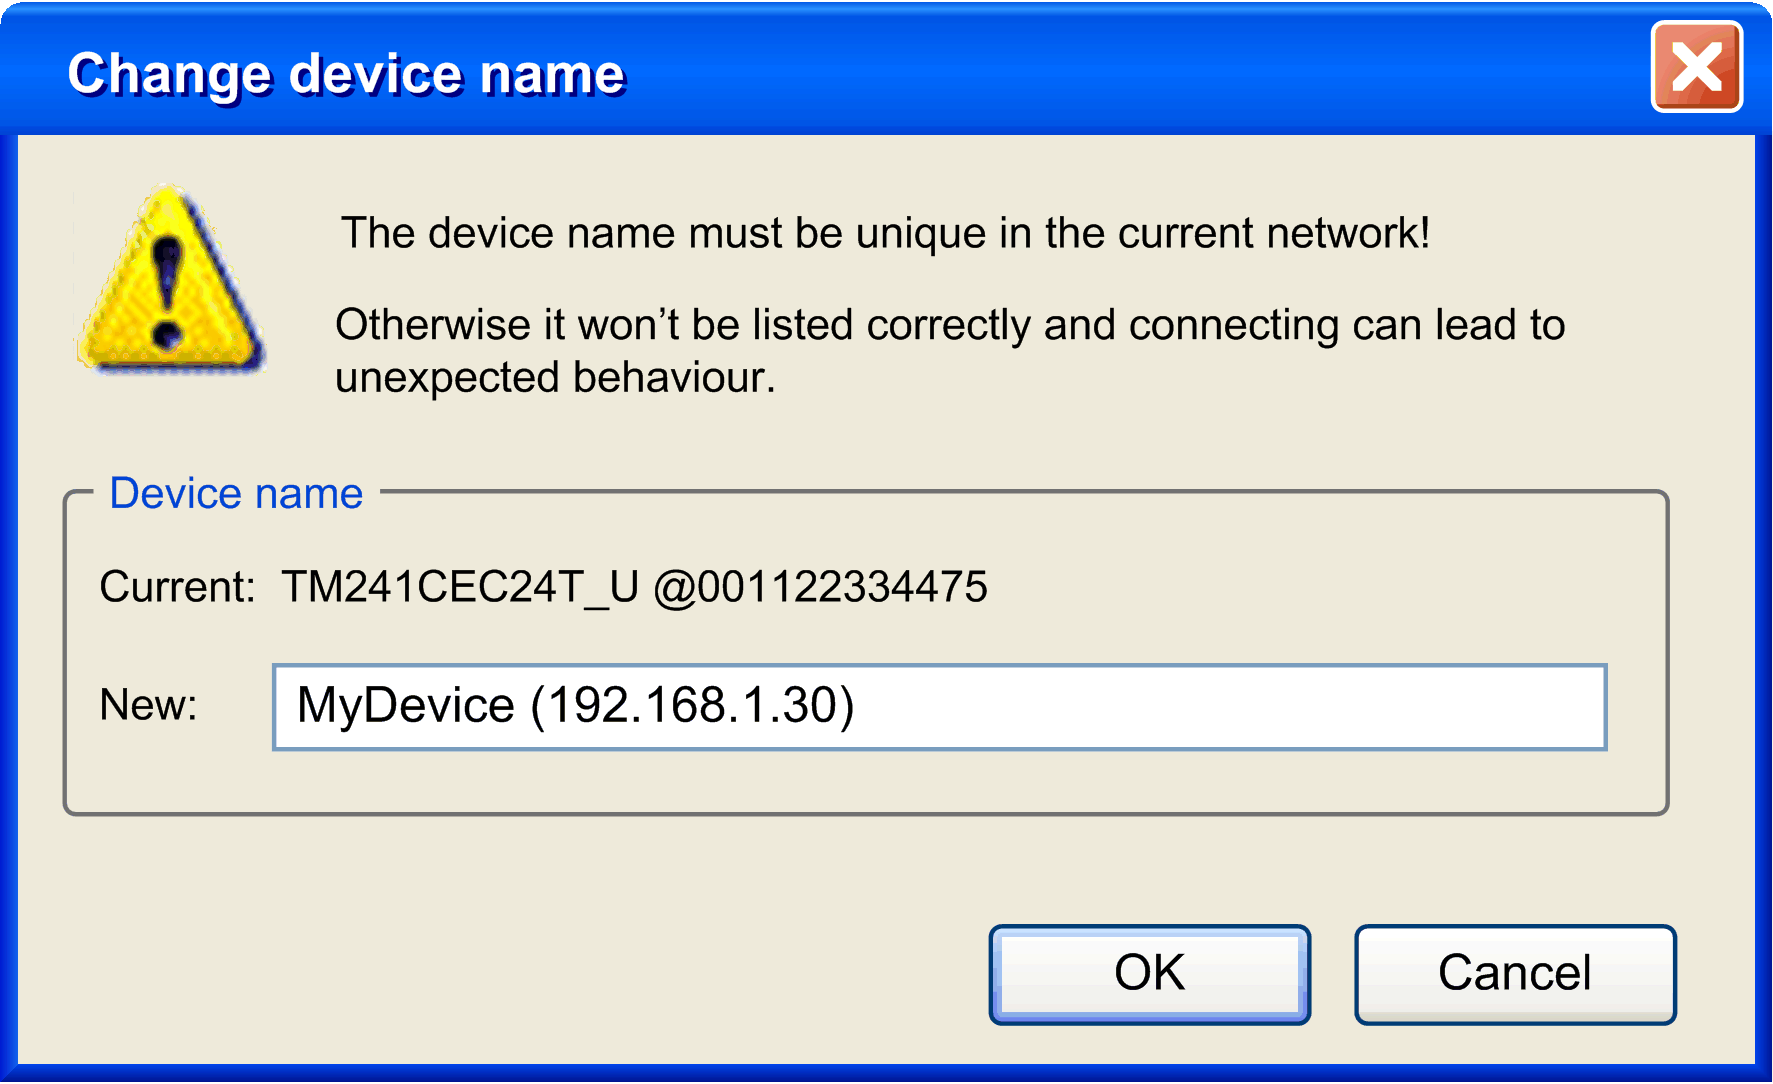
Right-click the device that is assigned a double Nodename in the list and execute the command Change device name from the contextual menu. Result: The Change device name dialog box is displayed. 
|
|
2 |
In the Change device name dialog box, enter a unique Nodename in the New text box. |
|
3 |
Click OK to confirm and to close the Change device name dialog box. |
|
4 |
In the Communication Settings view, click the Update button to refresh the list of devices. Result: The second device with the same Nodename of the device you just have changed will now be displayed in the list. |
|
5 |
Repeat steps 1...4 until you have eliminated any double Nodenames. |
NOTE: Some controllers, such as the LMC •0•C controllers, create a Nodename automatically out of the device name of the project after a project download and the IP address (for example, MyLMC (192.168.1.30)). This automatic name overwrites the Nodename you assigned if any changes are executed on the controller.