Installing and Removing the Controller with Expansions
This section describes how to install and remove the controller with its expansion modules from a top hat section rail (DIN rail).
Installing a Controller with its Expansions on a DIN Rail
|
Step |
Action |
|---|---|
|
1 |
Fasten the top hat section rail (DIN rail) to a panel surface using screws. |
|
2 |
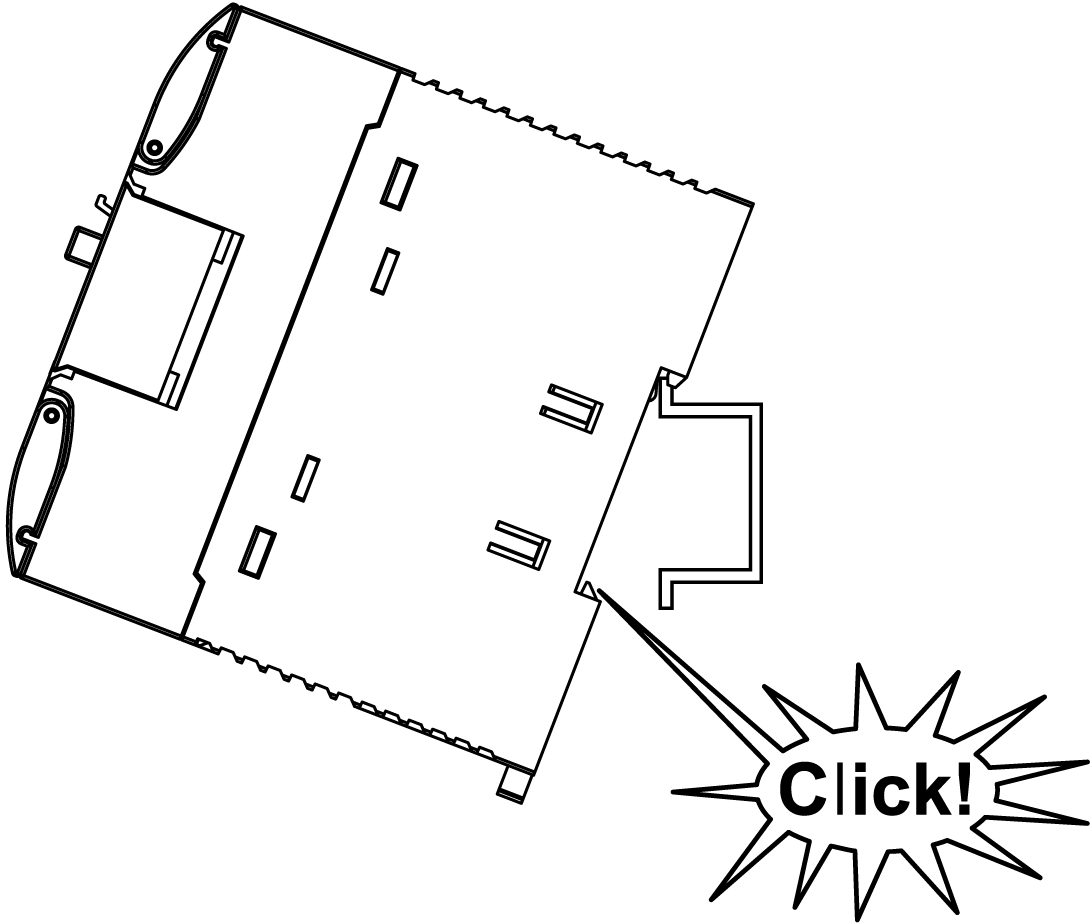
Position the top groove of the controller and its expansion modules on the top edge of the DIN rail and press the assembly against the top hat section rail (DIN rail) until you hear the top hat section rail (DIN rail) clip snap into place. 
|
|
3 |
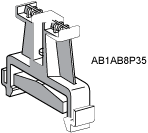
Place 2 terminal block end clamps on both sides of the controller and expansion module assembly. 
NOTE: Type ABB8P35 or equivalent terminal block end clamps help minimize sideways movement and improve the shock and vibration characteristics of the controller and expansion module assembly. |
Removing a Controller with its Expansions from a Top Hat Section Rail (DIN Rail)
|
Step |
Action |
|---|---|
|
1 |
Remove all power from your controller and expansion modules. |
|
2 |
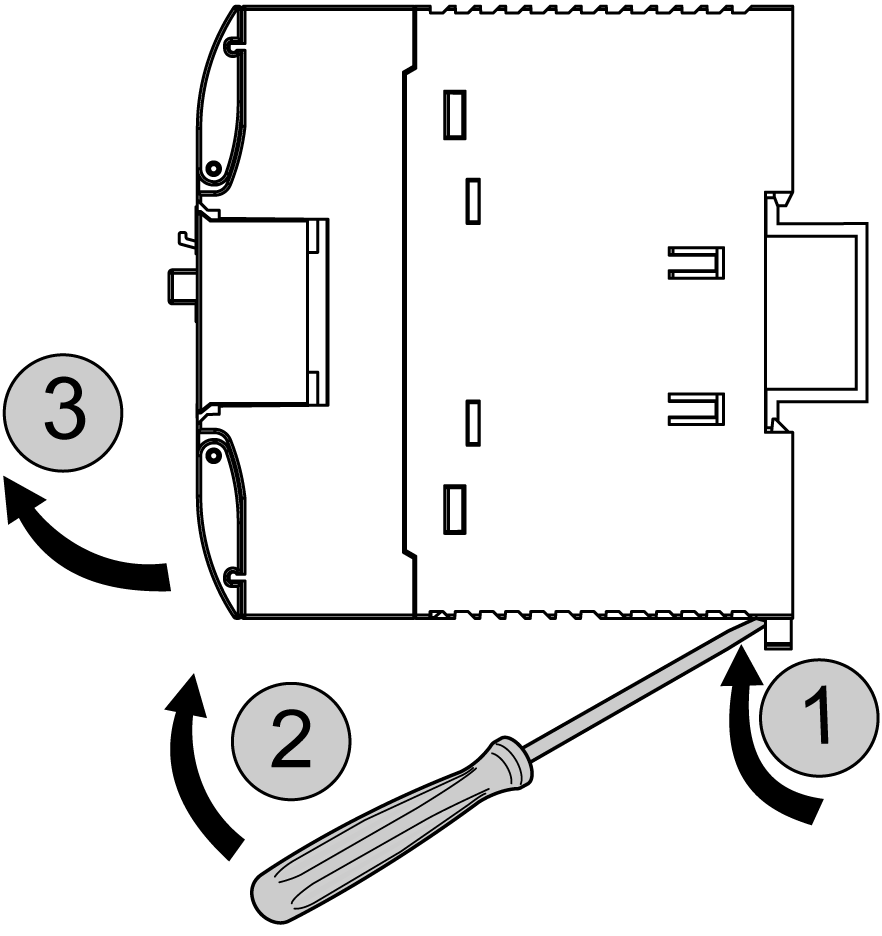
Insert a flat screwdriver into the slot of the top hat section rail (DIN rail) clip. 
|
|
3 |
Pull down the DIN rail clip. |
|
4 |
Pull the controller and its expansion modules from the top hat section rail (DIN rail) from the bottom. |