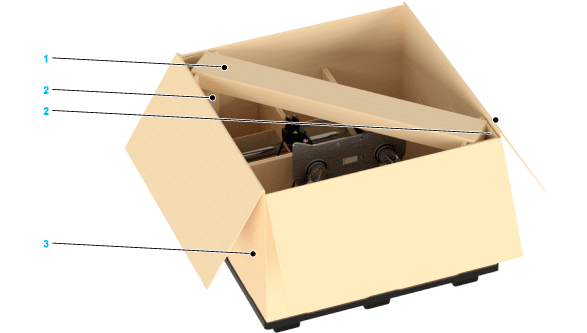
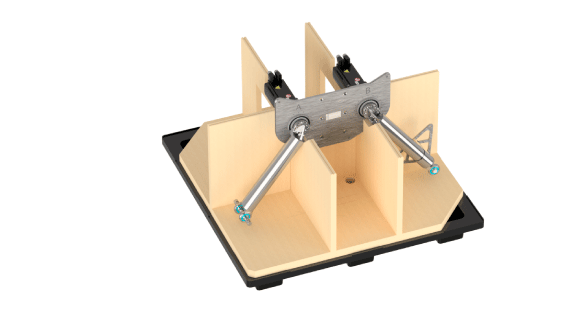
The following figures show the procedure to unpack and prepare the robot as an example.
|
Step |
Action |
|---|---|
|
1 |
Remove the lashing straps from the outer carton. |
|
2 |
Open the outer carton on the top side and remove the accessories box (1). 
|
|
3 |
Remove both triangular supports (2). |
|
4 |
Lift up and remove the outer carton (3). |
Presentation of the Robot Packaging
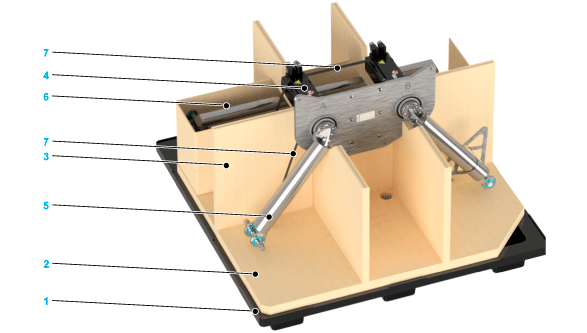
The following figure shows the packaging of robot:

|
1 Plastic pallet (120 x 120 cm (47 in x 47 in)) 2 Base carton 3 Carton block (where the housing sits) 4 Motor covers (suspended above the base carton) |
5 Upper arms in transportation position 6 Lower arm box containing the lower arms with parallel plate 7 Lashing straps |
Preparing the Robot for Installation
|
Step |
Action |
|---|---|
|
1 |
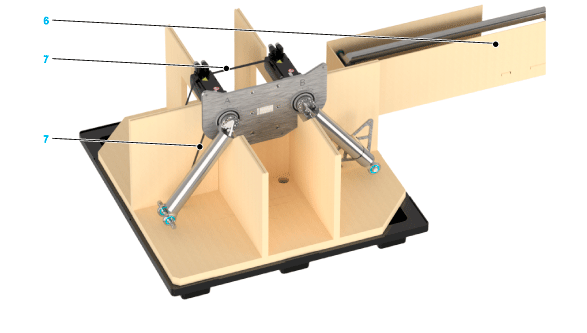
Slide out the lower arm box (6) to the left or right and verify it for transport damage. 
|
|
2 |
Remove the robot lashing straps (7). |
|
3 |
Verify the robot for transport damage. |
|
4 |
Open the accessories box and verify all included parts for transport damage and completeness. It must contain: o1x parallel linkage rod long o1x parallel linkage rod short o3x half shell for lower arm fixing o12x screw for half shell o12x lock washer for half shell o1x documentation DVD 
|
NOTE: In case of transport damage, contact your Schneider Electric representative.
For information about the disposal of the packaging, refer to Disposal.