Mounting the Robot
Overview
There are two ways of proceeding for handling and mounting of the robot. Study both ways of proceeding and determine which one would be appropriate for your environment.
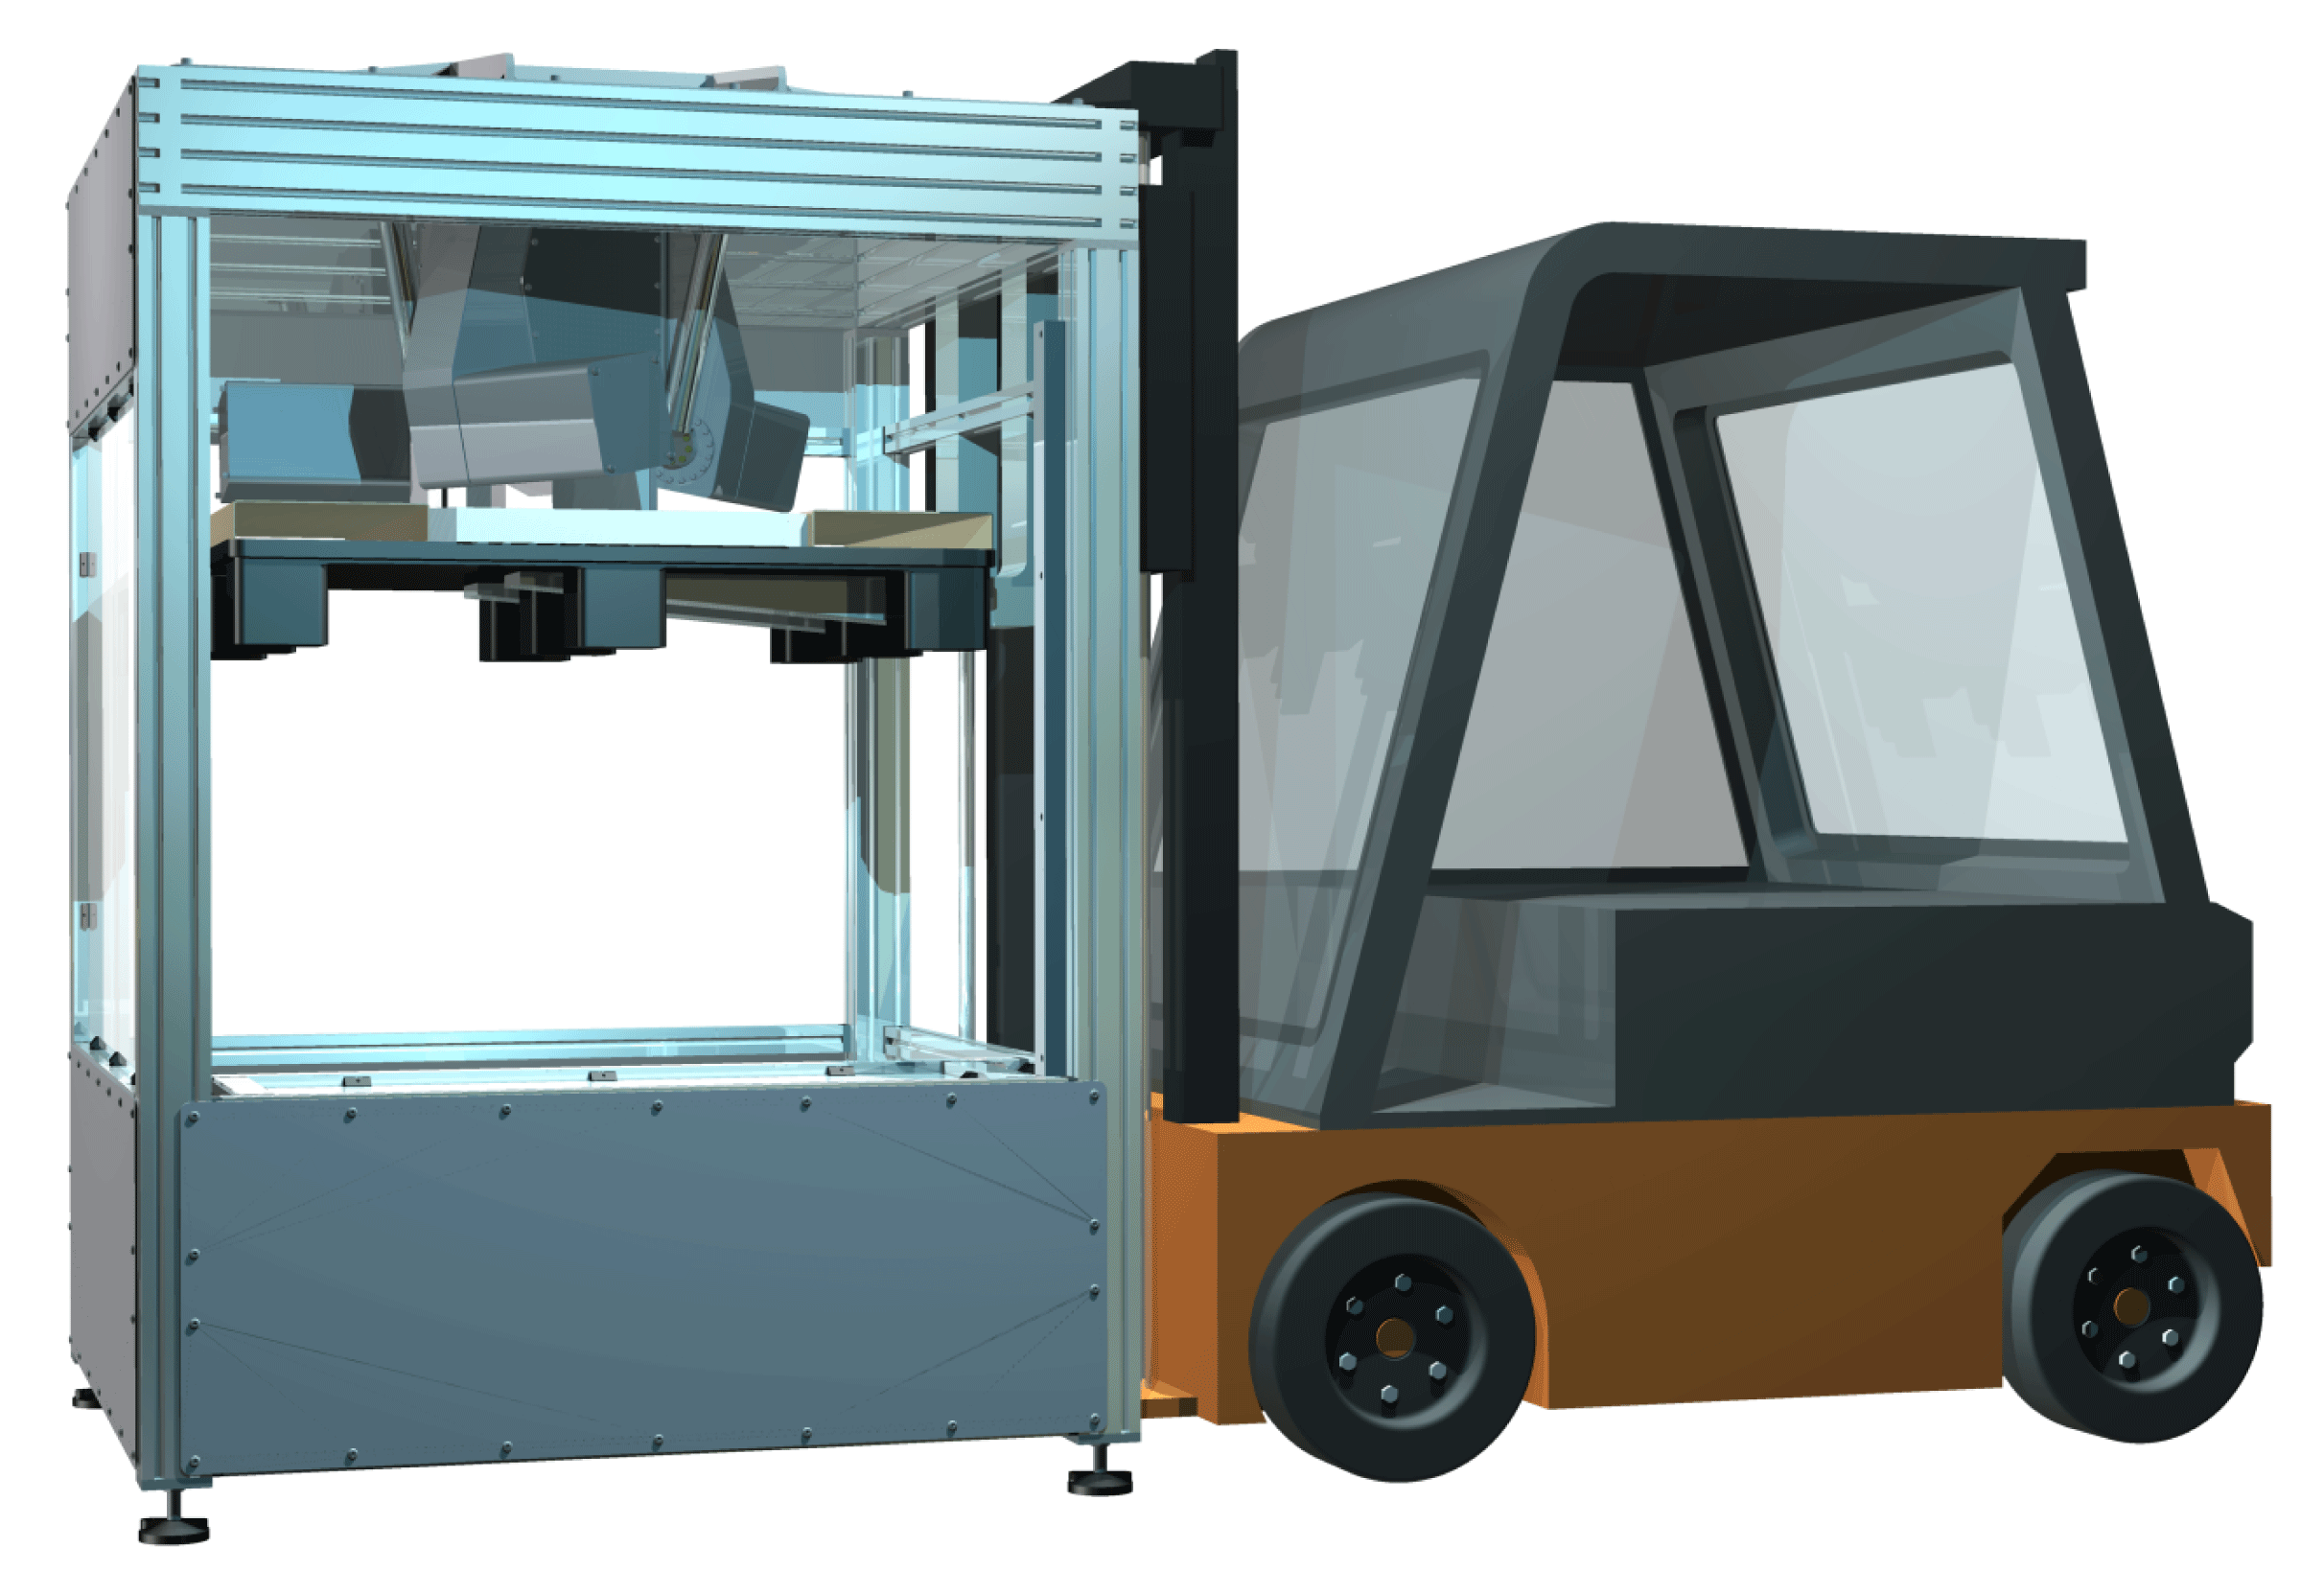
Installing by Forklift Truck
| WARNING | |
|---|---|
|
Step |
Action |
|---|---|
|
1 |
Using a forklift truck, lift the robot and the pallet into the enclosure. 
|
|
2 |
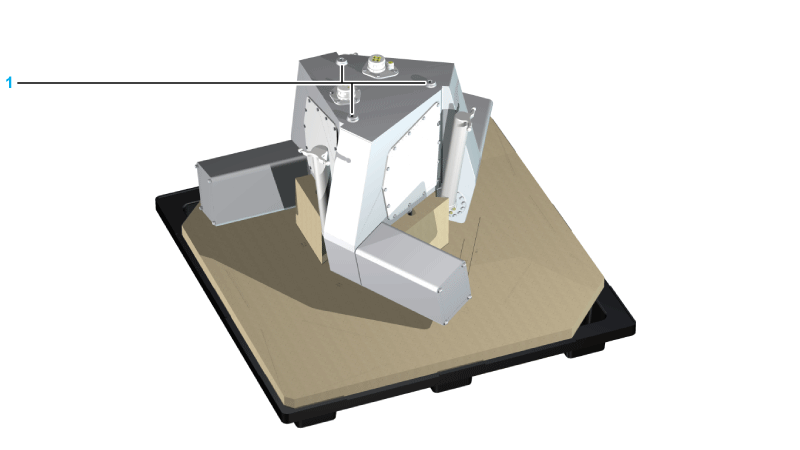
Fasten the robot to the frame by using the three provided threaded holes (1). Tightening torque and size of the threaded holes:
Property class of the screws: 8.8 or greater, or A2-70 or greater 
|
|
3 |
Remove the carton block, the base carton, and the plastic pallet from the robot. |
For information on the disposal of the packaging, refer to Disposal.
Installing by Crane
| WARNING | |
|---|---|
|
Step |
Action |
|---|---|
|
1 |
Pull the three lifting lugs underneath the robot. 
|
|
2 |
Use the crane to carefully lift the robot into the enclosure. |
|
3 |
Fasten the robot to the frame by using the three provided threaded holes (1). Tightening torque and size of the threaded holes:
Property class of the screws: 8.8 or greater, or A2-70 or greater |