Customizing the User Interface
Overview
The look of the user interface, in terms of arrangement and configuration of the particular components, depends on the following:
-
Default pre-settings for menus, keyboard functions, and toolbars. You can overwrite the EcoStruxure Machine Expert default settings via the dialog box (by default available in the menu). The present settings are saved on the local system. A reset function is available for restoring the default values at any time.
-
Properties of an editor as defined in the respective dialog box. You can also overwrite these settings. The present configuration is saved on the local system.
-
The way you arrange views or editor windows within the project. The present positions are saved with the project (see below).
-
The selected perspective. By default, the perspective is selected. For further information, refer to the Perspectives paragraph in this chapter.
Arranging Menu Bars and Toolbars
The menu bar is positioned at the top of the user interface, between the window title bar and view windows. You can position a toolbar within the same area as the menu bar (fix) or as an independent window anywhere on the screen.
In view windows, such as the , a special toolbar is available. It provides elements for sorting, viewing, and searching within the window. You cannot configure this toolbar.
Arranging Windows and Views
Closing a view or editor window: Click the cross button in the upper right corner.
Opening a closed view: you can reopen the views of default components via the menu. To open an editor window, execute the command or double-click an entry in the , , or in the .
Resizing a view or window within the frame window: Move the separator lines between neighboring views. You can resize independent view windows on the desktop by moving the window borders.
Moving a view to another position on your desk top or within the frame window: Click the title bar or, in the case of tabbed views, click the tab of the view, keep the mouse-button pressed, and move the view to the desired place. Arrow symbols indicate possible target positions. The target position is indicated by a blue-shadowed area.
Arrow symbols indicating new position
|
Arrow symbol |
Description |
|---|---|

|
View is placed above. |

|
View is placed below. |
|
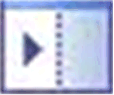
View is placed to the right. |
|
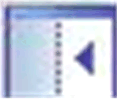
View is placed to the left. |
|
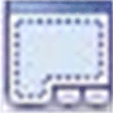
View is placed here: the view currently placed at this position and the new one are arranged as icons. |
Example of navigation by the arrow symbols
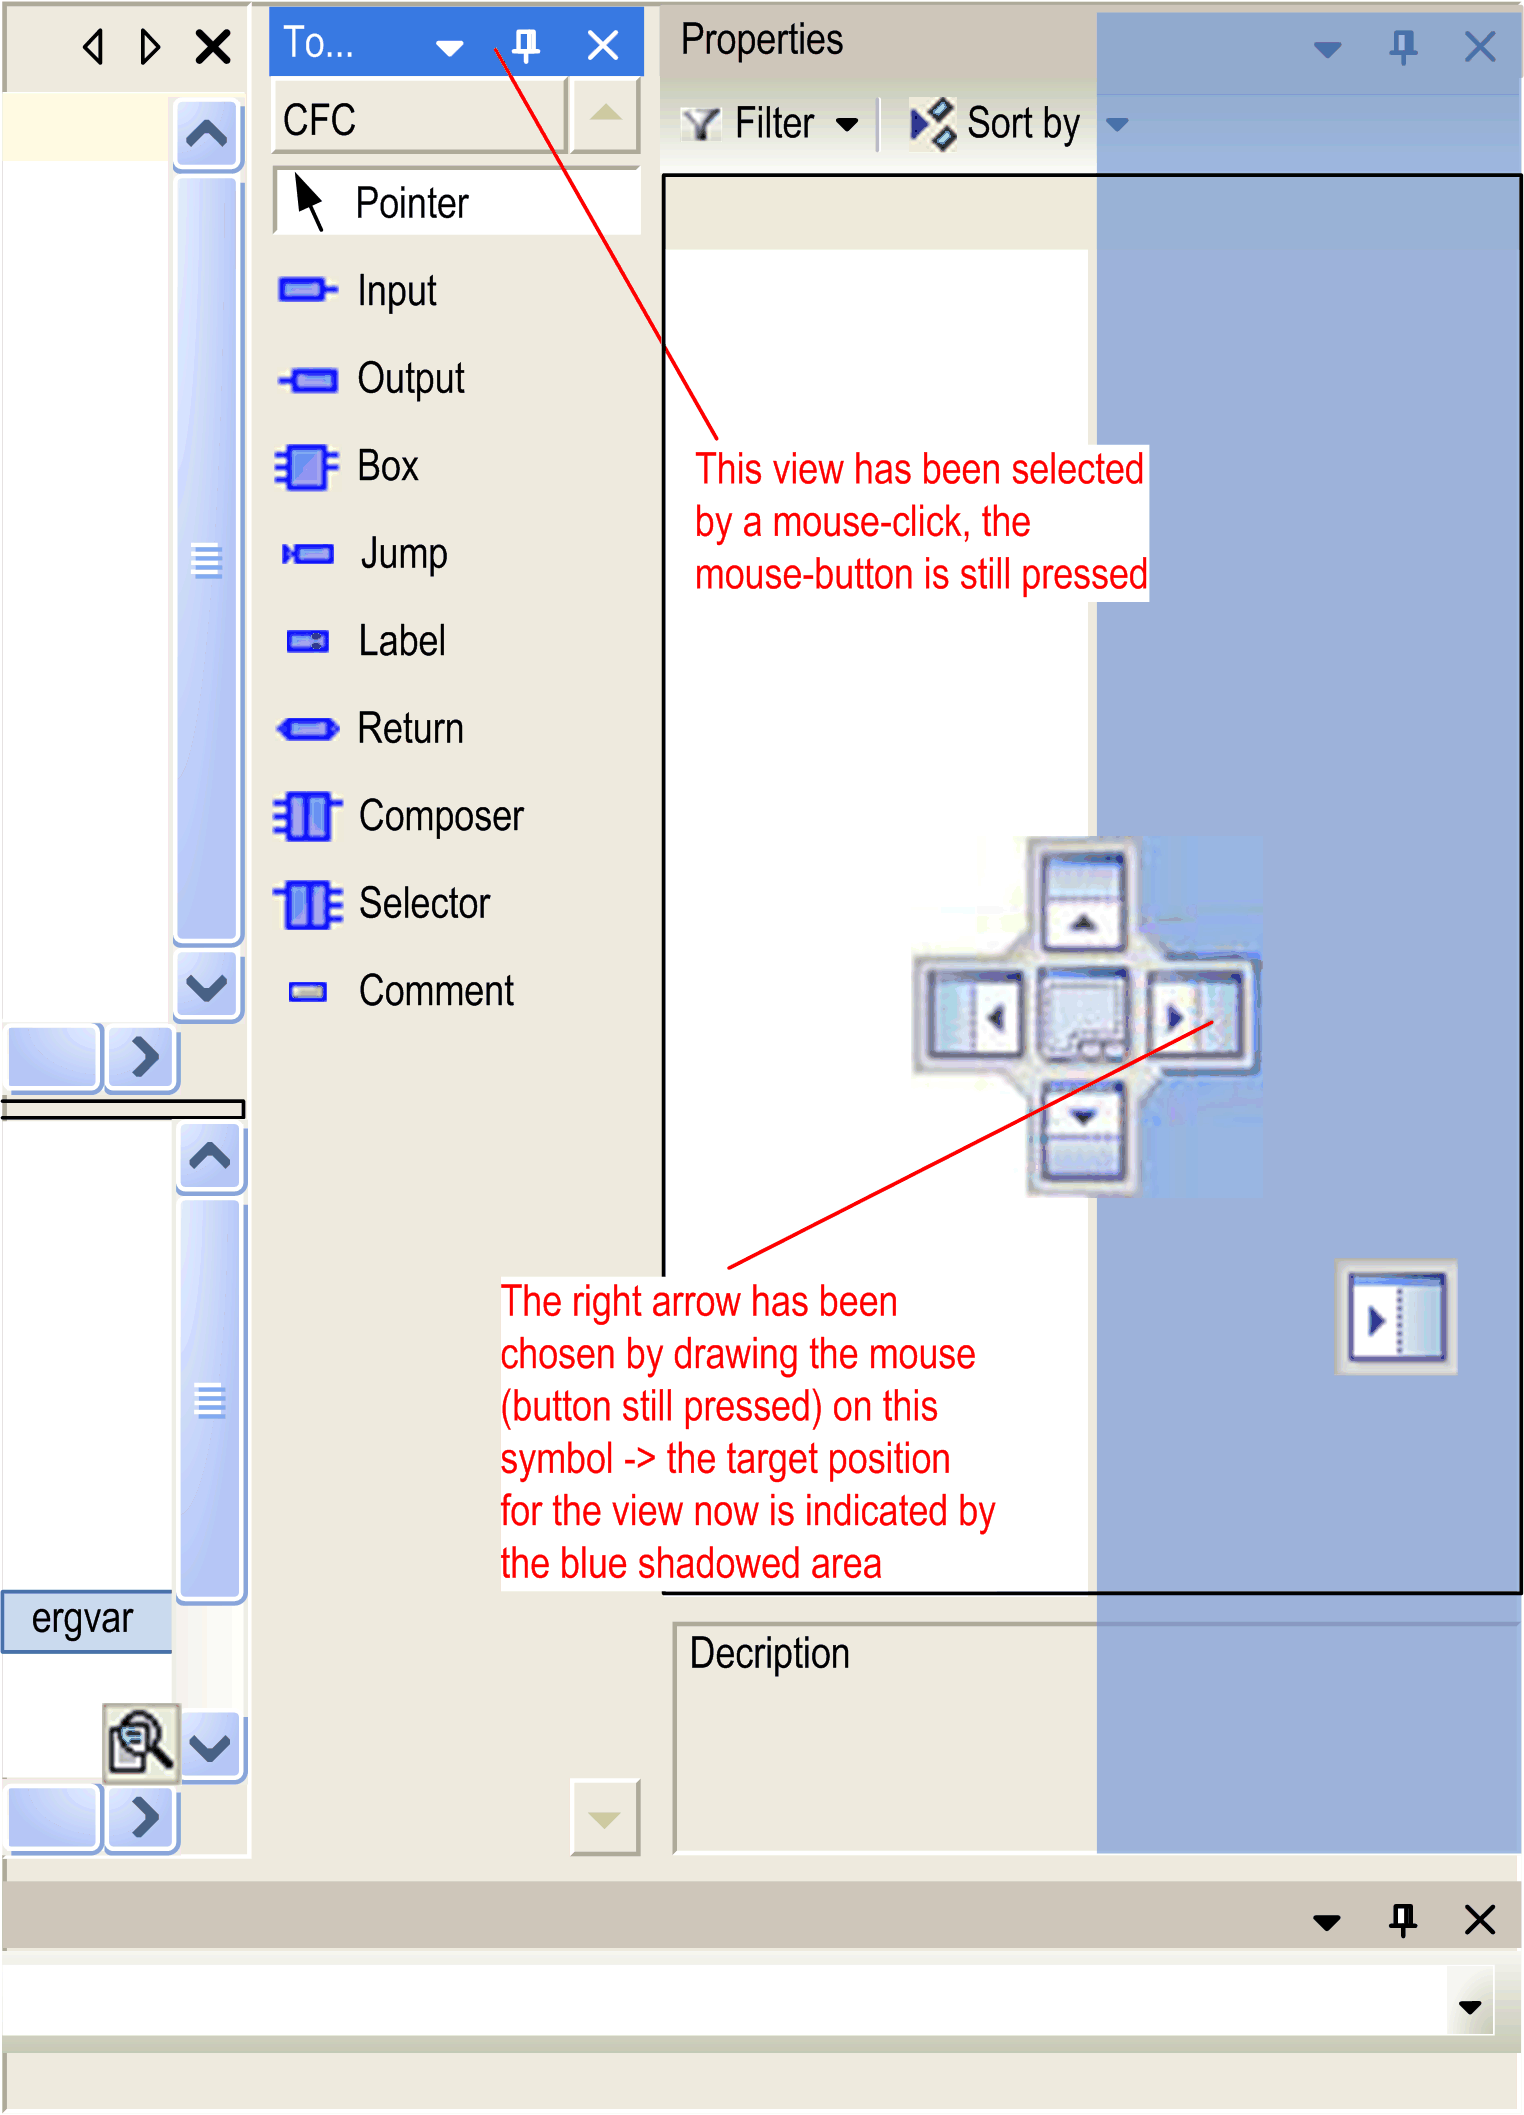
When you release the mouse-button, the view is placed at the new position.
Views with an button can be placed as independent windows (floating) anywhere on the screen by moving them and not dragging them on one of the arrow symbols. In this case, the view looses the button. As an alternative, execute the commands and from the menu.
Hiding views: You can hide views with buttons at the border of the EcoStruxure Machine Expert window. Click the down button in the upper right corner of the view. The view will be displayed as a tab at the nearest border of the frame window. The content of the view is only visible as long as the cursor is moved on this tab. The tab displays the icon and the name of the view. This state of the view is indicated by the docking button changed to .
Unhiding views: To unhide a view, click the button.
An alternative way of hiding and unhiding a view is provided by the command that is by default available in the menu.
It is not possible to reposition the information and status bar on the lower border of the user interface.
Perspectives
A perspective is used to save the layout of EcoStruxure Machine Expert views. It stores whether the and views are open and at which position the view windows are located (docked or independent windows).
By default, EcoStruxure Machine Expert provides the following perspectives for specific use cases in the menu or in the perspective table in the toolbar.
|
Perspective name |
Use case |
(on the left side) |
Catalog views (on the right side) |
Views at the bottom of the screen |
|---|---|---|---|---|
|
|
Default views. |
|
– |
|
|
|
For working within the ETEST framework. |
|
– |
|
|
|
For adding / configuring devices. |
|
Hardware catalog |
(in mode) |
|
|
For online mode. |
|
– |
|
|
|
For working with modules. |
|
– |
(in mode) |
|
|
For adding / creating logic. |
|
Hardware catalog |
(in mode) |
The perspective is automatically selected when the application is switched to online mode.
Creating your own perspective:
In addition to these default perspectives, you can create your own view layout and save it in different perspectives according to your individual requirements.
To create your own perspective, proceed as follows:
|
Step |
Action |
|---|---|
|
1 |
Resize, open, or close views according to your individual requirements. |
|
2 |
Execute the command from the menu to save your modifications to a new perspective. |
|
3 |
In the dialog box, enter a name for your perspective. Result: The present view layout is saved. The new perspective is available in the menu and in the perspective table in the toolbar. |
Resetting a perspective to its initial state:
To reset a modified perspective to its initial state, execute the command from the menu.
Importing / exporting perspectives:
To be able to exchange perspectives between different EcoStruxure Machine Expert installations or between different users, the dialog box allows you to export perspectives to an XML file and to import already available perspective XML files.
Zoom
Each editor window provides a zoom function. Click the zoom button  in the lower right corner of the window to open a list. It allows you to choose one of the zoom levels 25, 50, 100, 150, 200, and 400 percent or to enter a zoom factor of your choice. A printout always refers to the 100% view.
Customization of the user interface is possible in offline and in online mode.