Web Server
Introduction
As standard equipment, the controller provides an embedded Web server with a predefined, built-in website. You can use the pages of the website for module setup and control as well as application diagnostics and monitoring. These pages are ready to use with a Web browser. No configuration or programming is required.
The Web server can be accessed by the web browsers listed below:
-
Google Chrome (version 87 or greater)
-
Mozilla Firefox (version 62 or greater)
The Web server can maintain 10 simultaneous open sessions.
The Web server is a tool for reading and writing data, and controlling the state of the controller, with access to all data in your application. However, if there are security concerns over these functions, you must at a minimum assign a secure password to the Web server or disable the Web server to prevent unauthorized access to the application. By enabling the Web server, you enable these functions.
The Web server allows you to monitor a controller and its application remotely, to perform various maintenance activities including modifications to data and configuration parameters, and change the state of the controller. Care must be taken to ensure that the immediate physical environment of the machine and process is in a state that will not present safety risks to people or property before exercising control remotely.
| WARNING | |
|---|---|
Web Server Access
Access to the Web server is controlled by User Rights when they are enabled in the controller. For more information, refer to Tab Description.
To access the Web server you must first connect to the controller with EcoStruxure Machine Expert or Controller Assistant.
| WARNING | |
|---|---|
In order to change the password, go to tab of the device editor. For more information, refer to the EcoStruxure Machine Expert Programming Guide.
Home Page Access
To access the website home page, type in your navigator the IP address of the controller.
This figure shows the Web server site login page:

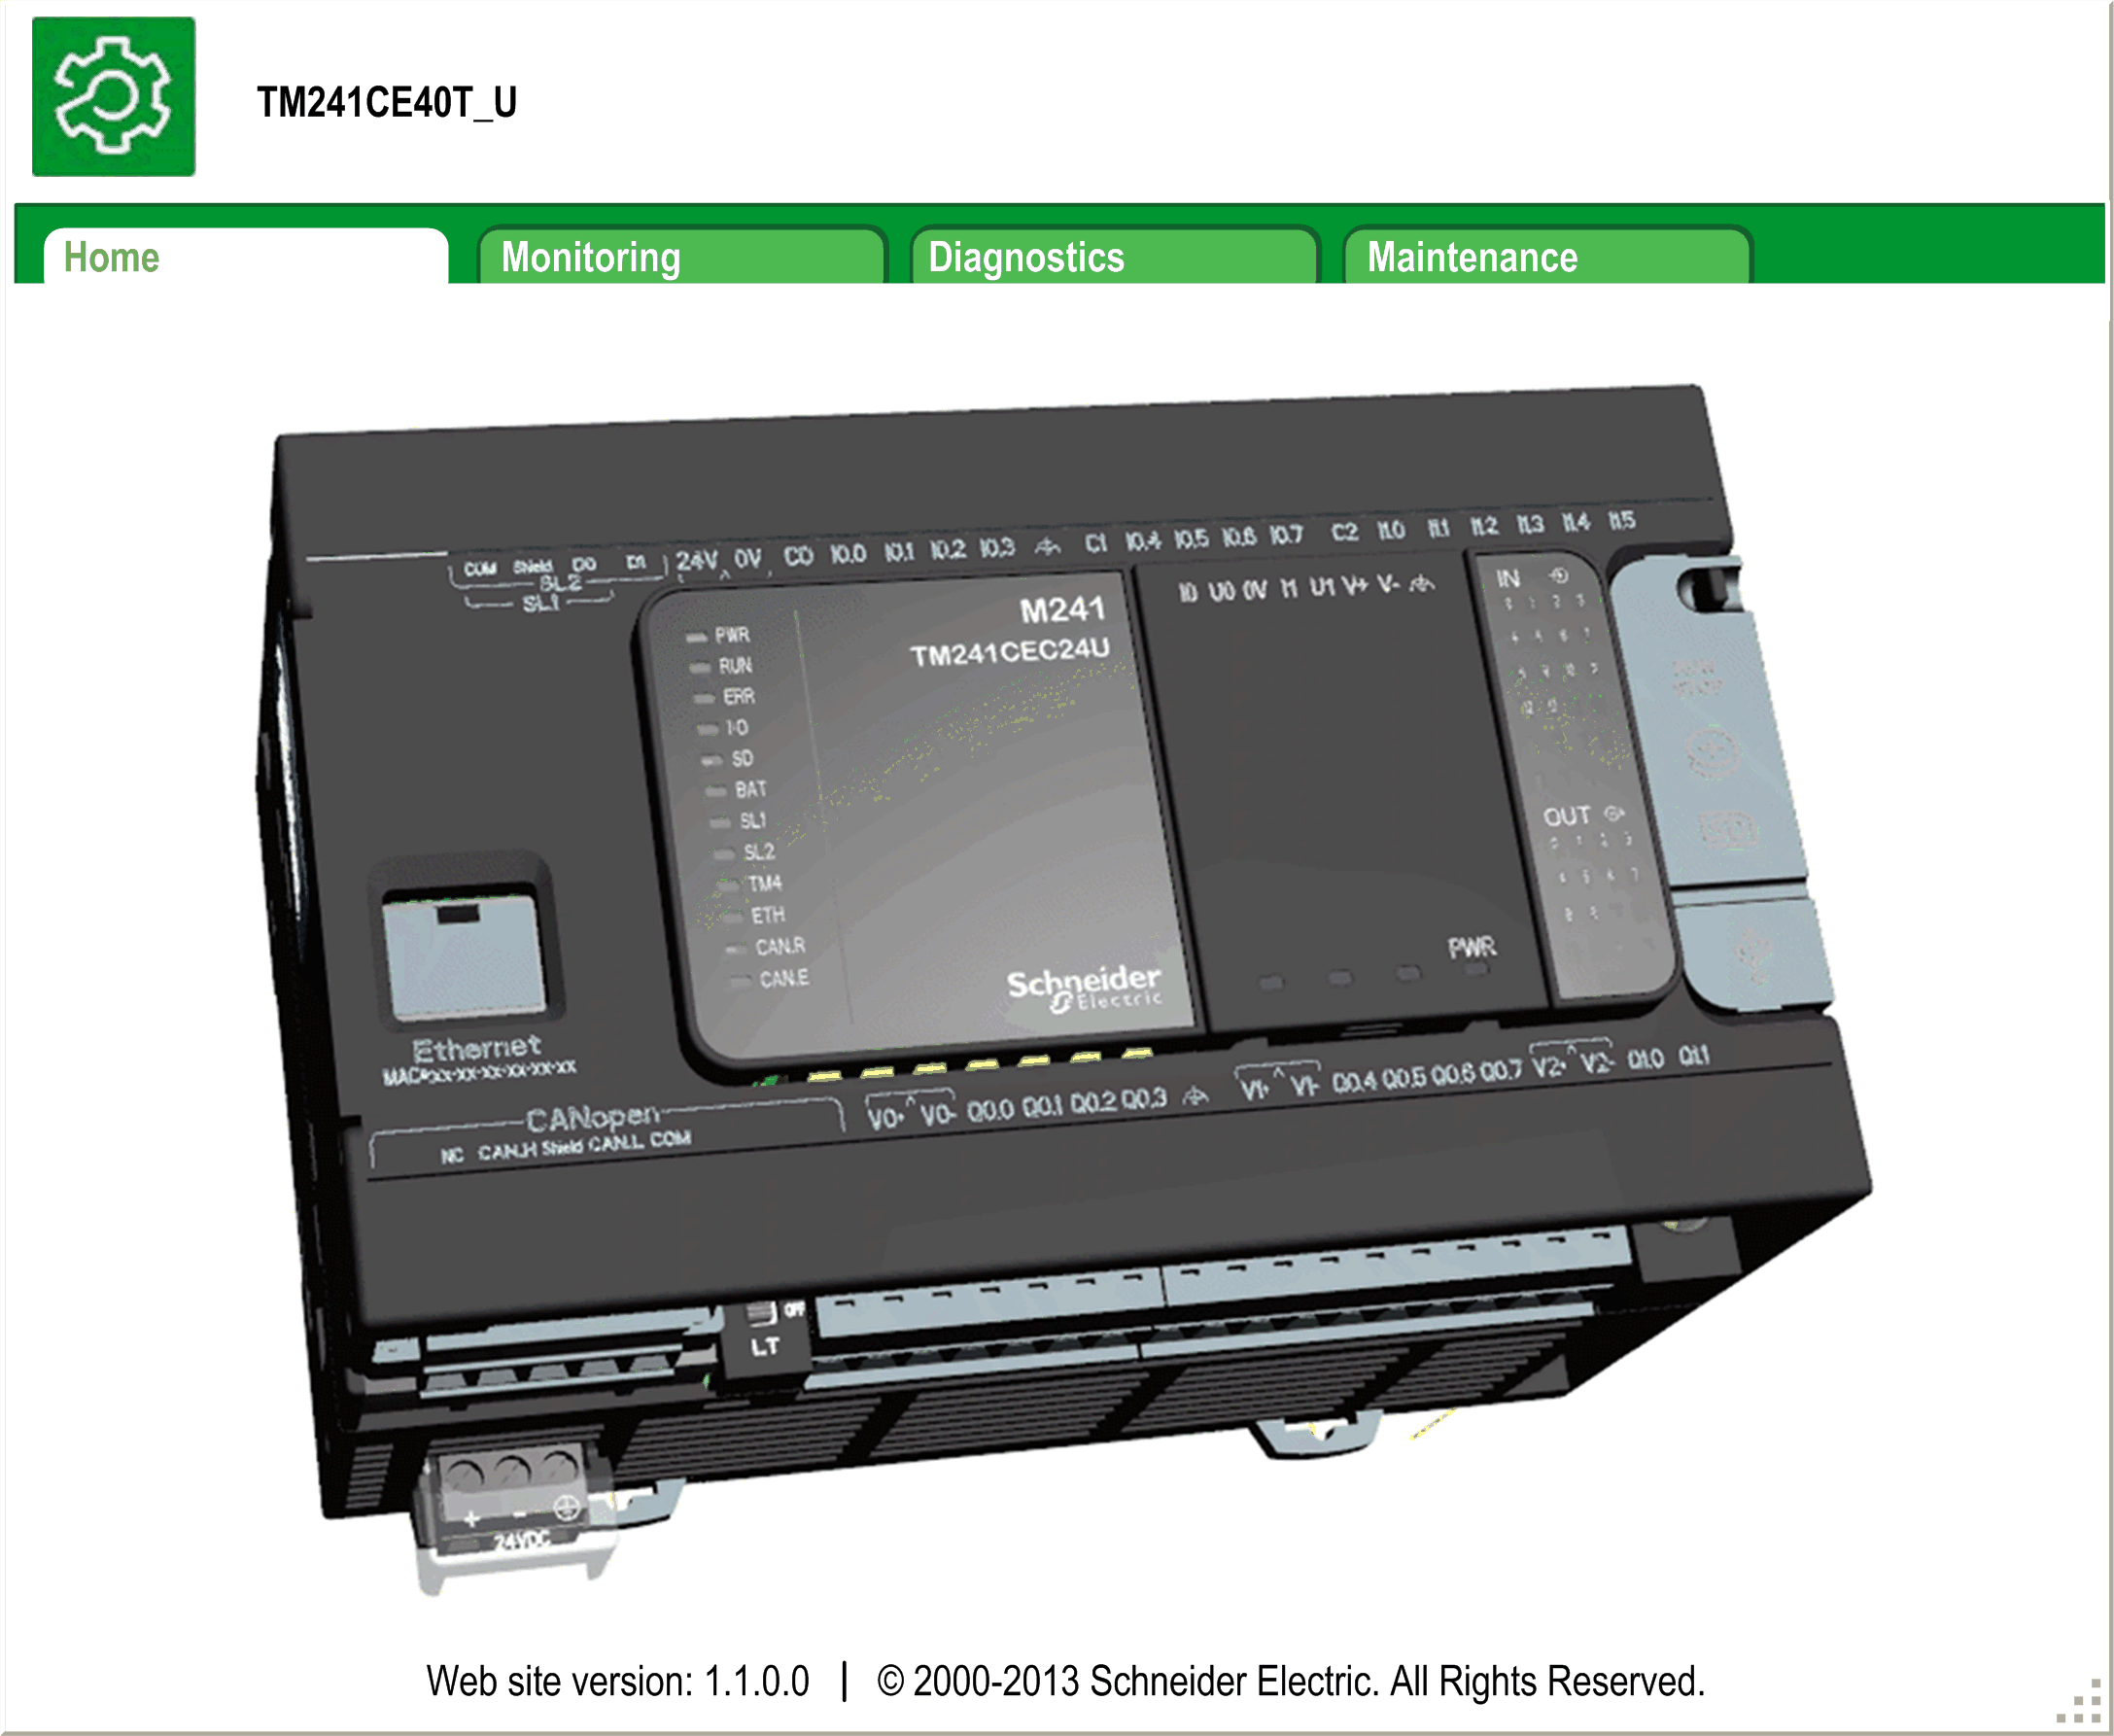
This figure shows the home page of the Web server site once you have logged in:
| WARNING | |
|---|---|
Monitoring: Data Parameters
Monitoring Web Server Variables
To monitor Web server variables, you must add a object to your project. Within this object, you can select all variables you want to monitor.
This table describes how to add a object:
|
Step |
Action |
|---|---|
|
1 |
Right click the node in the tab. |
|
2 |
Click . Result: The window is displayed. |
|
3 |
Click . Result: The object is created and the editor is open.
NOTE: As a object is unique for a controller, its name cannot be changed.
|
Web Data Configuration Editor
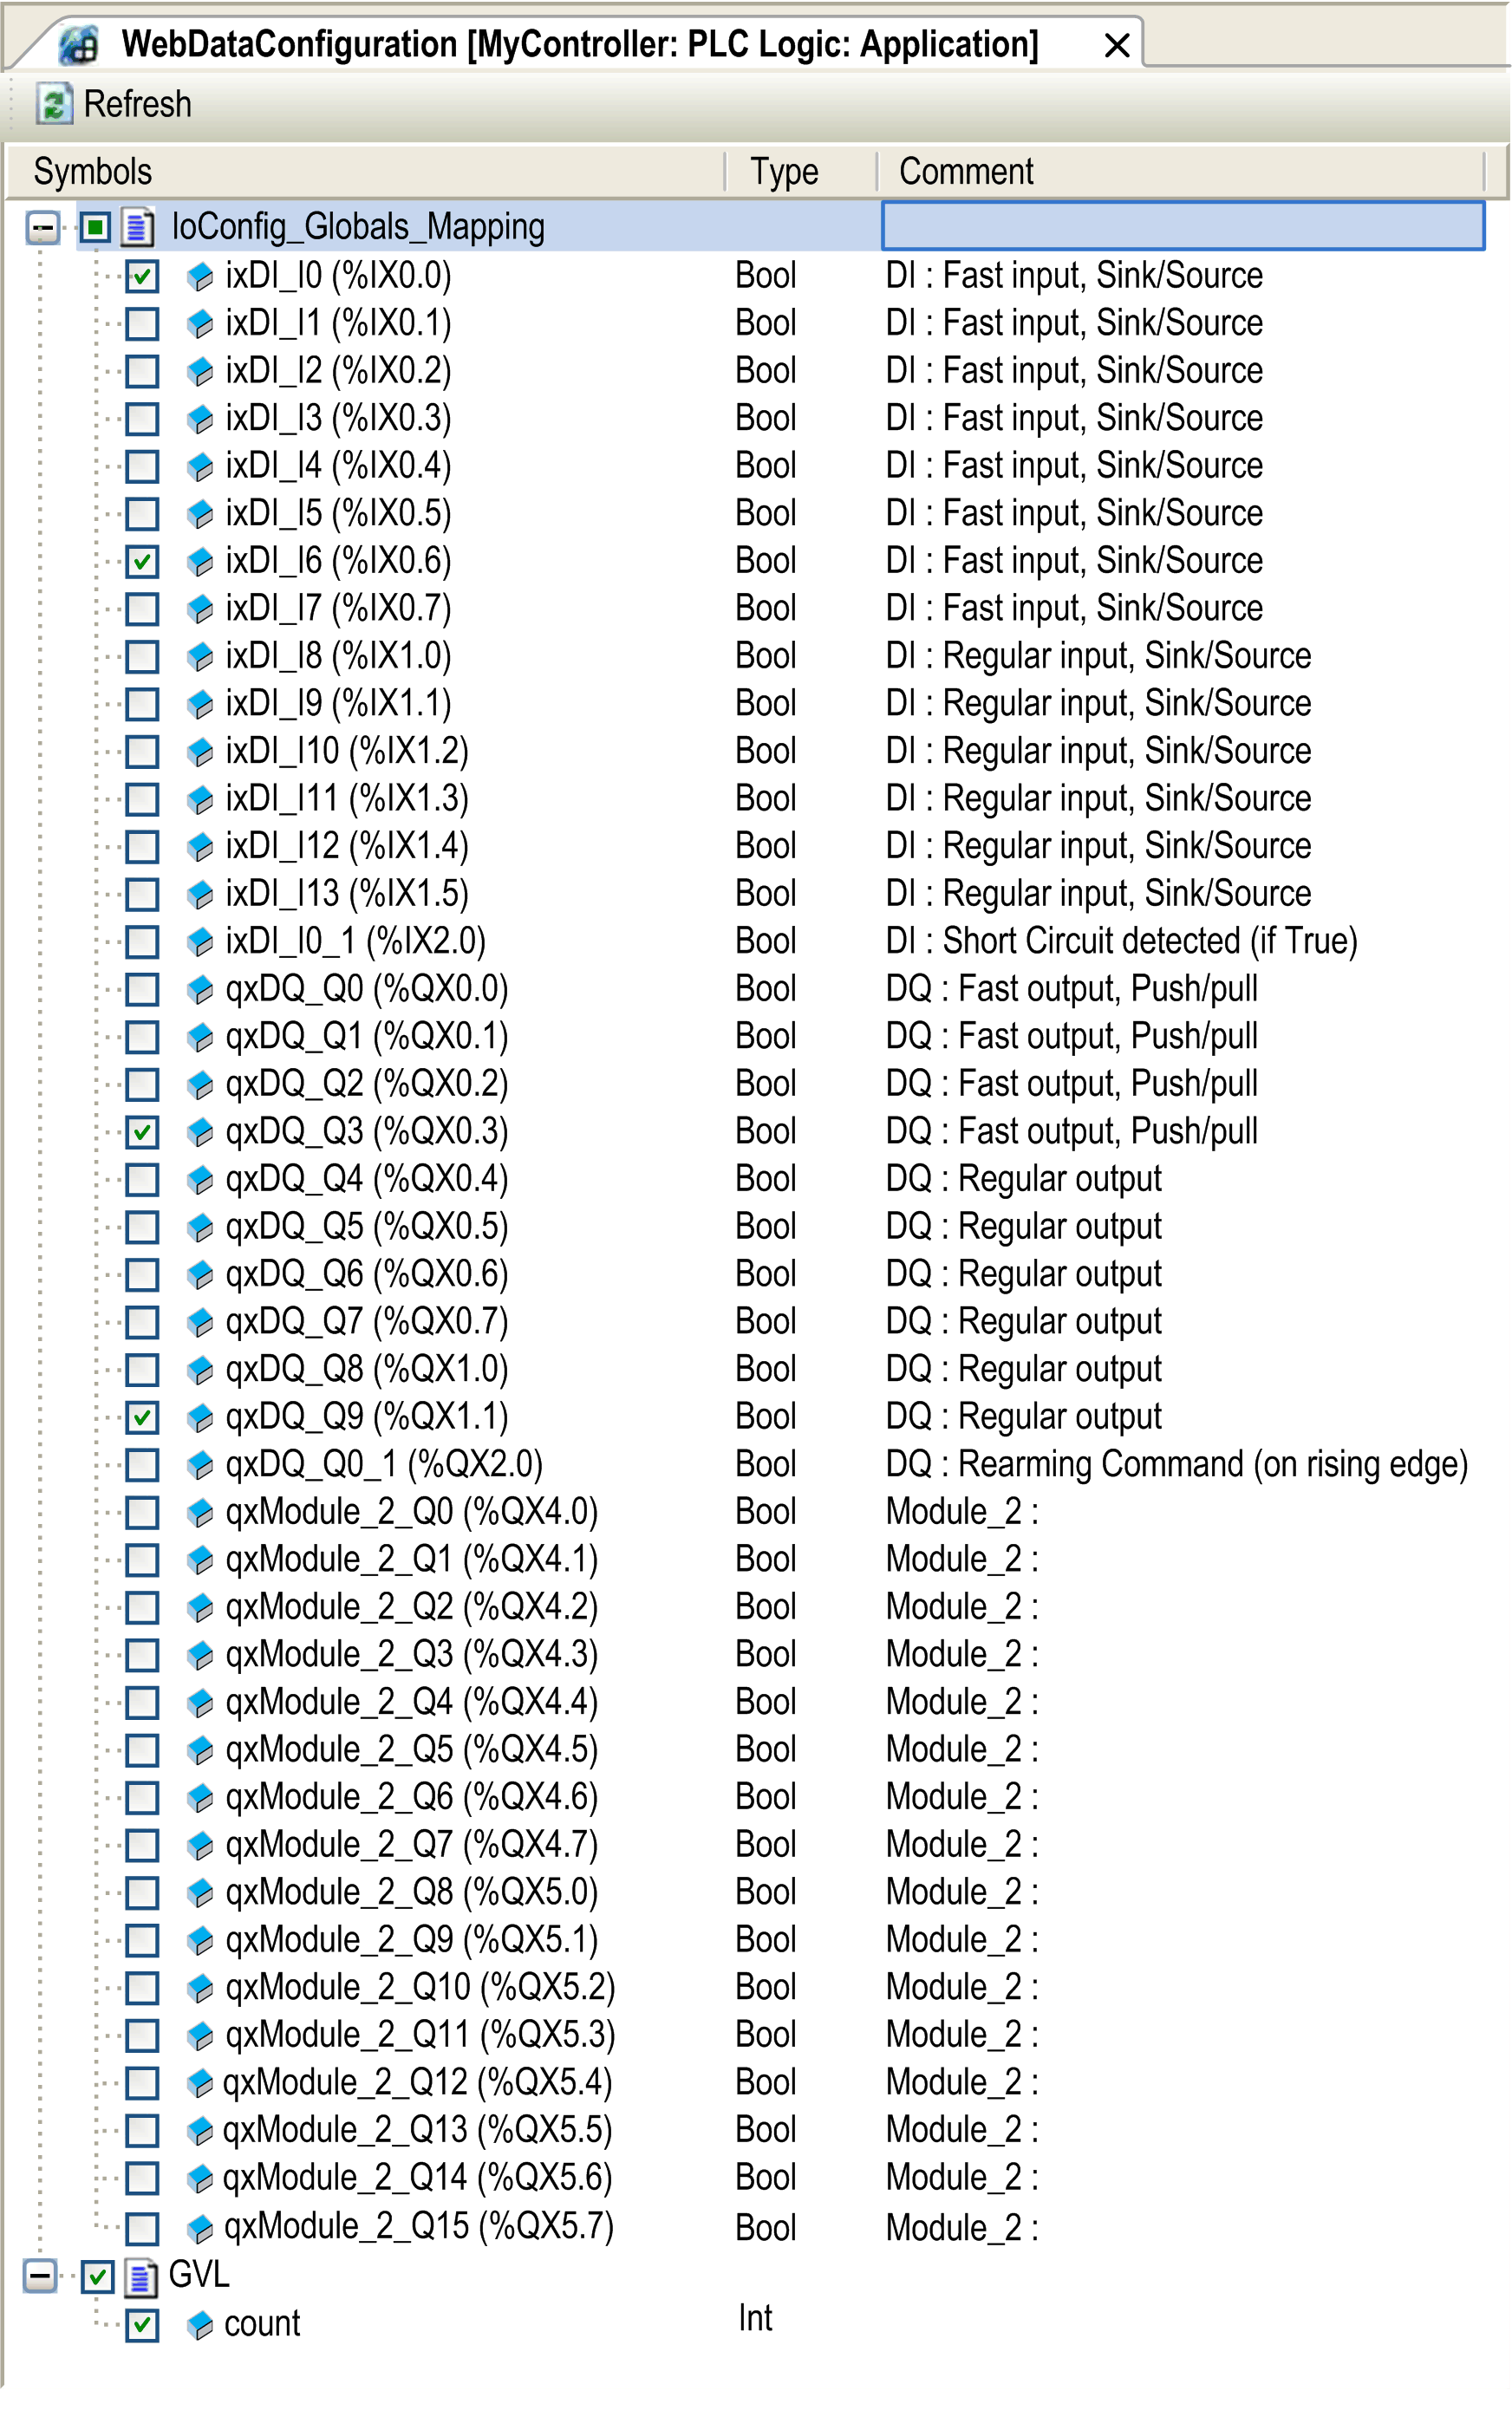
Click the button to be able to select variables, this action will display all the variables defined in the application.

Select the variables you want to monitor in the Web server:
Monitoring: Data Parameters Submenu
The submenu allows you to create and monitor some lists of variables. You can create several lists of variables (maximum 10 lists), each one containing several variables of the controller application (maximum 20 variables per list).
Each list has a name, and a refresh period. The lists are saved in the non-volatile memory of the controller, so that a created list can be accessed (loaded, modified, saved) from any Web client application accessing this controller.
The submenu allows you to display and modify variable values:

|
Element |
Description |
|---|---|
|
|
Adds a list description or a variable |
|
|
Deletes a list description or a variable |
|
|
Refreshing period of the variables contained in the list description (in ms) |
|
|
Enables I/O refreshing:
|
|
|
Loads saved lists from the controller non-volatile memory to the Web server page |
|
|
Saves the selected list description in the controller (/usr/web directory) |
%IX, %QX) are not directly accessible. To access IEC objects you must first group their contents in located registers (refer to Relocation Table).
%MX) cannot be selected.
Monitoring: IO Viewer Submenu
The submenu allows you to display and modify the I/O values:
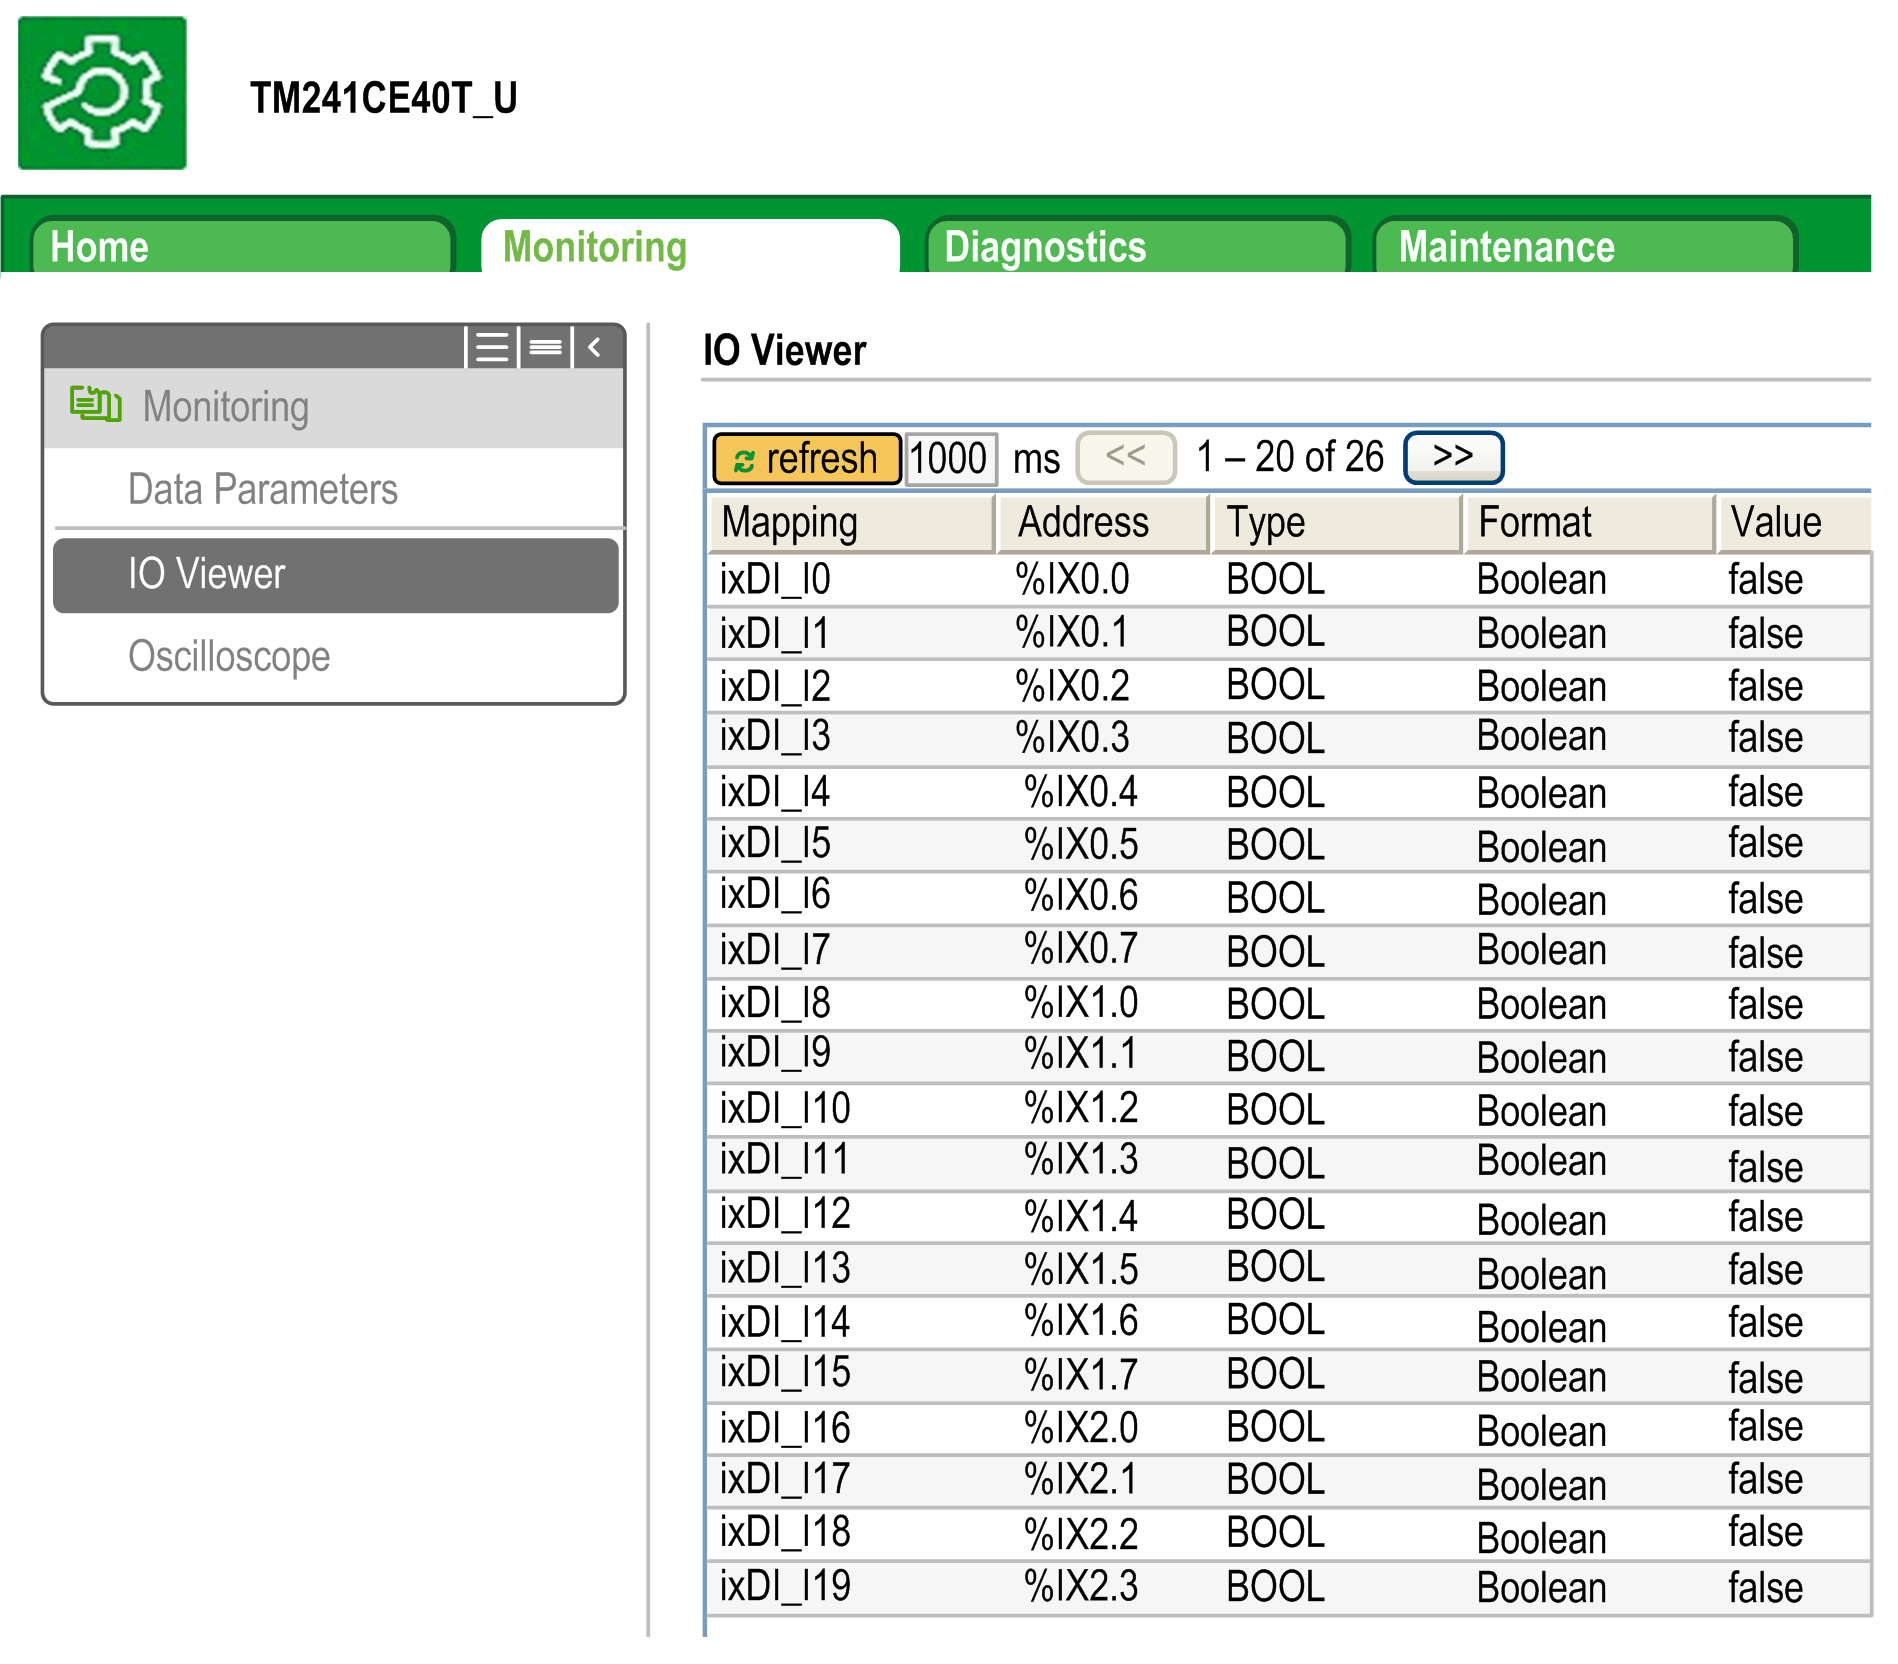
|
Element |
Description |
|---|---|
|
|
Enables I/O refreshing:
|
|
|
I/O refreshing period in ms |
|
<< |
Goes to previous I/O list page |
|
>> |
Goes to next I/O list page |
Monitoring: Oscilloscope Submenu
The submenu can display up to 2 variables in the form of a recorder time chart:
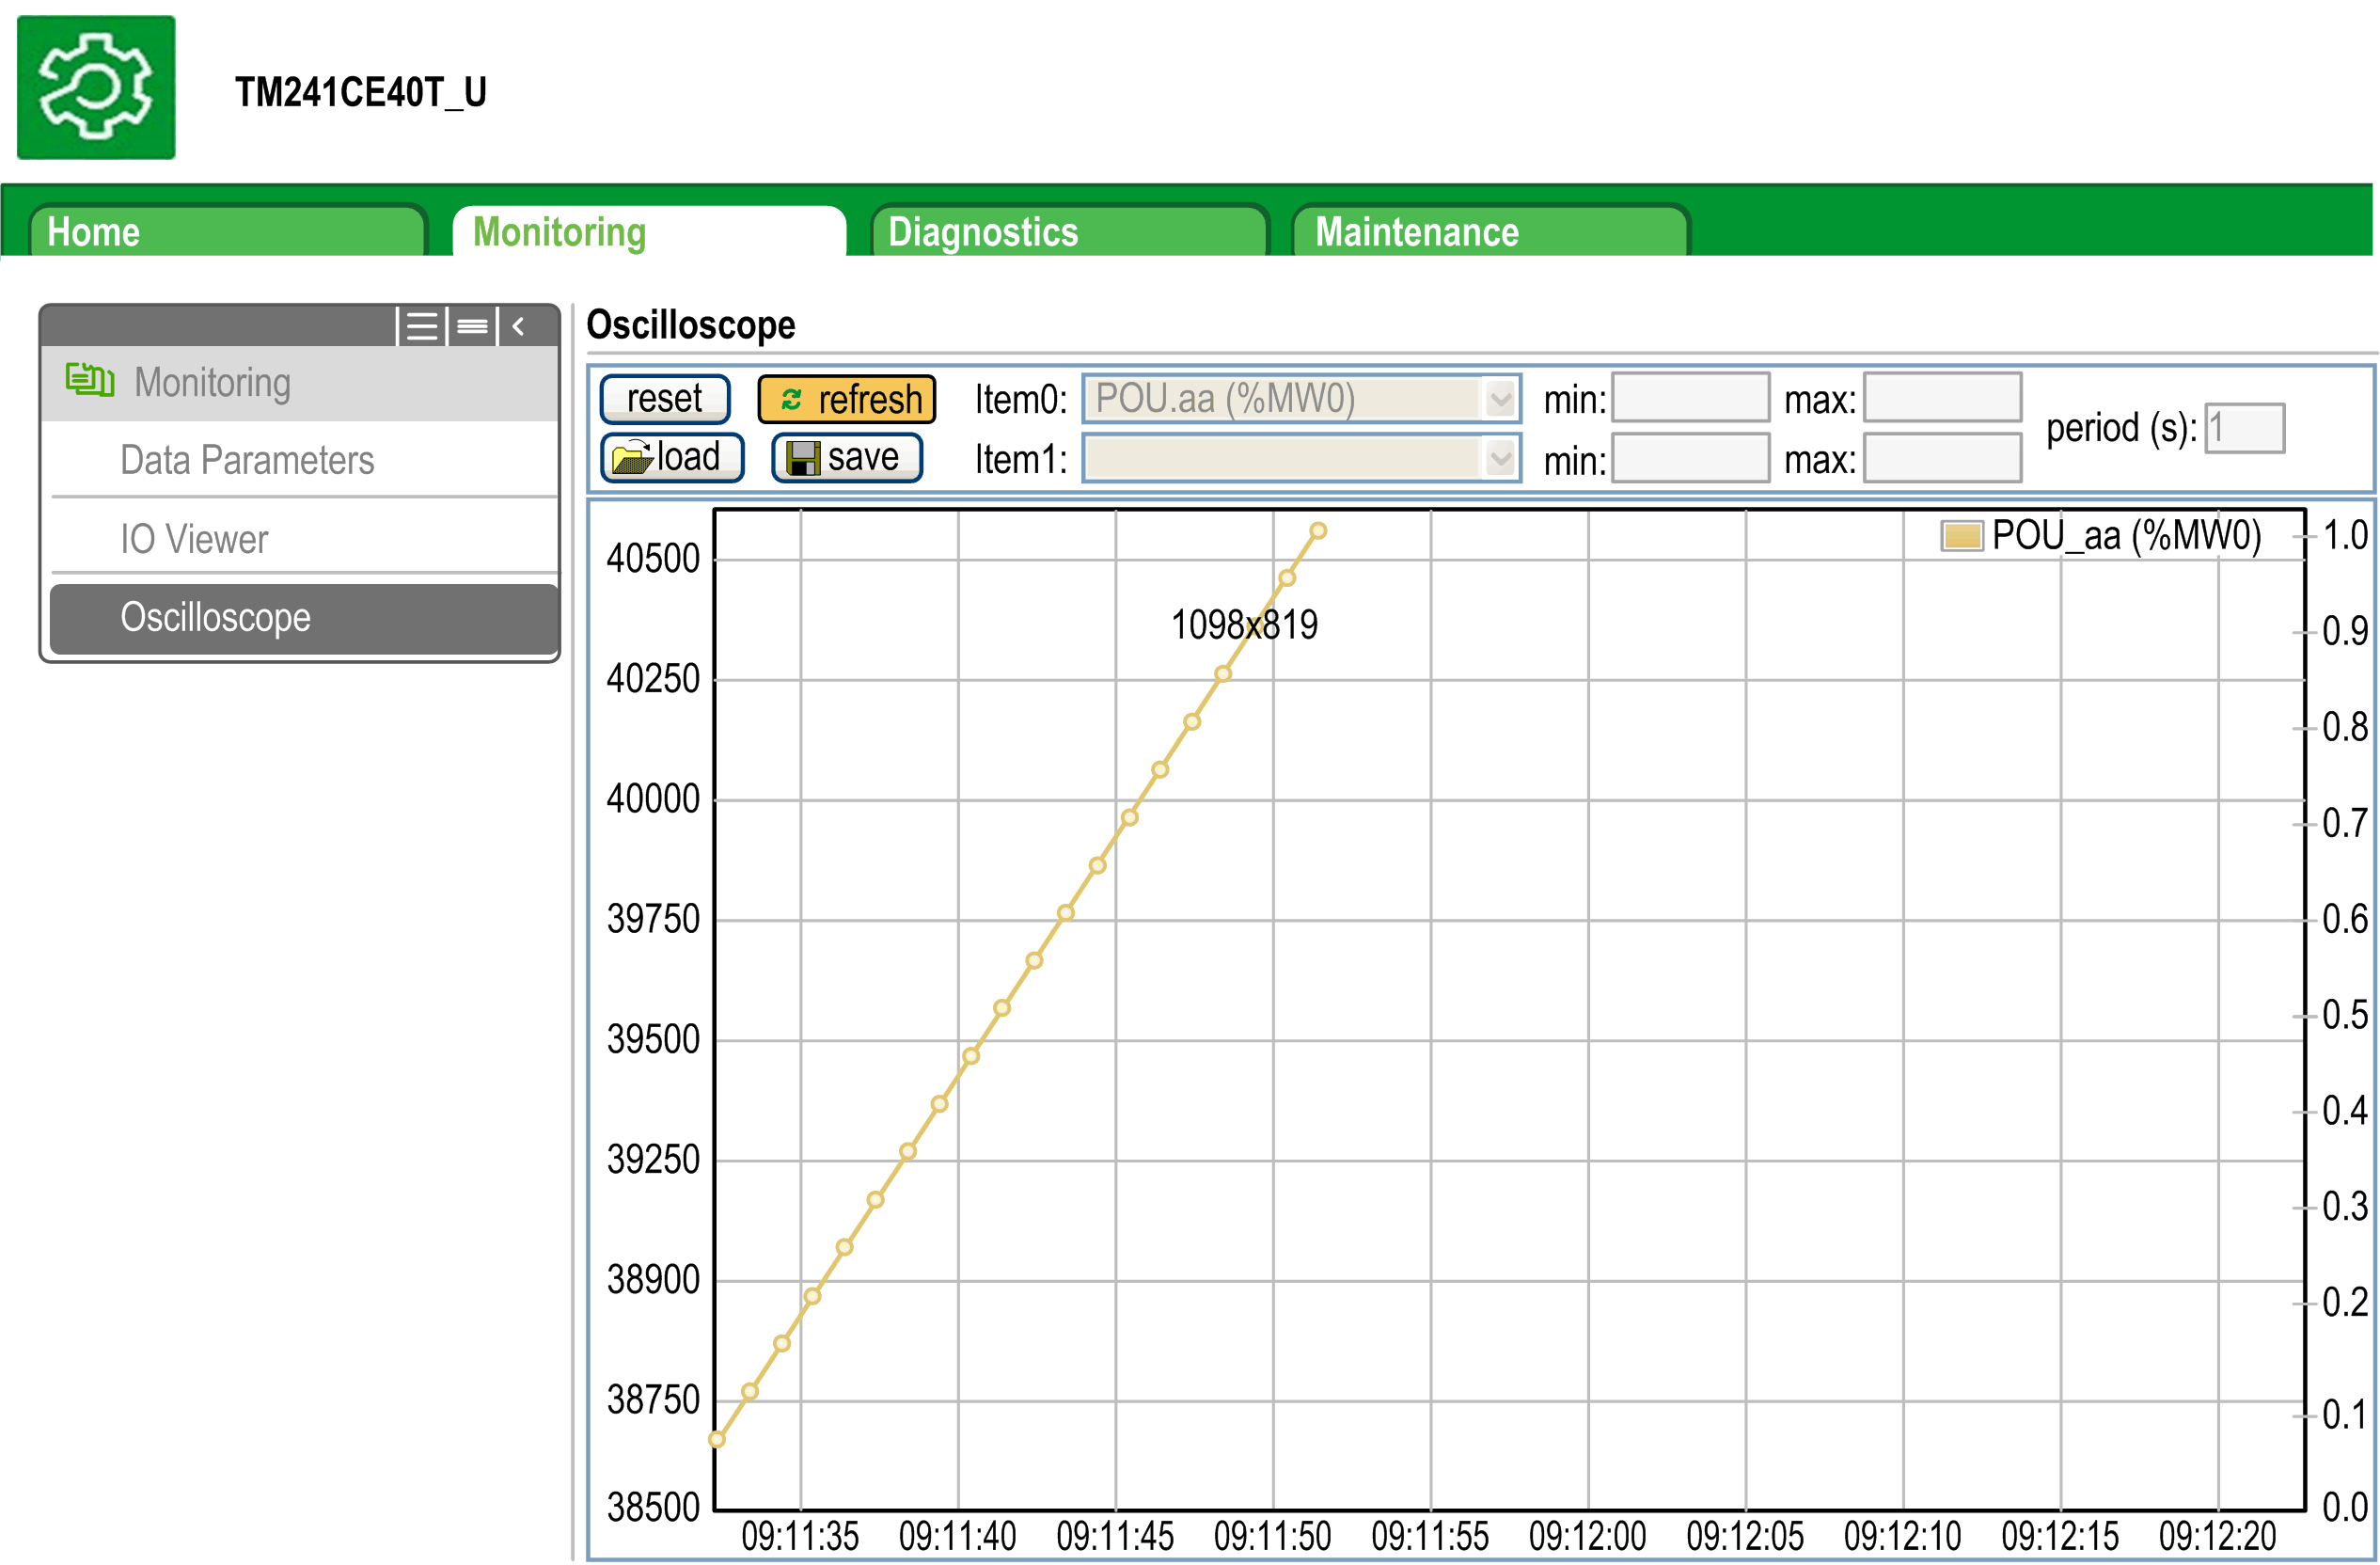
|
Element |
Description |
|---|---|
|
|
Erases the memorization |
|
|
Starts/stops refreshing |
|
|
Loads parameter configuration of Item0 and Item1 |
|
|
Saves parameter configuration of Item0 and Item1 in the controller |
|
|
Variable to be displayed |
|
|
Variable to be displayed |
|
|
Minimum value of the variable axis |
|
|
Maximum value of the variable axis |
|
|
Page refresh period in milliseconds |
Diagnostics: Scanner Status Submenu
The submenu displays status of the Modbus TCP I/O Scanner (IDLE, STOPPED, OPERATIONAL) and the health bit of up to 64 Modbus scanned devices.
For more information, refer to EcoStruxure Machine Expert Modbus TCP User guide.
Diagnostics: EtherNet/IP Status Submenu
The submenu displays the status of the EtherNet/IP Scanner (IDLE, STOPPED, OPERATIONAL) and the health bit of up to 16 EtherNet/IP target devices.
For more information, refer to EcoStruxure Machine Expert EtherNet/IP User guide.
Maintenance Page
The Maintenance page provides access to the controller data for maintenance capabilities.
Maintenance: Post Conf Submenu
The Post Conf submenu allows you to update the post configuration file saved on the controller:
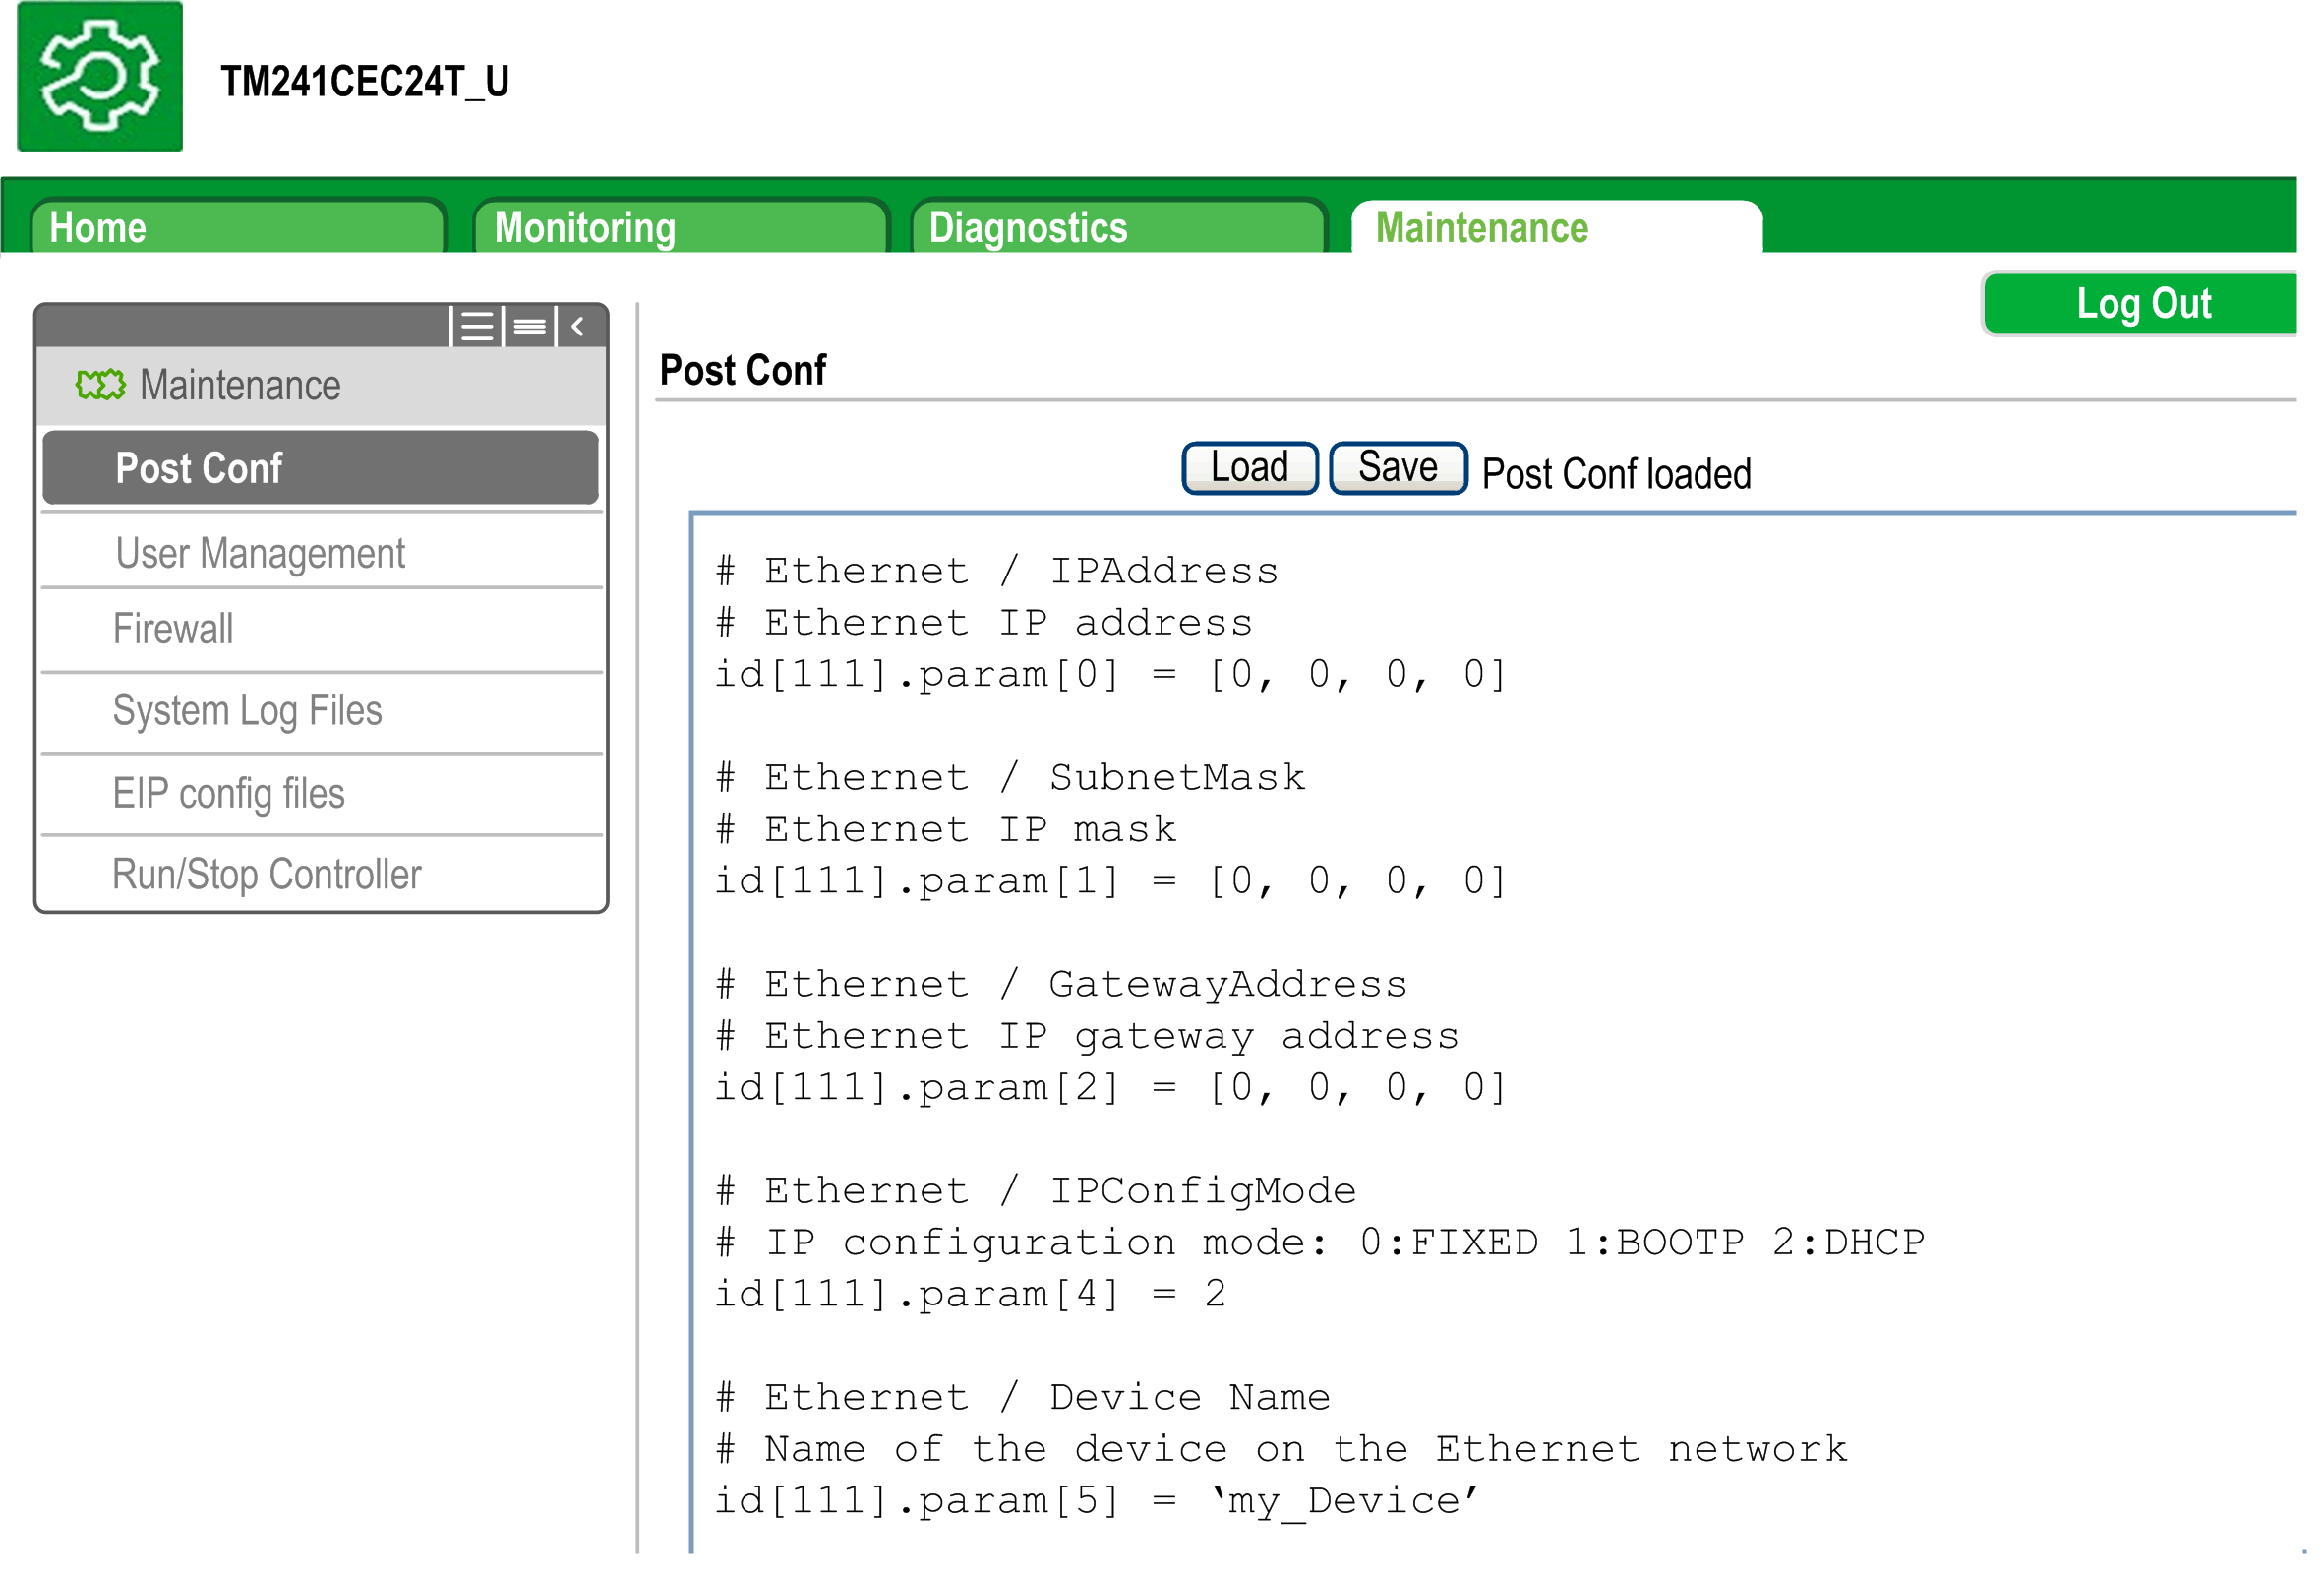
|
Step |
Action |
|---|---|
|
1 |
Click Load. |
|
2 |
|
|
3 |
Click Save.
NOTE: The new parameters will be considered at next Post Configuration file reading.
|
Log Files
This page provided access to the /usr/Syslog/ folder of the controller non-volatile memory.
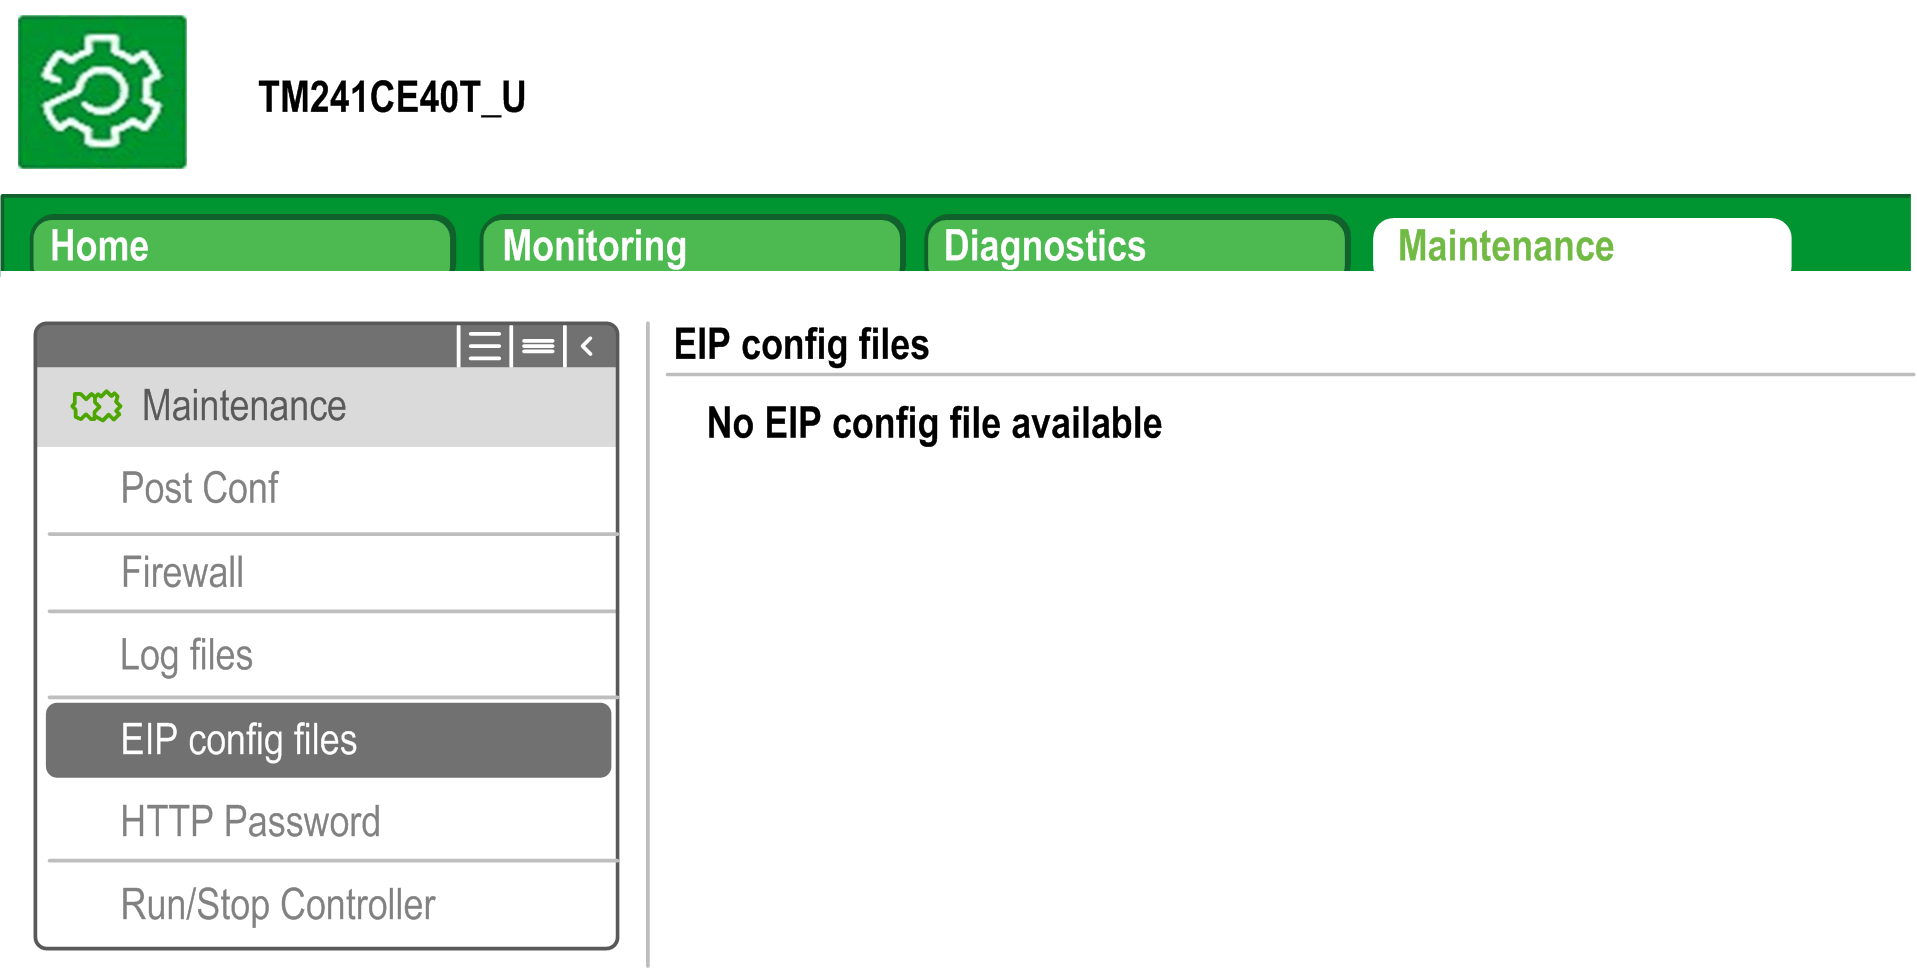
Maintenance: EIP Config Files Submenu
The file tree only appears when the Ethernet IP service is configured on the controller.
Index of /usr:
|
File |
Description |
|---|---|
|
My Machine Controller.gz |
GZIP file |
|
My Machine Controller.ico |
Icon file |
|
My Machine Controller.eds |
Electronic Data Sheet file |
Maintenance: User Management Submenu
The submenu displays a screen that allows you to access two different actions, all restricted by using secure protocol (HTTPS):
-
:
Allows you to manage user accounts management, removing all password and returning all user accounts on the controller to default settings.

Click to deactivate all user rights on the controller. (Passwords are saved and are restored if you click Enable.)
Click on the window that appears to confirm. As a result:
-
Users no longer have to set and enter a password to connect to the controller.
-
FTP, HTTP, and OPC UA server connections accept anonymous user connections. See Login and passwords table.

Click to restore the previous user rights saved on the controller.
Click on the window that appears to confirm. As a result, users have to enter the password previously set to connect to the controller. See Login and passwords table.
Click to return all user accounts on the controller to their default setting state.
Click on the window that appears to confirm.
-
:
Allows you to control whether user rights are copied and applied to the target controller when cloning a controller with an SD Card.

Click to exclude copying user rights to the target controller when cloning a controller.
Click to copy user rights to the target controller when cloning a controller. A popup prompts you to confirm copying the user rights. Click to continue.
-
:
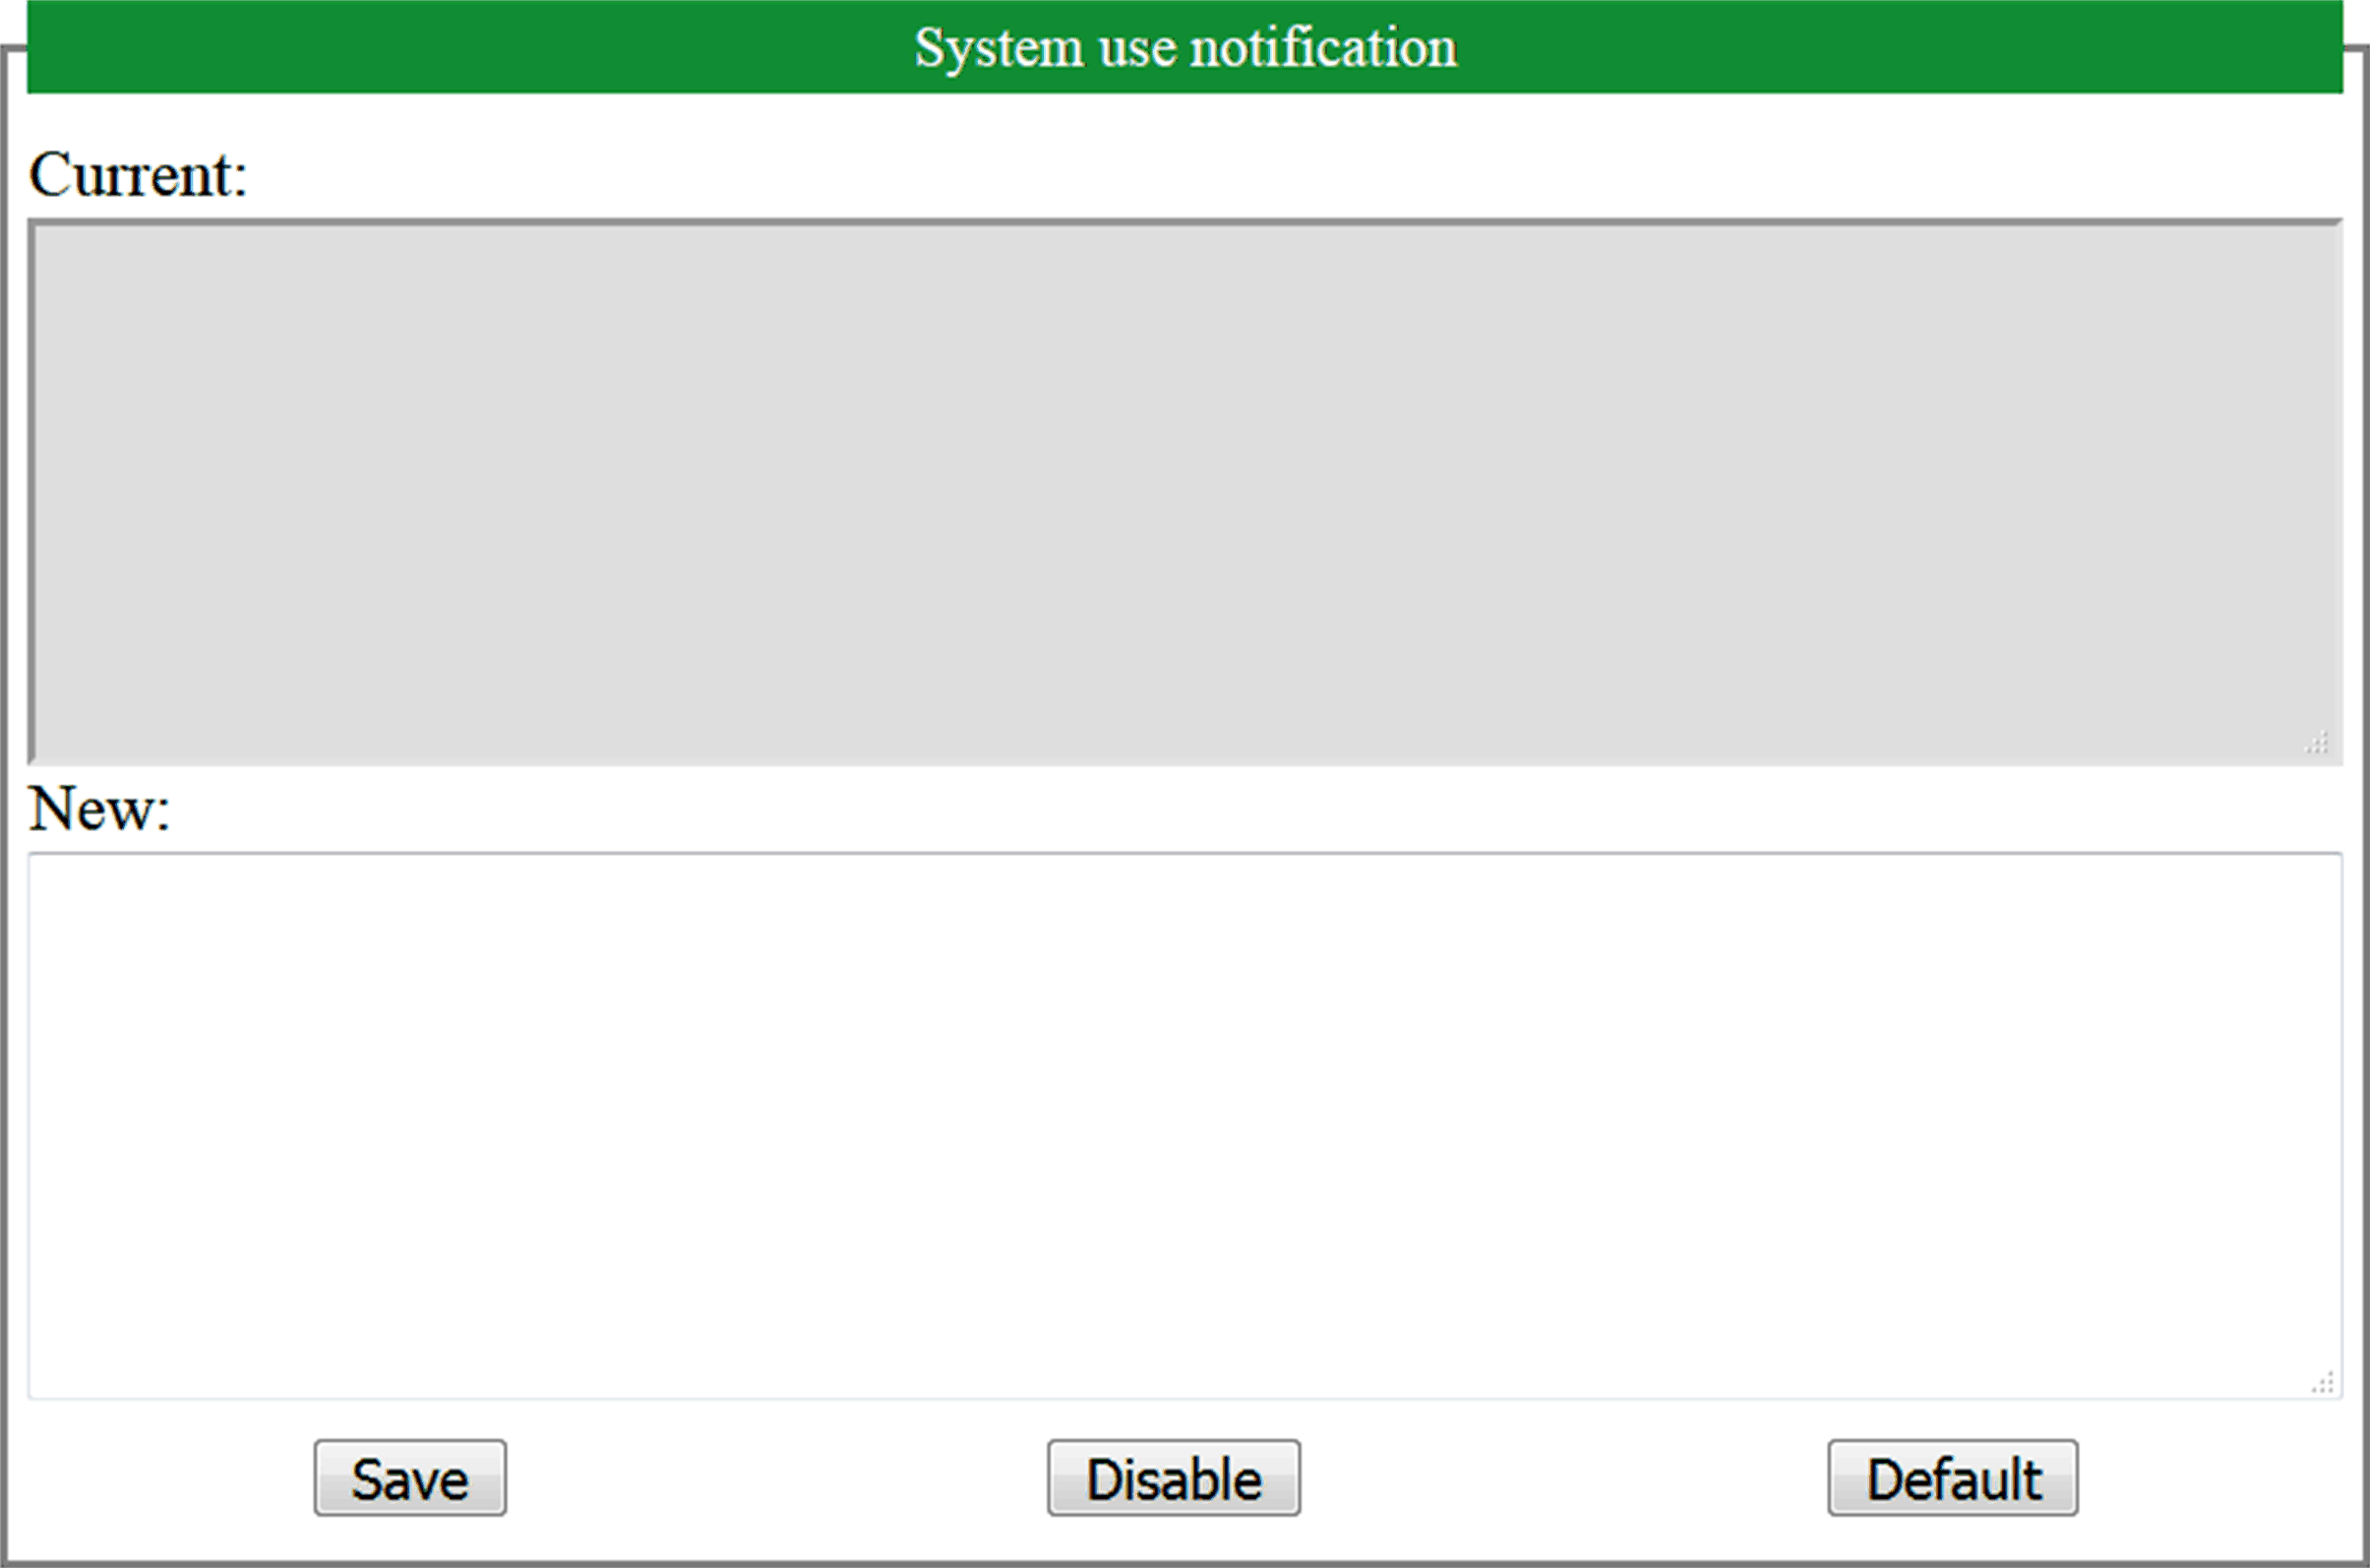
Allows you to customize a message which will be displayed at login.
