Replacing the Protector Cap
| NOTICE | |
|---|---|
|
Step |
Action |
|---|---|
|
1 |
Remove the lower arms and the upper arms. For further information, refer to Replacing the Lower Arms and Replacing the Upper Arms. |
|
2 |
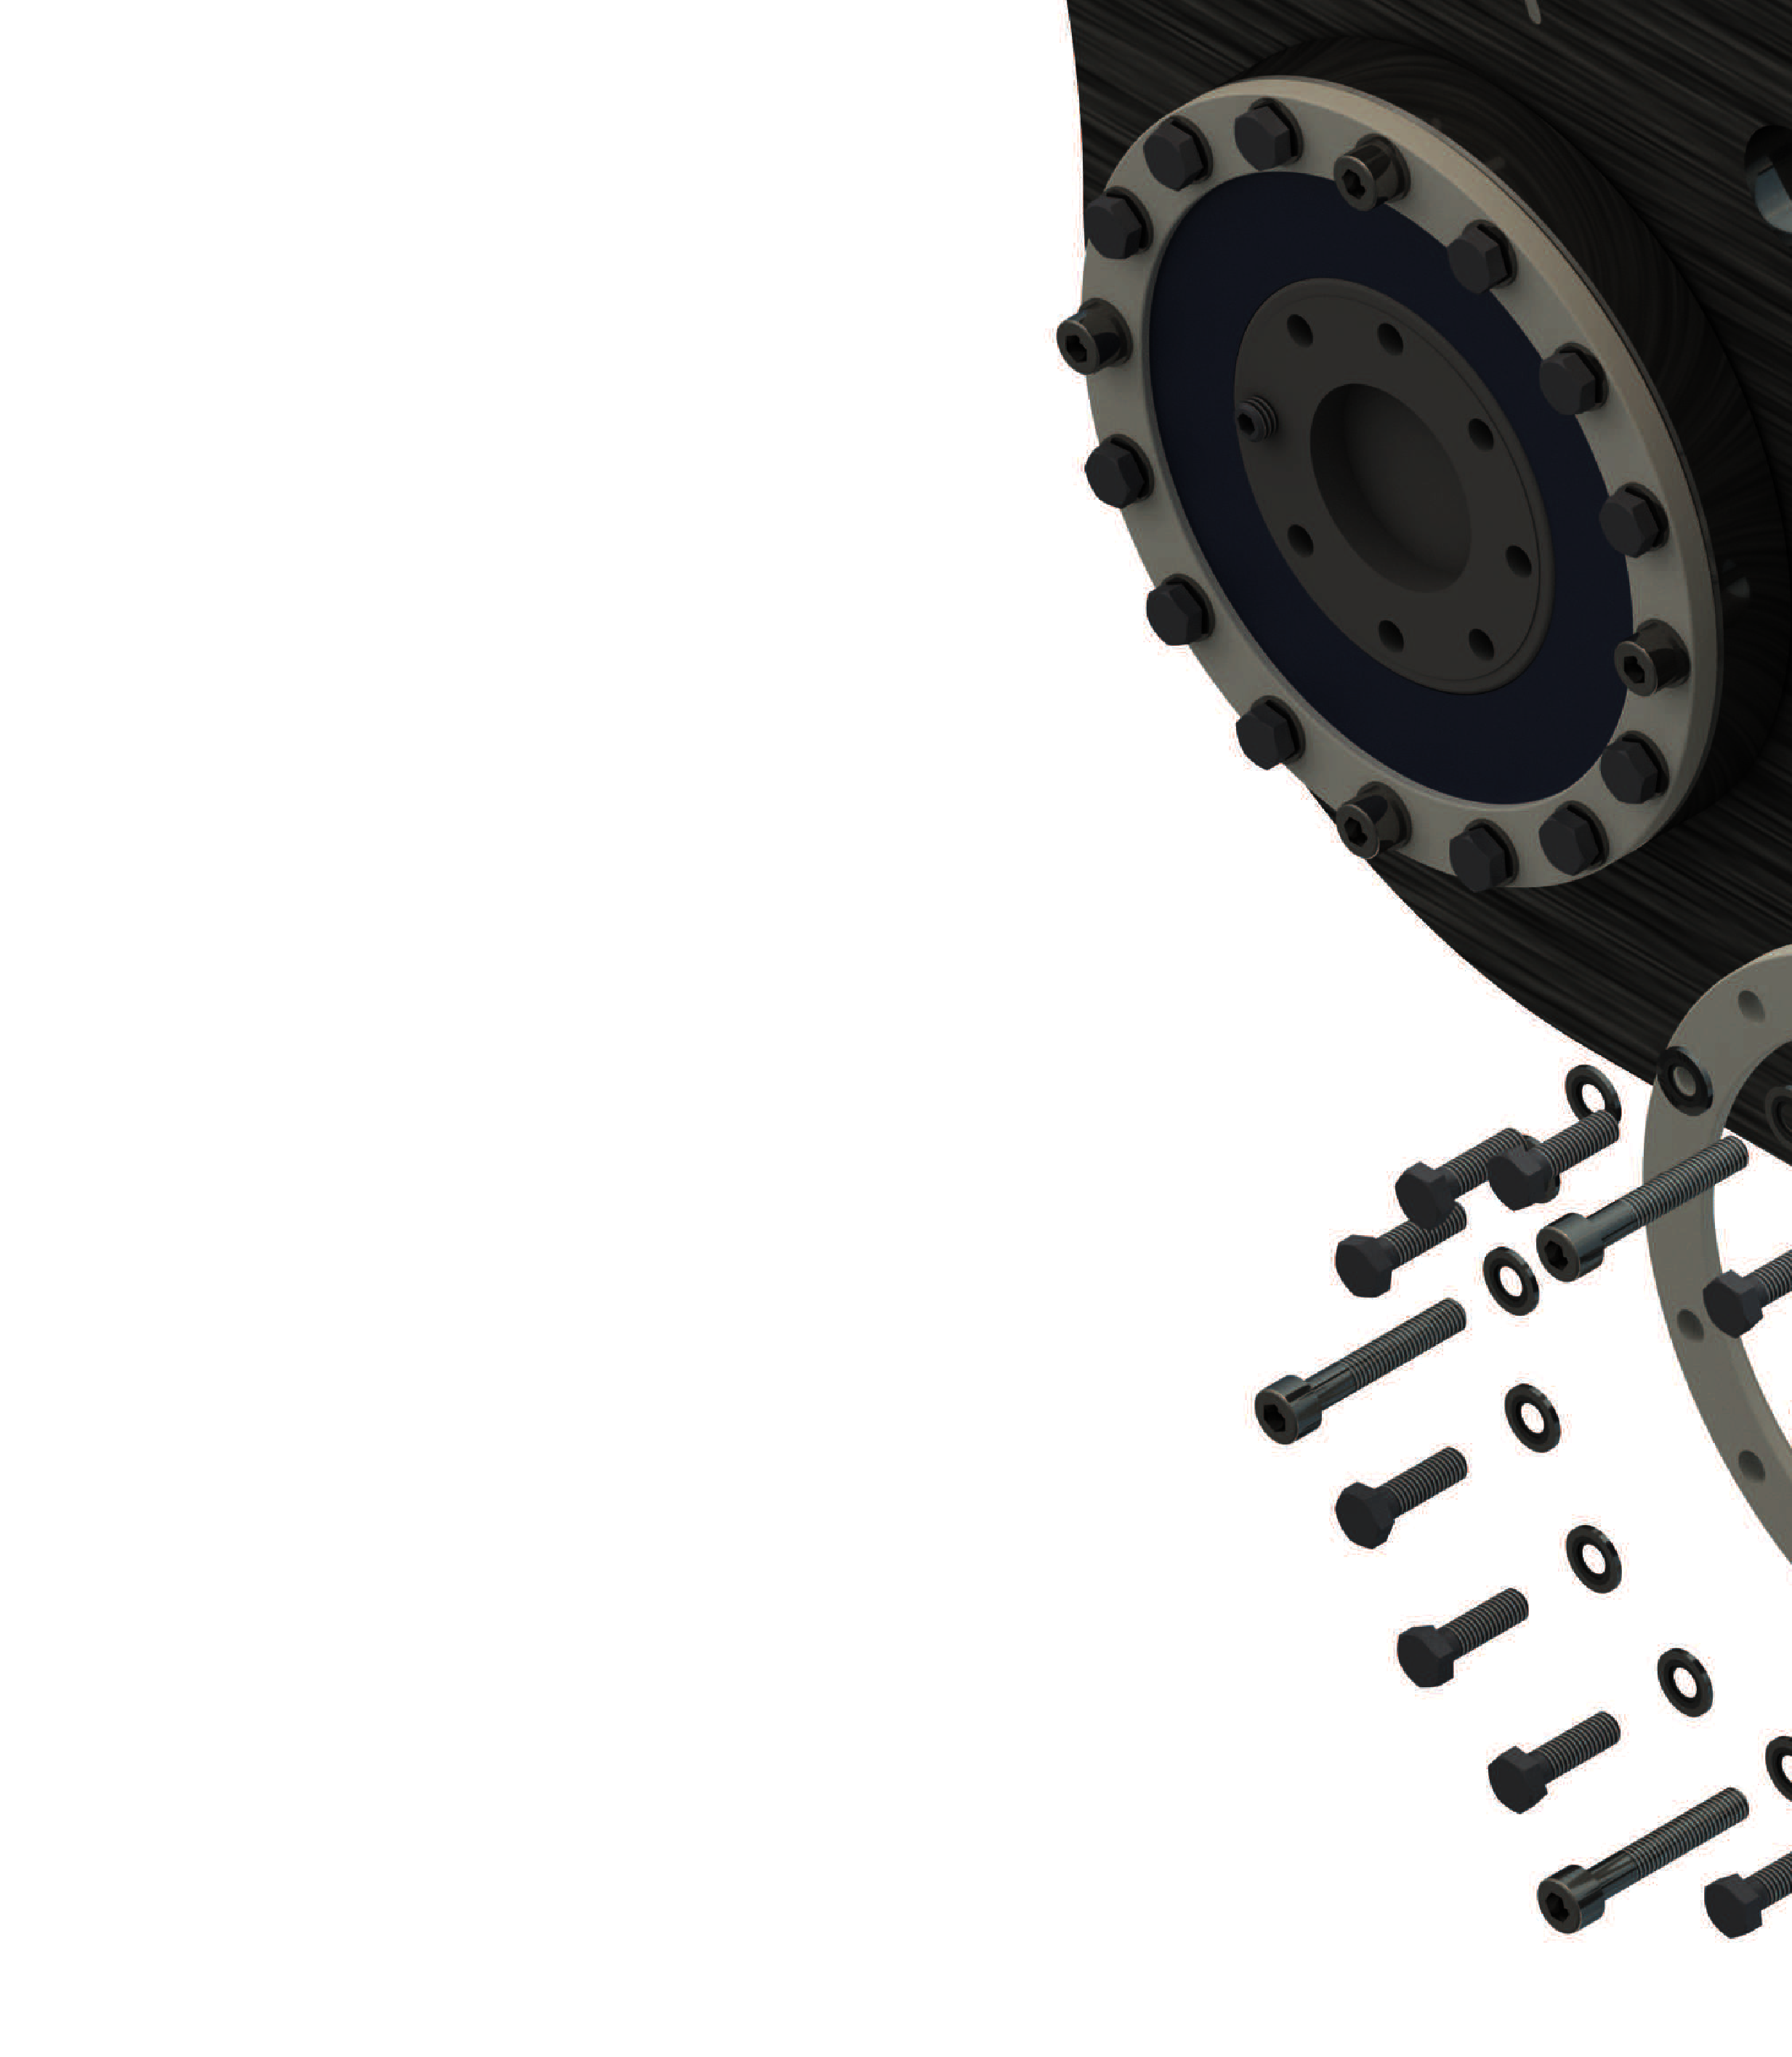
Remove the 12 hexagon screws (1), 4 socket head screws (2) and 16 sealing washers (3) and then remove the supporting ring (4), the protector cap (5), and the O-ring (6) from each of the two gearbox flanges. 
|
|
3 |
Insert the new O-ring to the intended bevel edge of the new protector cap. |
|
4 |
Place the protector cap with the O-ring to the new supporting ring. |
|
5 |
Place the entire unit over the gearbox output shaft on the robot and fasten it with the new screws and the new sealing washers.
NOTE: Ensure that the protector cap does not come into contact with the gearbox output shaft before tightening the screws.
Tightening torque: 3.5 Nm (31 lbf-in) |
|
6 |
Mount the upper arms and the lower arms. For further information, refer to Replacing the Upper Arms and to Mounting the Lower Arms with Parallel Plate. |
|
7 |