Configuration of the EtherCAT Master
Insert EtherCAT Master Into PLC Configuration
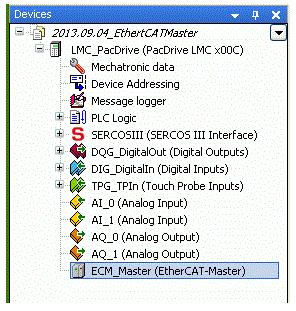
Proceed as follows to add an EtherCAT Master to the Device tree:
|
Step |
Action |
|---|---|
|
1 |
Right-click on on the tree. |
|
2 |
In the context menu, select "" Result: The dialog box opens. |
|
3 |
Select the entry under . |
|
4 |
Select the under . |
|
5 |
Confirm with . Result: The device is displayed under in the tree.]. |
Master
Having added an to the tree, you can edit its general settings.
|
Step |
Action |
|---|---|
|
1 |
Double-click on on the tree. Result: The dialog box of the opens. |
|
Designation |
Description |
|
Autoconfig Master/Slave |
If this option is enabled, the majority of the Master and Slave configuration is executed automatically, based on the device description files and implicit calculations. If this option is disabled, further input fields are displayed in the bottom section of the dialog box. See Master Settings below. |
|
Distributed clocks |
|
|
Cycle time |
The cycle time defines the period after which a new data telegram is sent on the bus. If the Distributed Clocks functionality is enabled in the Slave, the Master cycle time indicated here is transferred to the Slave clocks. Thus, an accurate synchronization can be achieved, which is especially important if spatially separated processes require simultaneous actions (e.g. in applications in which several axes simultaneously have to perform coordinated motions). In this way, a precise and network-wide time basis with one jitter of significantly less than one microsecond can be achieved. |
|
Options |
|
|
Use LRW instead of LWR/LRD |
If this option is enabled, direct Slave to Slave communication is possible. Instead of separate read (LRD) and write commands (LWR), combined read/write commands (LRW) are used. |
|
Sending/receiving per task |
If this option is enabled, read and write commands i.e. the handling of the input and output messages can be controlled with different tasks. |
|
Automatic slave reboot |
If this option is enabled, the Master tries to reboot the Slave immediately in case of a communication rupture. |
|
Master Settings |
|
|
The Master settings can only be edited if the mode Automatic configuration Master/Slave is disabled (see above). Otherwise, the slave settings are made automatically and are not visible in the dialog box. |
|
|
Display input address |
Defines the first logical address of the first slave for the input data |
|
Display output address |
Defines the first logical address of the first slave for the output data |
NetX Configuration
For a description of the NetX configuration register card, refer to Configuration of the field bus.
EtherCAT Configuration
This register card contains the Master parameters which are defined in the device description file.
If the Automatic configuration Master/Slave is enabled, the parameters are adjusted automatically according to the information in the description file and the network topology.
Usually, for standard applications it is not necessary to edit them.
The parameters are displayed with the parameter name, the data type, the current set value, the default value, the unit and a brief description.
EtherCAT I/O Display
This register card allows the display of project variables on the EtherCAT Master outputs and inputs.
Hence, the controller device on the EtherCAT Master can be controlled by the application program.
For information on how the mapping (I/O display) is performed, refer to the description of the general I/O display dialog box (Device editors > Generic device editor > I/O display).