Installation Guidelines
Introduction
The TM7 System can be mounted using:
-
An aluminium frame with two wedge nuts and M4 screws
-
A DIN rail with TM7ACMP mounting plate
-
Directly on the machine.
TM7 Block on an Aluminium Frame
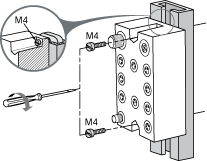
Blocks can be mounted on an aluminium frame with two wedge nuts and M4 screws:
| NOTICE | |
|---|---|
TM7 Block on a DIN Rail
You can mount the size 1 blocks on a DIN rail with the TM7ACMP mounting plate. For EMC (Electromagnetic Compatibility) compliance, a metal DIN rail must be attached to a flat metal mounting surface or mounted on an EIA (Electronic Industries Alliance) rack or in a NEMA (National Electrical Manufacturers Association) enclosure. In all cases, the mounting surface must be properly grounded.
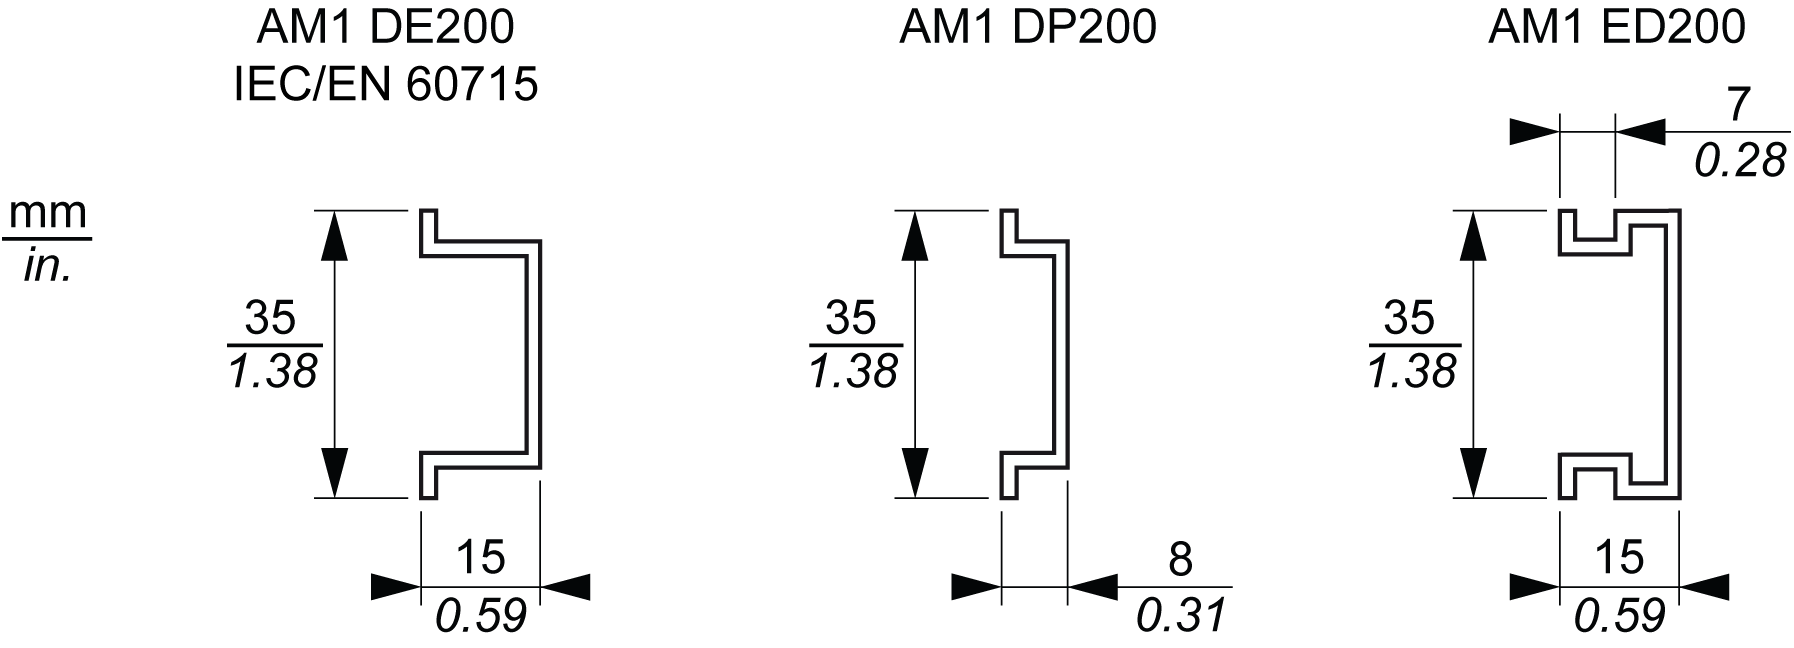
You can order a suitable DIN rail from Schneider Electric:
The following procedure gives step by step instructions to assemble and install a block on a DIN rail:
|
Step |
Action |
|
|---|---|---|
|
1 |
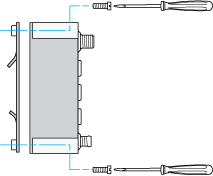
Screw the block to the mounting plate. The required screws are supplied with the mounting plate.
NOTE: Maximum torque to fasten the required screws is 0.6 Nm (5.3 lbf-in).
|
|
|
2 |
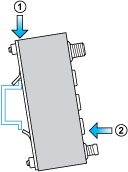
Place the upper protruding catches of the mounting plate on the top edge of the DIN rail (1). Rotate the block to the DIN rail until it clicks (2). |
|
|
3 |
The block is correctly installed to the DIN rail |

|
| NOTICE | |
|---|---|
For more information on mounting the DIN rail refer to the TM5 section DIN Rail Installation.
TM7 Block Directly on the Machine
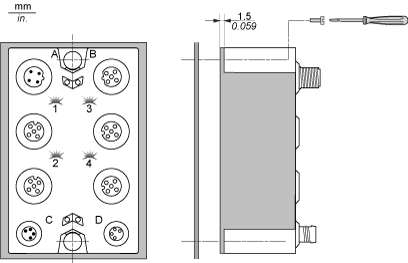
The TM7 block can be mounted to any bare-metal surface of the machine, provided that the surface is properly grounded. To mount the block directly on the machine, the following figure gives the drilling template of the blocks:
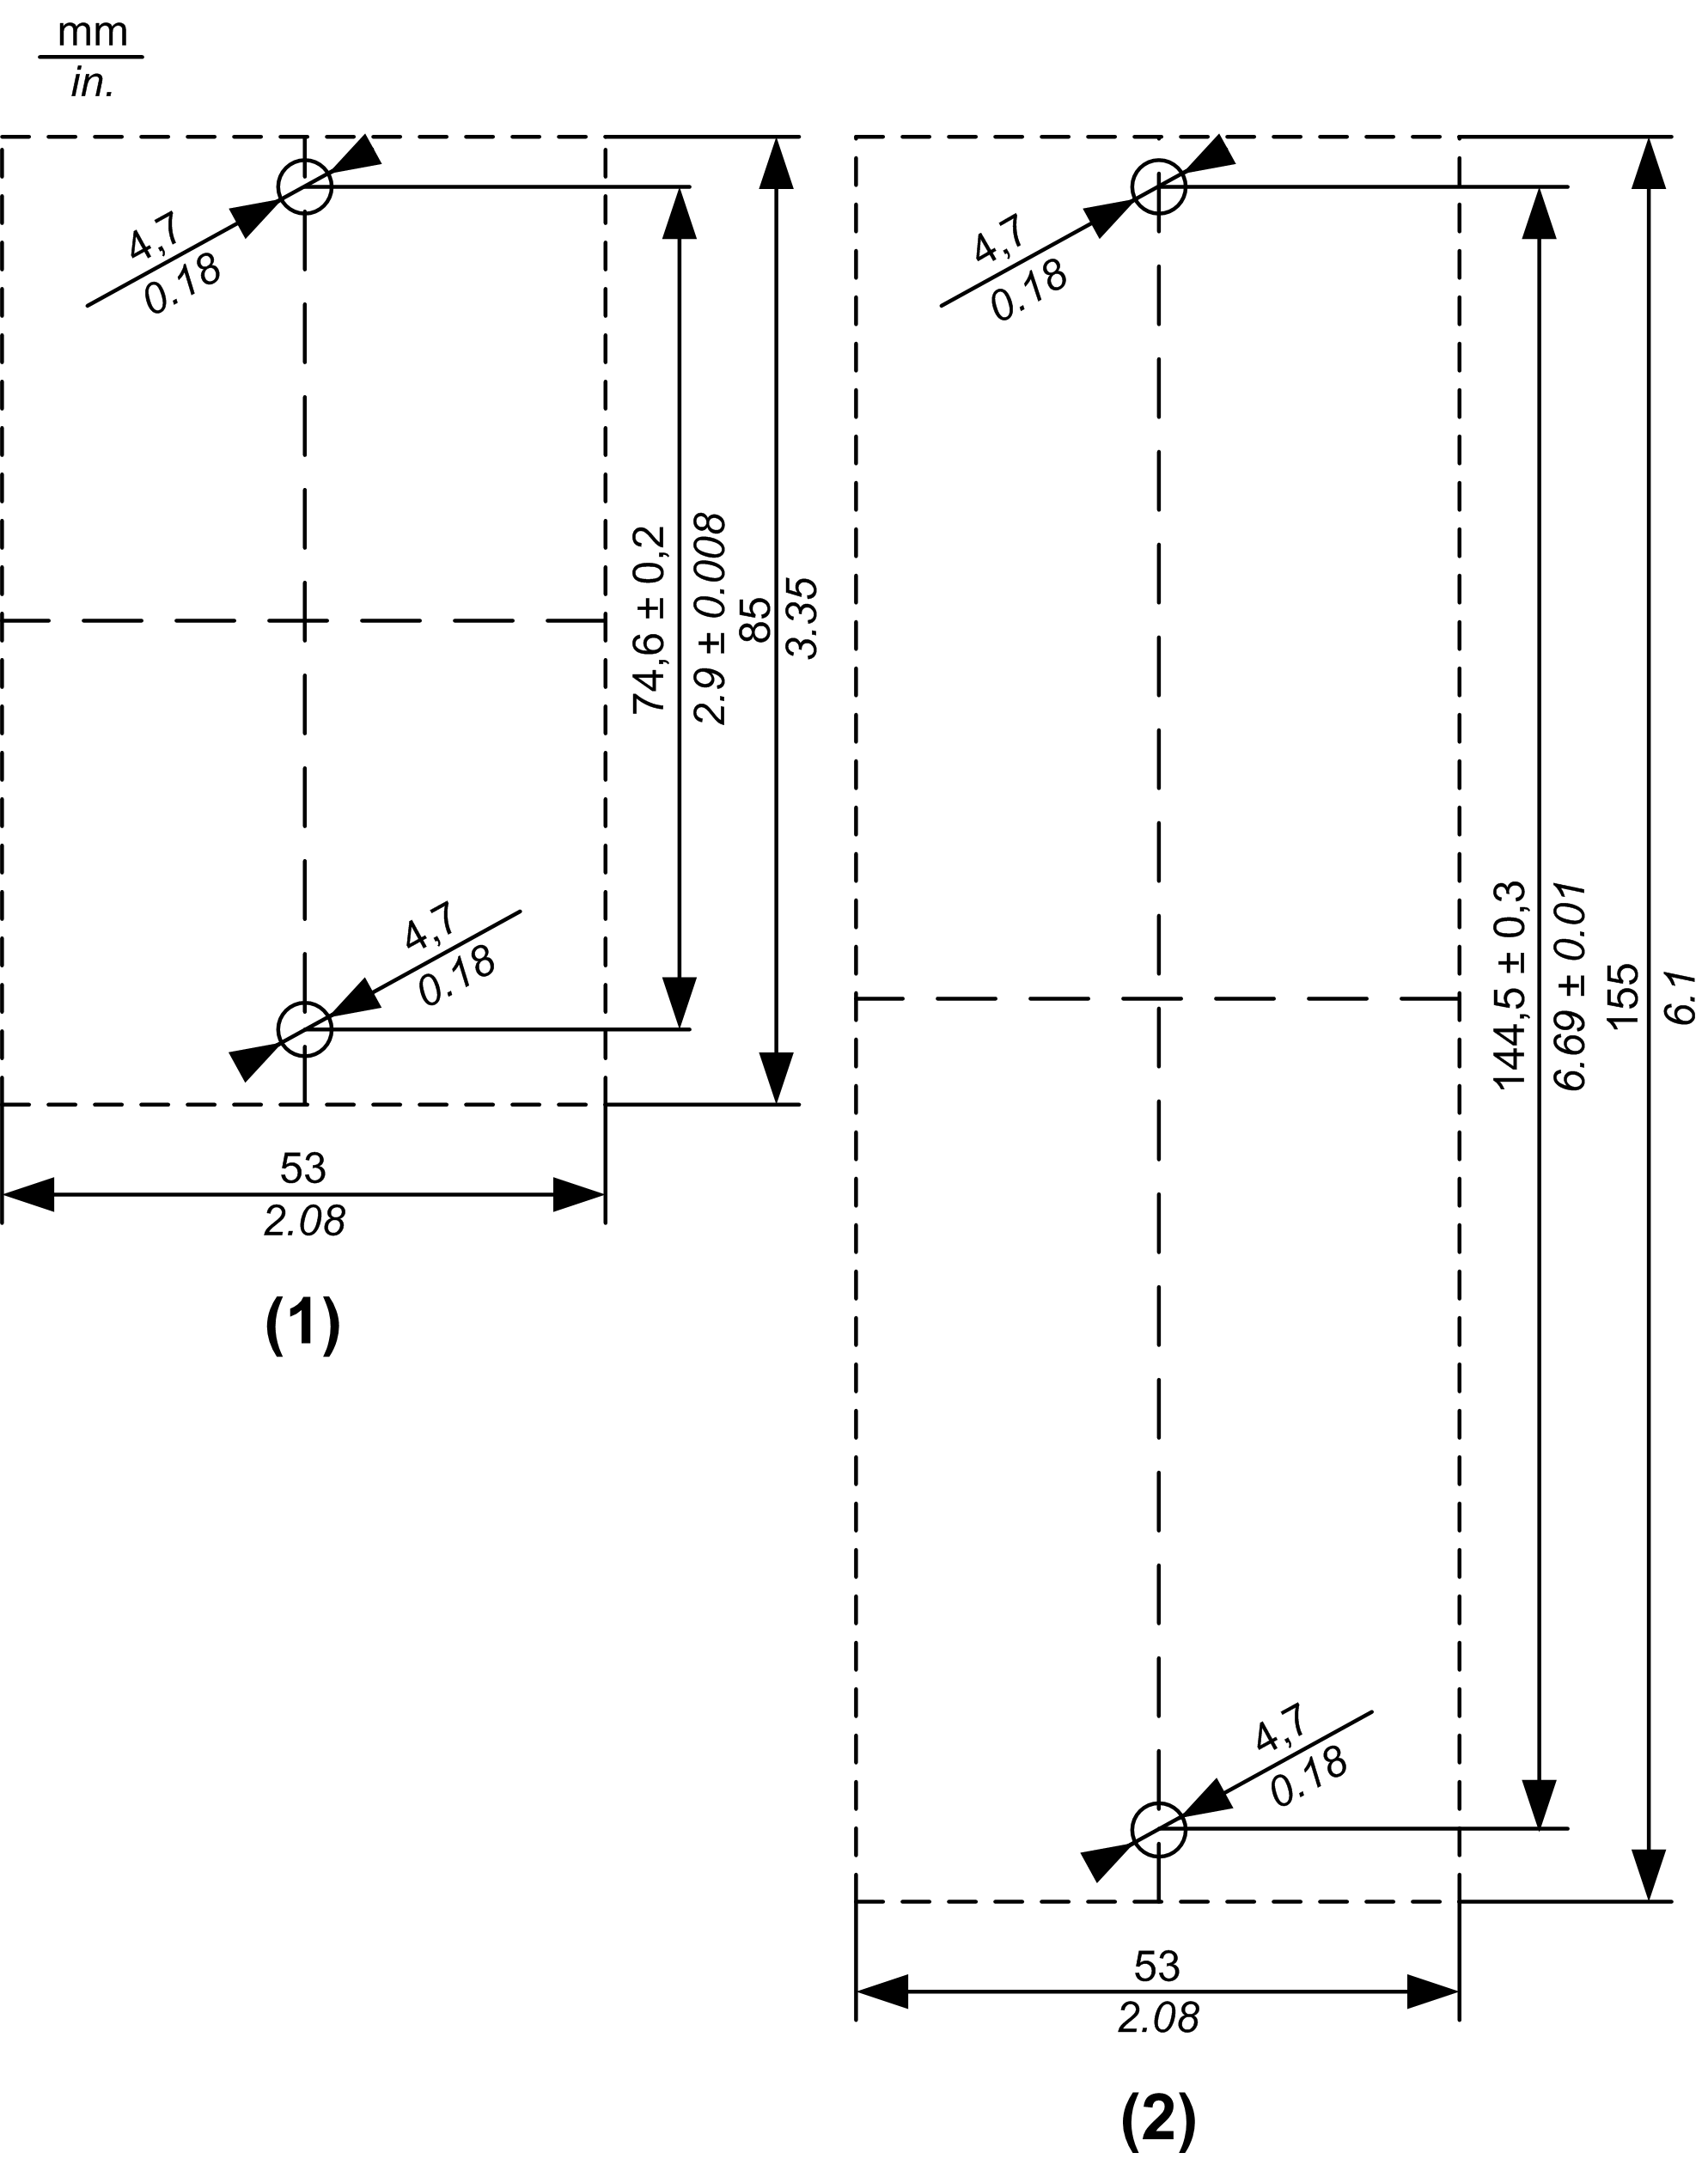
(1) Size 1 block
(2) Size 2 block
The thickness of the base plate should be taken into consideration when defining the screw length.
| NOTICE | |
|---|---|
TM7 Cable Installation
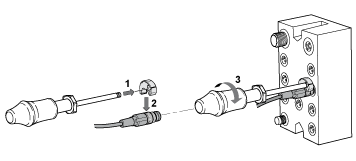
The plug connector of the TM7 cables is mounted by hand and then tightened to a defined force with the aid of the torque wrench:
|
Connector Size |
Torque |
|---|---|
|
M8 |
0.2 Nm (1.8 lbf-in) |
|
M12 |
0.4 Nm (3.5 lbf-in) |
| WARNING | |
|---|---|
Sealing Plug Installation
Open connectors with no cable attached are capped with suitable sealing plugs:
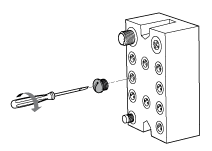
|
Connector Size |
Torque |
|---|---|
|
M8 |
0.2 Nm (1.8 lbf-in) |
|
M12 |
0.4 Nm (3.5 lbf-in) |
| WARNING | |
|---|---|
