Installation Guidelines
Introduction
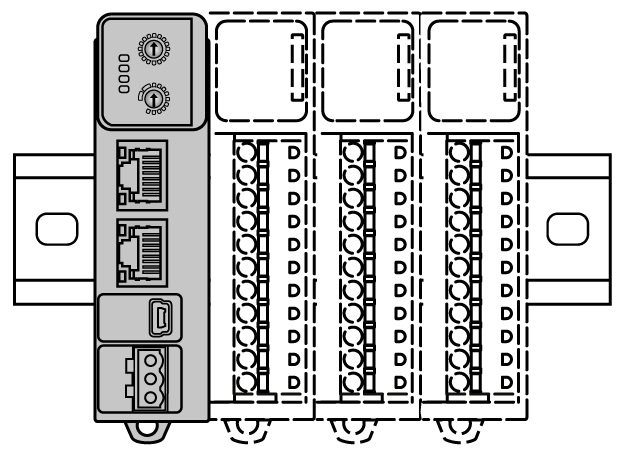
The TM3 bus coupler is connected to a controller using a fieldbus communication cable.
The TM3 bus coupler can be installed on a top hat section rail (DIN rail).
Correct Mounting Position
Whenever possible, the TM3 bus coupler should be mounted horizontally on a vertical plane as shown in the illustrations below:
|
|
Acceptable Mounting Position
Whenever possible, the TM3 bus coupler can also be mounted vertically with a temperature derating on a vertical plane as shown below:
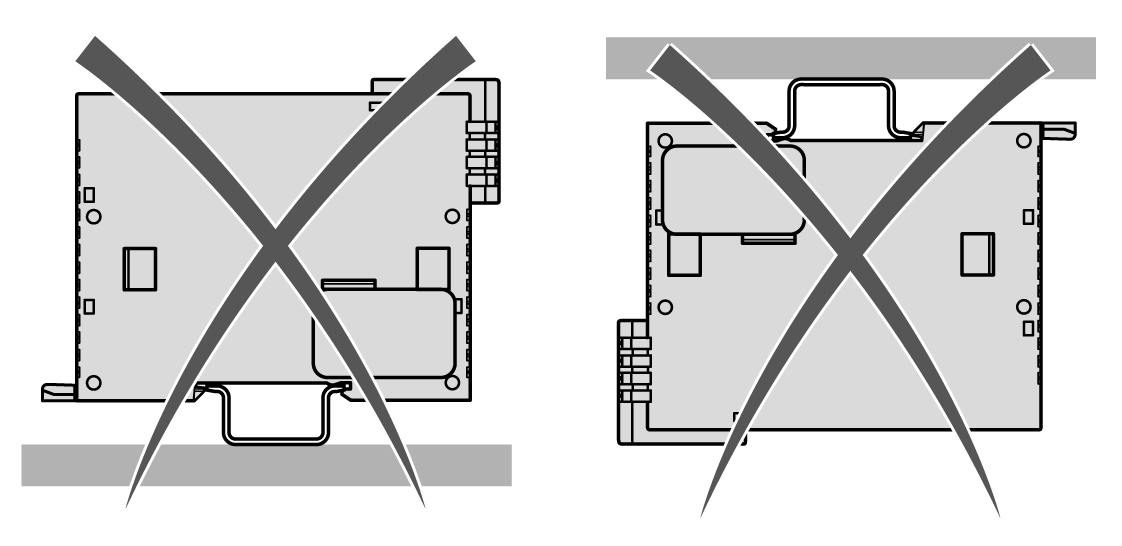
Incorrect Mounting Position
The TM3 bus coupler should only be positioned as shown in Correct Mounting Position. The following illustrations show the incorrect mounting positions:
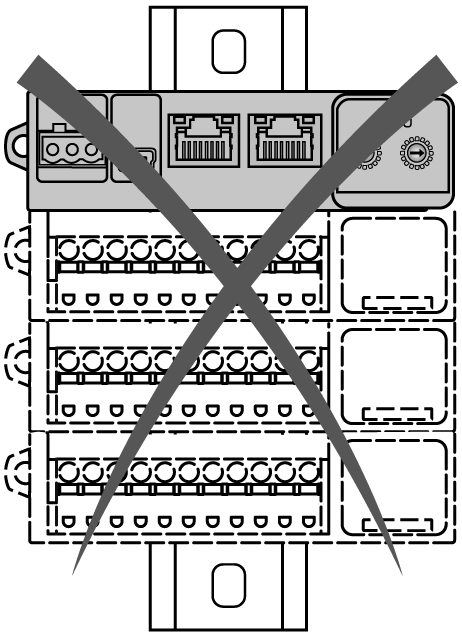
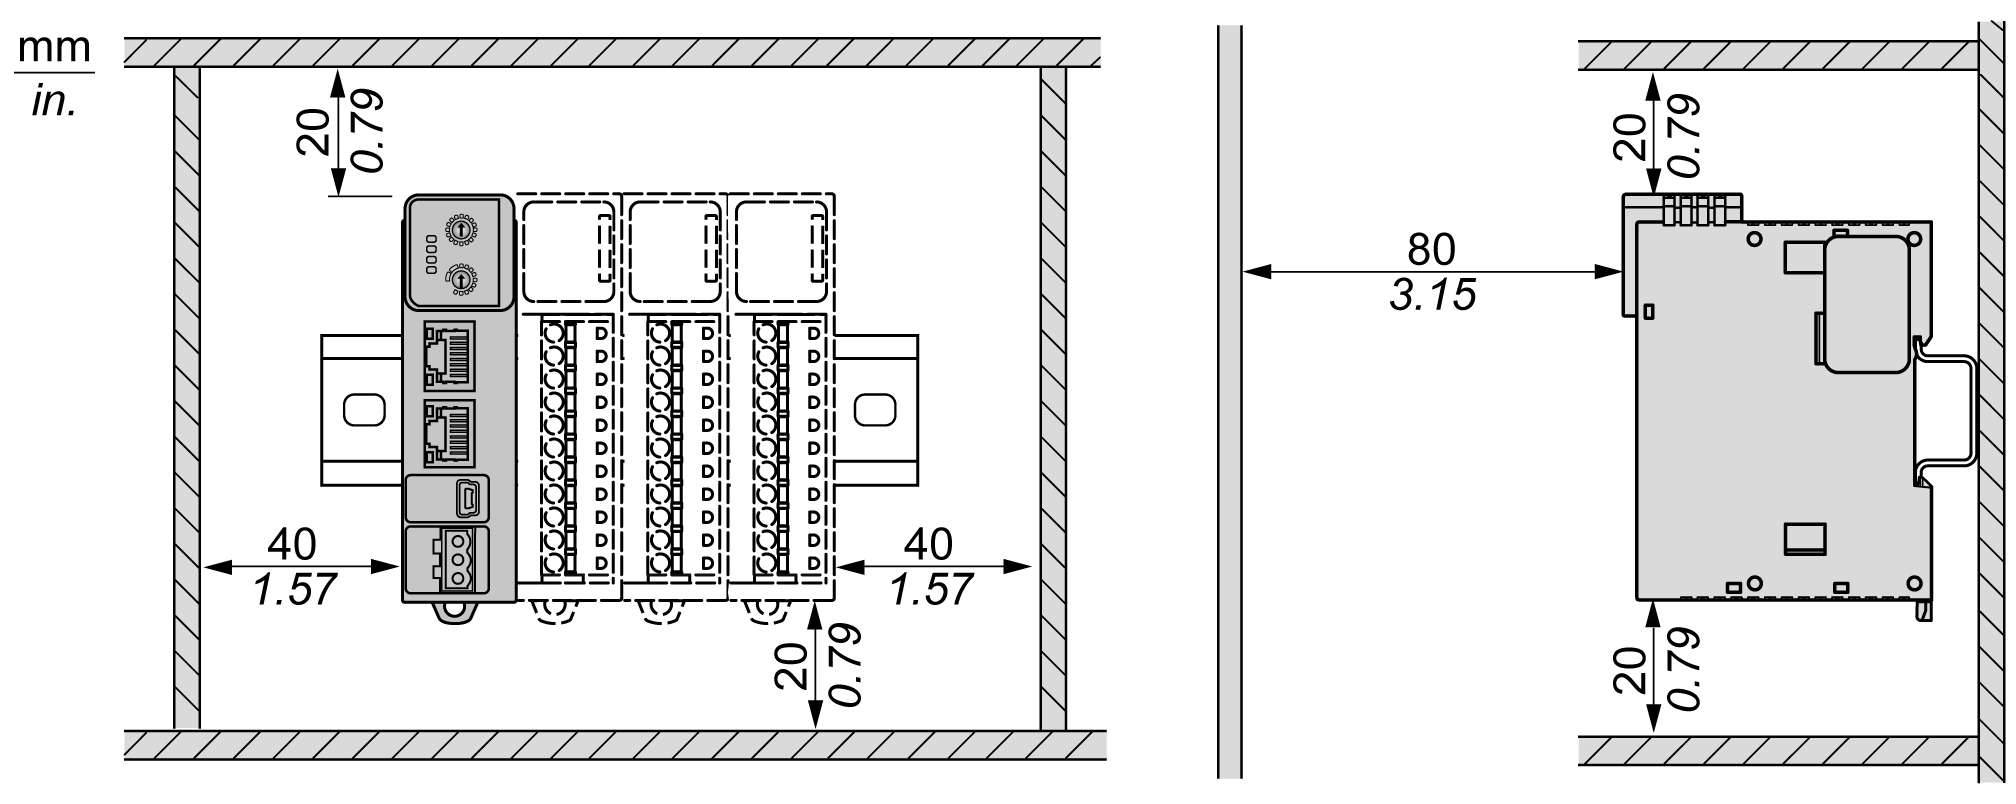
Minimum Clearances
| WARNING | |
|---|---|
The TM3 bus coupler has been designed as an IP20 product and must be installed in an enclosure. Clearances must be respected when installing the product.
There are 3 types of clearances between:
-
The TM3 bus coupler and all sides of the cabinet (including the panel door).
-
The TM3 bus coupler terminal blocks and the wiring ducts. This distance reduces electromagnetic interference between the controller and the wiring ducts.
-
The TM3 bus coupler and other heat generating devices installed in the same cabinet.
The following illustration shows the minimum clearances that apply to all TM3 bus coupler references: