Replacing the Parallel Plate
Overview
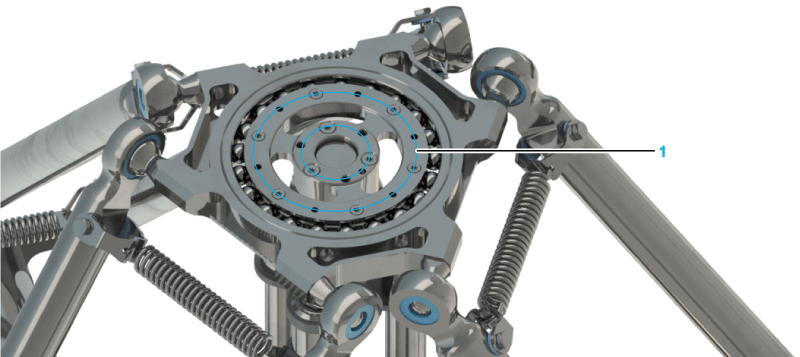
The following figure shows the correct position of the parallel plate with bottom mounting points (1):
Replacing the Parallel Plate
|
Step |
Action |
|---|---|
|
1 |
Only for robots with a rotational axis (VRKP•••R): Remove the telescopic axis as described in Replacing the Telescopic Axis. |
|
2 |
Remove the lower arms as described in Replacing the Lower Arms. |
|
3 |
Hook in the new parallel plate with the lower arms. Ensure that the mounting side for the gripper is located at the underside, as shown in the figure above.
NOTE: The mounting can be recognized by its threaded holes.
|
|
4 |
Only for robots with a rotational axis (VRKP•••R): Mount the telescopic axis as described in Replacing the Telescopic Axis.
NOTE: The parallel plate can be rotated by n x 120°. Proceed with particular care in such cases to refit the parallel plate in its original position.
|
|
5 |
Only for robots with a rotational axis (VRKP•••R): Move the parallel plate slowly and verify the position of the gripper. |