Installing and Removing the Rear Module on a DIN Rail
This section describes how to install and remove the rear module on a DIN rail.
NOTE: The HMISCU should always have the display module and controller module connected for an application to function properly.
If the rear module is powered without it being directly connected (or connected with a separation cable) to the display module, the PLC Logic goes into the STOP mode with I/Os in a fallback mode.
|
|
|
EXPLOSION HAZARD |
|
oDo not connect or disconnect while circuit is live. oPotential electrostatic charging hazard: wipe the front panel of the terminal with a damp cloth before turning ON. |
|
Failure to follow these instructions can result in death, serious injury, or equipment damage. |
Installing the Rear Module on a DIN Rail
|
Step |
Action |
|---|---|
|
1 |
Using screws to fasten the DIN rail to a panel surfaces. |
|
2 |
Affix the display module/rear module separation cable to the rear module. 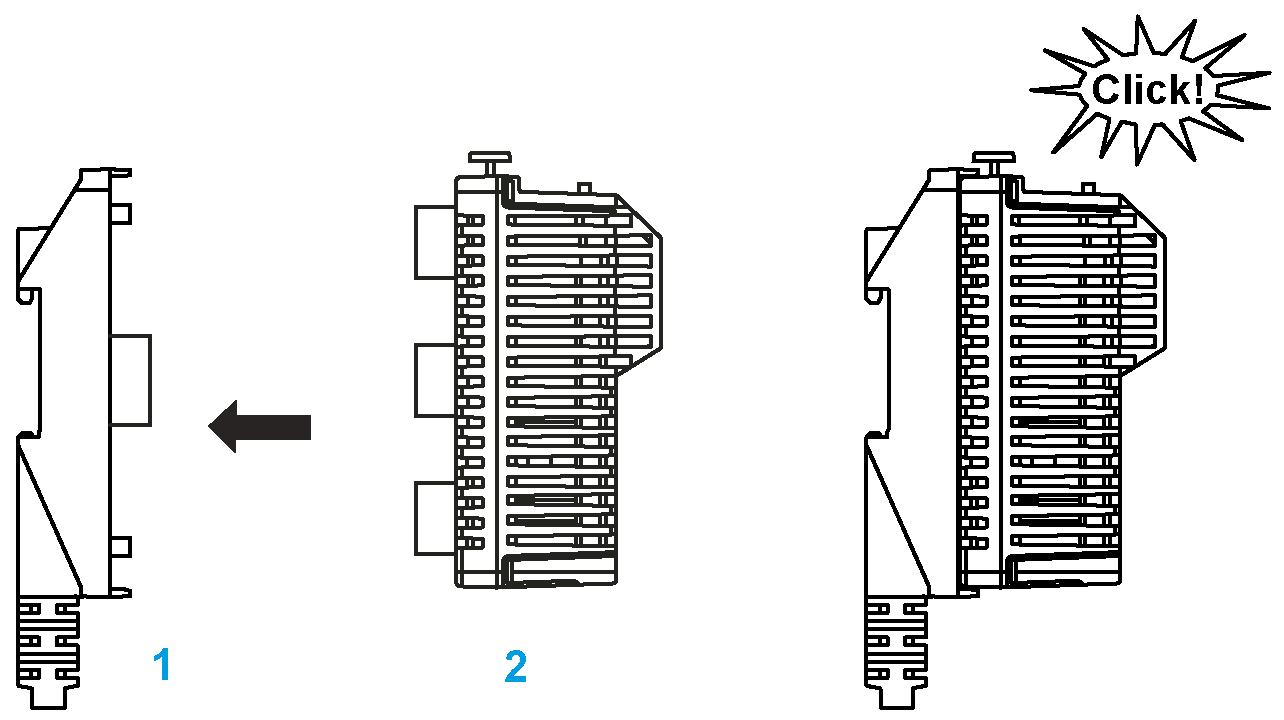
1 Display module/rear module separation cable 2 Rear module NOTE: To assemble this product, you need 20 mm (0.78 in.) more space to bend the cable in the end of the rubber. |
|
3 |
Position the top groove of the rear module on the top edge of the DIN rail and press the assembly against the DIN rail until you hear the DIN rail clip click into place. 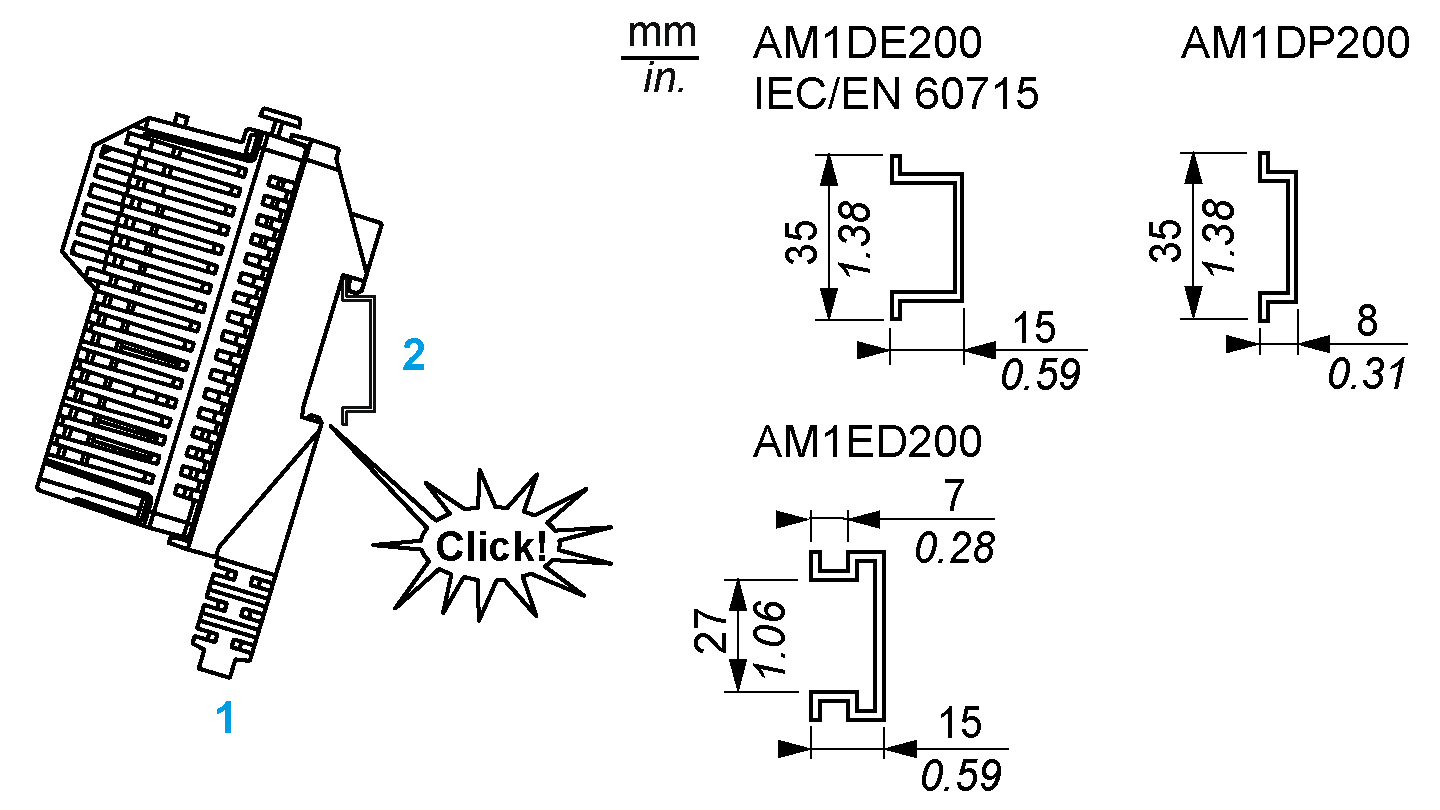
1 Rear module 2 Rail NOTE: Type AB1AB8P35 or equivalent terminal block end clamps help minimize sideways movement and improve the shock and vibration characteristics of the controller assembly. |
|
4 |
Install the display on the cabinet and affix the display module/rear module separation cable to the display. 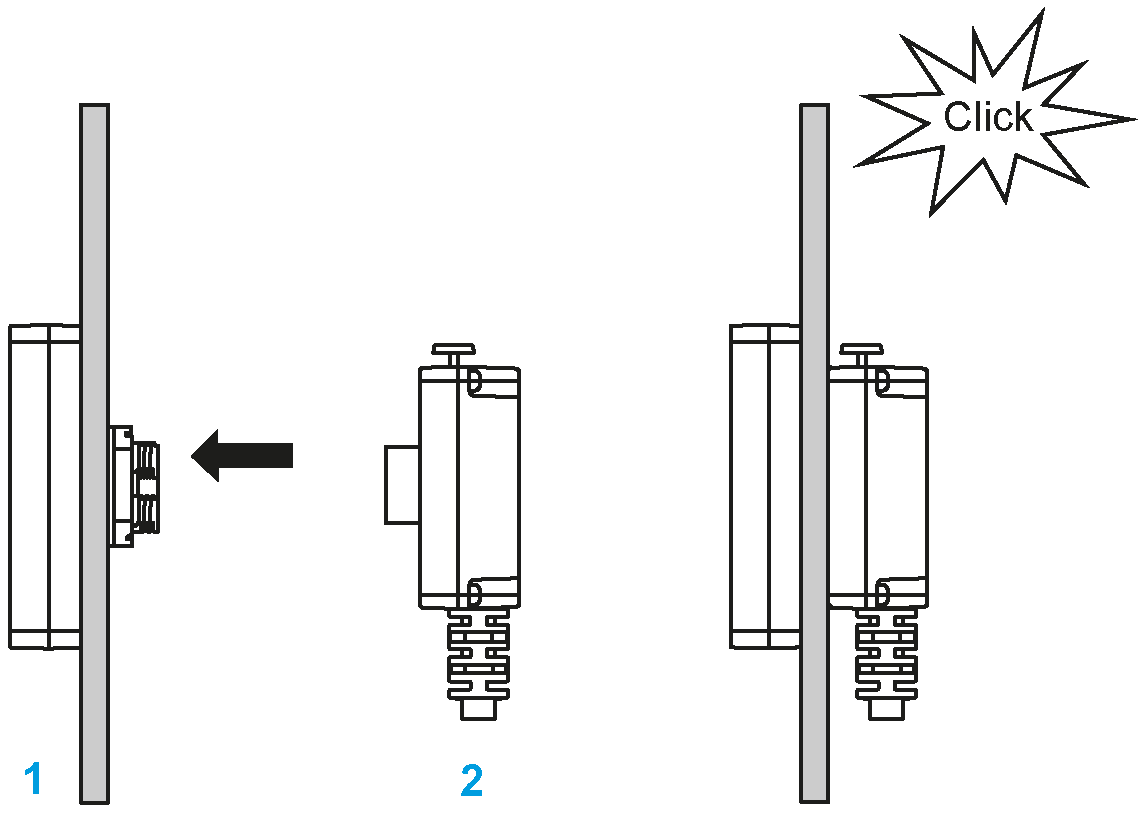
1 Display module 2 Display module/rear module separation cable |
Removing the Rear Module from a DIN Rail
|
Step |
Action |
|---|---|
|
1 |
Push down the yellow lock button of the rear module and remove it from the display module/rear module separation cable. 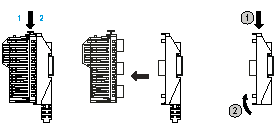
1 Rear module 2 Display module/rear module separation cable |
|
2 |
Push down the lock button of the display module/rear module separation cable and remove it from the display module. 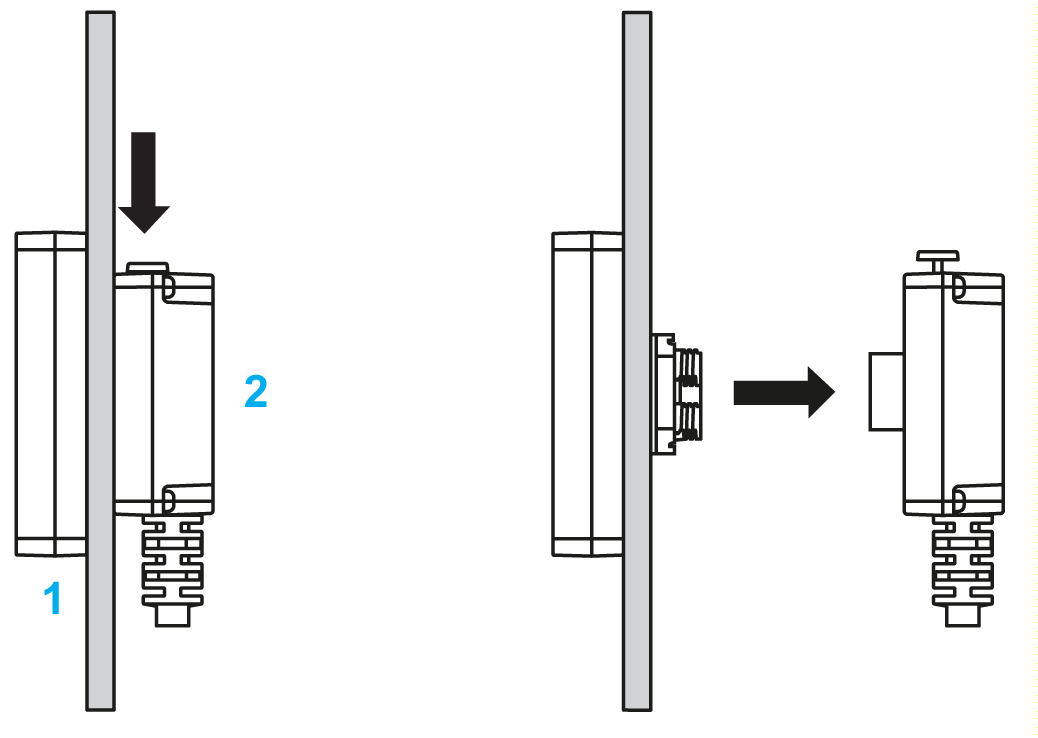
1 Display module 2 Display module/rear module separation cable |