The most basic way of constructing a model is by dragging and dropping in conveyors. To connect two conveyors, you click them together by holding down the Ctrl button and drag the start of one conveyor towards the end of another.
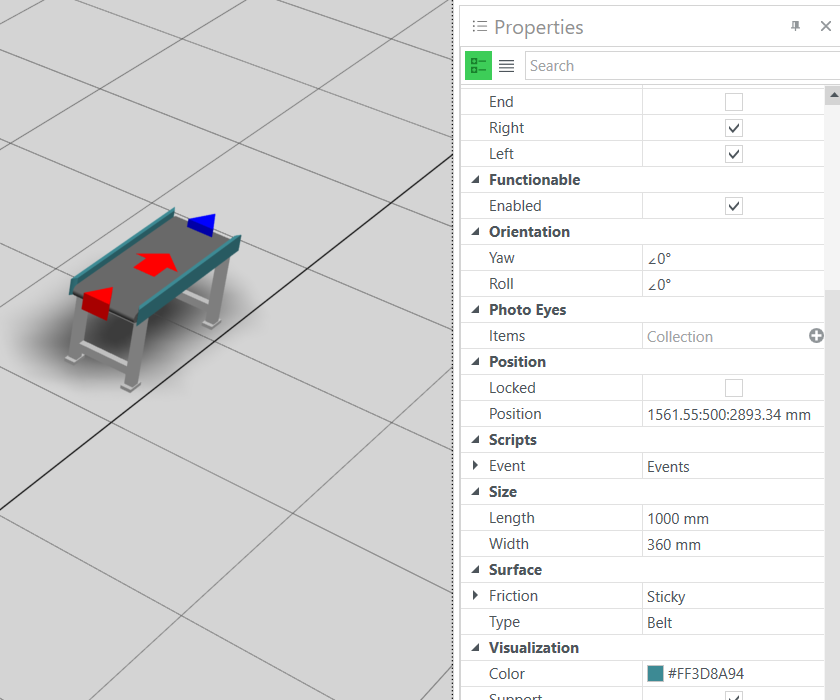
As standard the conveyors have the dimensions:1000 mm length, 360 mm width, 500m height. If you are working with a different size conveyor it is most prudent to insert one conveyor, change the dimensions in the properties tab and then copy –> paste in the conveyors you want to insert.
Double-click insertion
When viewing the catalogs in gallery view, you can insert components by double-clicking on the one you wish to add. This will automatically add the conveyor at the end of latest component added to the scene and will match the height of this component. This can end up looking weird as shown in the GIF. So, after adding a different component drag and drop in a new conveyor and then you can continue double-click inserting conveyors.
"Collecting" conveyors
By collecting the connveyors you group the conveyors together respective to the scene. As the gif on the right shows, you are able to select individual conveyors and change their physical attributes and physical location. Collecting them together helps you move them around the scene, and keep them located in reference to each other.
"Attaching" components
By attaching conveyors you assemble multible conveyors under one component. As you can see in the gid on the right, the two conveyors become subcomponents under the sensor. This is useful when you have finished configurating a set of components and want to group them together for moving them around, or copying/pasting.